


E5CZ
E5CZ
E5CZ
E5CZ-U
User's Manual
E5CZ-U
E5CZ-U
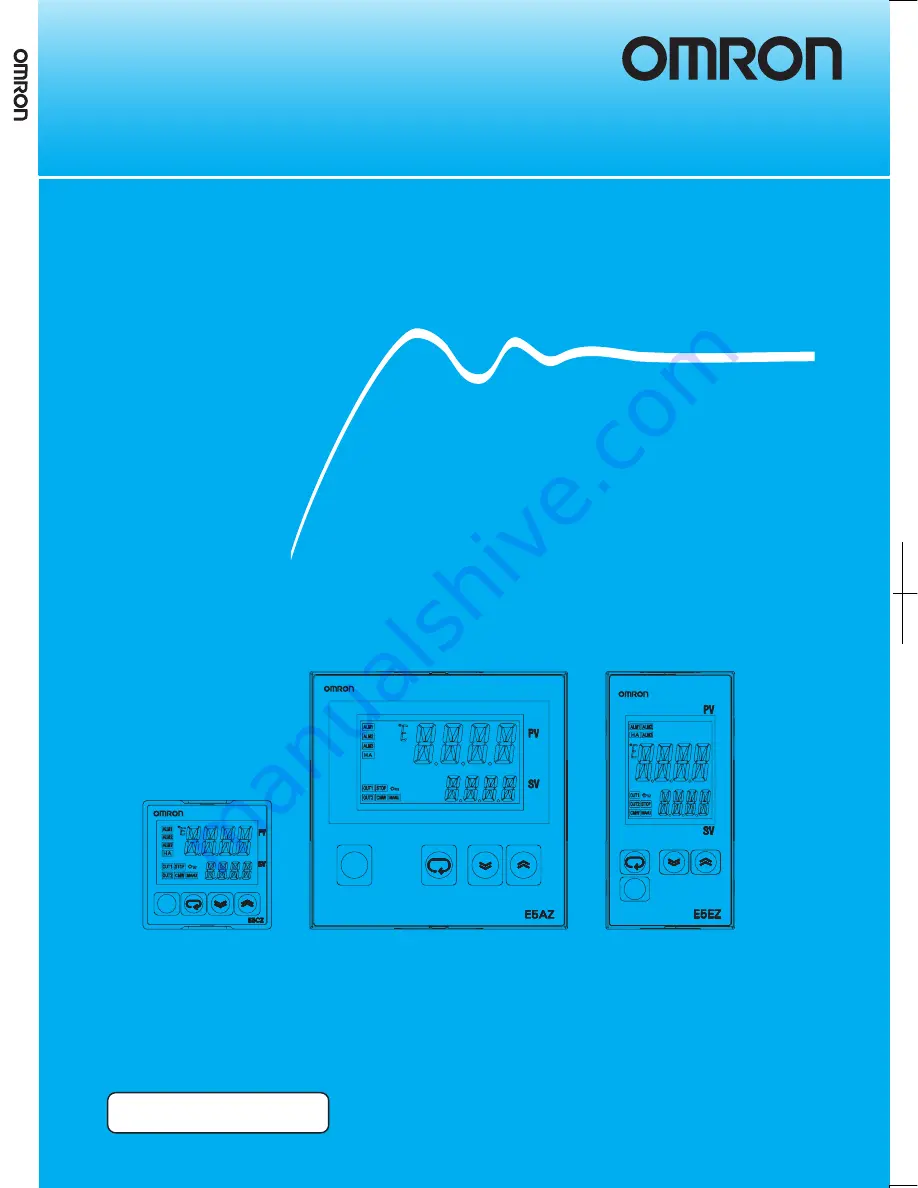
E5AZ
E5AZ
E5AZ
E5EZ
E5EZ
E5EZ
with 11-segment Display
Black
E5CZ/CZ-U/AZ/EZ Digital Temperature Controller
User's Manual
H207-E1-01
Digital Temperature Controller
Cat. No. H207-E1-01
OMRON Industrial Automation Global:www.ia.omron.com
Cat. No. H207-E1-01
OMRON Corporation
Industrial Automation Company
Control Devices Division H.Q.
Analog Controller Division
Shiokoji Horikawa, Shimogyo-ku,
Kyoto, 600-8530 Japan
Tel: (81) 75-344-7080/Fax: (81) 75-344-7149
2-2-1 Nishikusalsu, Kusatsu-shi,
Shiga, 525-0035 Japan
Tel: (81) 77-565-5216/Fax: (81) 77-565-5568
Regional Headquarters
OMRON EUROPE B.V.
Wegalaan 67-69-2132 JD Hoofddorp
The Netherlands
Tel: (31) 2356-81-300/Fax: (31) 2356-81-388
OMRON ELECTRONICS LLC
One Commerce Drive Schaumburg,
IL 60173-5302 U.S.A.
Tel: (1) 847-843-7900/Fax: (1) 847-843-7787
OMRON ASIA PACIFIC PTE. LTD.
No.438A Alexandra Road # 05-05/08 (Lobby 2),
Alexandra Technopark, Singapore 119967
Tel: (65)6835-3011/Fax: (65) 6835-2711
OMRON (CHINA) CO., LTD
Room 2211, Bank of China Tower,
200 Yin Cheng Zhong Road ,
Pu Dong New Area, Shanghai, 200120, China
Tel: (86) 21-5037-2222/Fax: (86) 21-5037-2200
Authorized Distributor:
OMRON Corporation 2008 All Rights Reserved
In the interest of product improvement,
specitications are subject to change without notice.
C
Printed in China
0908
Summary of Contents for E5AZ
Page 2: ...E5CZ E5CZ U E5AZ E5EZ Digital Temperature Controller User s Manual Produced September 2008 ...
Page 3: ...iv ...
Page 23: ...xxiv ...
Page 53: ...30 Using the Support Software Port Section 2 3 ...
Page 79: ...56 Using HB and HS Alarms Section 3 10 ...
Page 115: ...92 Output Adjustment Functions Section 4 14 ...
Page 173: ...150 Communications Setting Level Section 5 8 ...
Page 205: ...182 Index precautions 22 terminal arrangement 21 terminals 21 ...


