


- 220 -
5. Fax
14
To continue registering another number, repeat the procedure from step 10.
Deleting a Registered Number
1
Press [Device Settings] on the touch panel.
2
Press
or
several times and press [Admin Setup].
3
Enter the administrator name and password and press [OK].
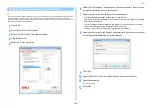
The factory default administrator name and password are "admin" and "999999"
respectively.
4
Press [Fax Setup].
5
Press [Other Settings].
6
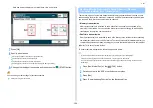
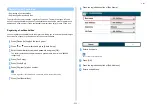
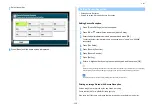
Press [Block Junk Fax List].
7
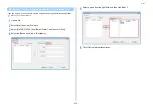
Press [Registered List].
8
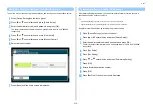
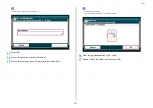
Select a registered box, and then press [Delete].
9
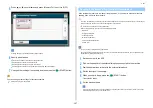
Press [Yes] on a confirmation screen.
The number is deleted.
If you select [No], the number is not deleted, and you return to step 9.
10
To continue deleting another number, repeat the procedure from step 8.
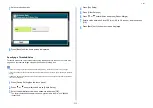
Before printing received faxes, you can check the preview image on the touch panel.
Only faxes received after "Secure Receive" is set can be previewed.
Make sure that the [DATA IN MEMORY] indicator lights up.
You can print received faxes after previewing.
1
Press [Device Settings] on the touch panel.
2
Press
or
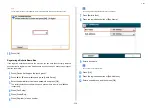
several times, and press [Store Document Settings].
3
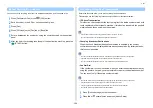
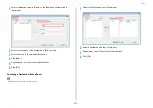
Press [Received Documents].
4
If the password entry screen appears, enter a 4-digit password you entered
when setting secure receive.
The list of received faxes appears.
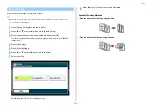
5
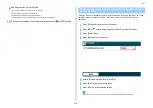
Press [Preview] for a document to print.
6
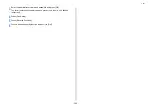
Press [Print].
7
Press [Yes] on the confirmation screen.
Printing received document starts.
8
Press [Back] until the home screen is displayed.
Previewing a Received Fax
Summary of Contents for MC573
Page 1: ...MC573 ES5473 MFP Advanced Manual...
Page 18: ...18 1 Basic Operations 7 Select a volume level...
Page 31: ...2 Copy Useful Functions For a Better Finish Color Settings Advanced Copy Settings...
Page 141: ...141 4 Print 5 Press Color Menu 6 Press Adjust Registration 7 Press Yes...
Page 489: ...489 11 Utility Software Storage Manager plug in Create or edit a file to download to a device...
Page 507: ...46532802EE Rev2...


