133
BA023001-en
•
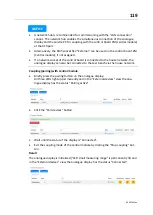
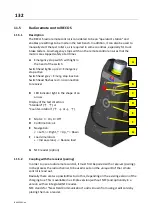
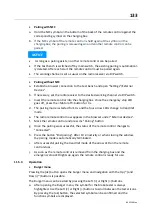
Pairing with NFC
a.
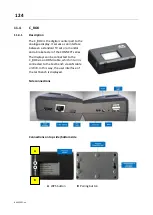
Hold the NFC symbol on the bottom of the back of the remote control against the
corresponding symbol on the charging box.
b.
If
the
NFC symbol
of the
remote control
is held again
at
the
symbol
on
the
charging box,
the
pairing
is released again
and
another
remote control
can be
paired.
a.
b.
NOTICE
•
As long as
a
pairing
exists,
no
other
remote control can be paired.
•
If
the
test bench
is switched off by
main switch,
the
existing
pairing
is automatical-
ly
deleted.
After
each
start
the
remote control
must be paired again.
•
The
working channel
is set
as usual
on the
radio receiver
via
DIP switch.
•
Pairing without NFC
a.
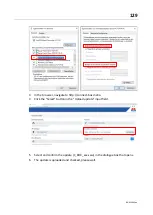
Establish a browser connection
to the
test bench
and open
"Settings"/External
Devices".
b.
If necessary,
set the
radio receiver
to the
desired
working channel
via
DIP switch.
c.
Insert the
remote control
into
the
charging box.
Once
the
emergency stop LED
goes off,
press the
<Motor off> button
for
3
s.
d.
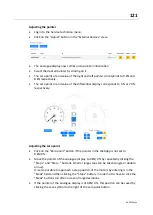
The pairing mode is started for 10 s and the four arrow LEDs change to treadmill
mode.
e.
The
radio remote control now appears in the
browser
under
"External
devices".
f.
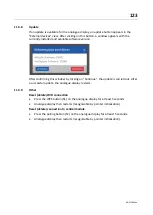
Mark the remote control
and press
the
"Pairing" button.
g.
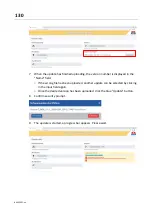
Once
the
pairing
was successful,
the
status
of the
remote control
changes to
"Connected".
h.
Press the button
"End pairing". After 10 s inactivity or when closing the window,
the pairing mode is automatically terminated.
i.
After successful pairing the treadmill mode of the arrow LED on the remote
control stops.
j.
As soon as the remote control is removed from the charging box and the
emergency stop LED lights up again, the remote control is ready for use.
11.5.3
Operation
•
Burger menu
Pressing the (ok) button opens the burger menu and navigation with the Up (˄) and
Down (˅) buttons is possible.
The Burger menu can be exited by pressing the Left (<) or Right (>) buttons.
a.
After opening the Burger menu, the symbol for the brake tester is always
highlighted. Use the Left (<) or Right (>) buttons to scroll between the tester icons.
By pressing the (ok) button, the selected symbol can be confirmed and the
function symbols are displayed.
Summary of Contents for CONNECT Series
Page 19: ...19 BA023001 en 2 3 2 Set up diagram Set up diagram I ...
Page 20: ...20 BA023001 en Set up diagram II ...
Page 22: ...22 BA023001 en 2 4 1 Wiring diagram ...
Page 23: ...23 BA023001 en 2 4 2 Control cabinet structure Basic variant ...
Page 24: ...24 BA023001 en 2 4 3 Control cabinet structure Full equipment ...
Page 25: ...25 BA023001 en ...
Page 53: ...53 BA023001 en ...
Page 138: ...138 BA023001 en 13 Annex 13 1 Naming convention ...

