Chapter 6
166
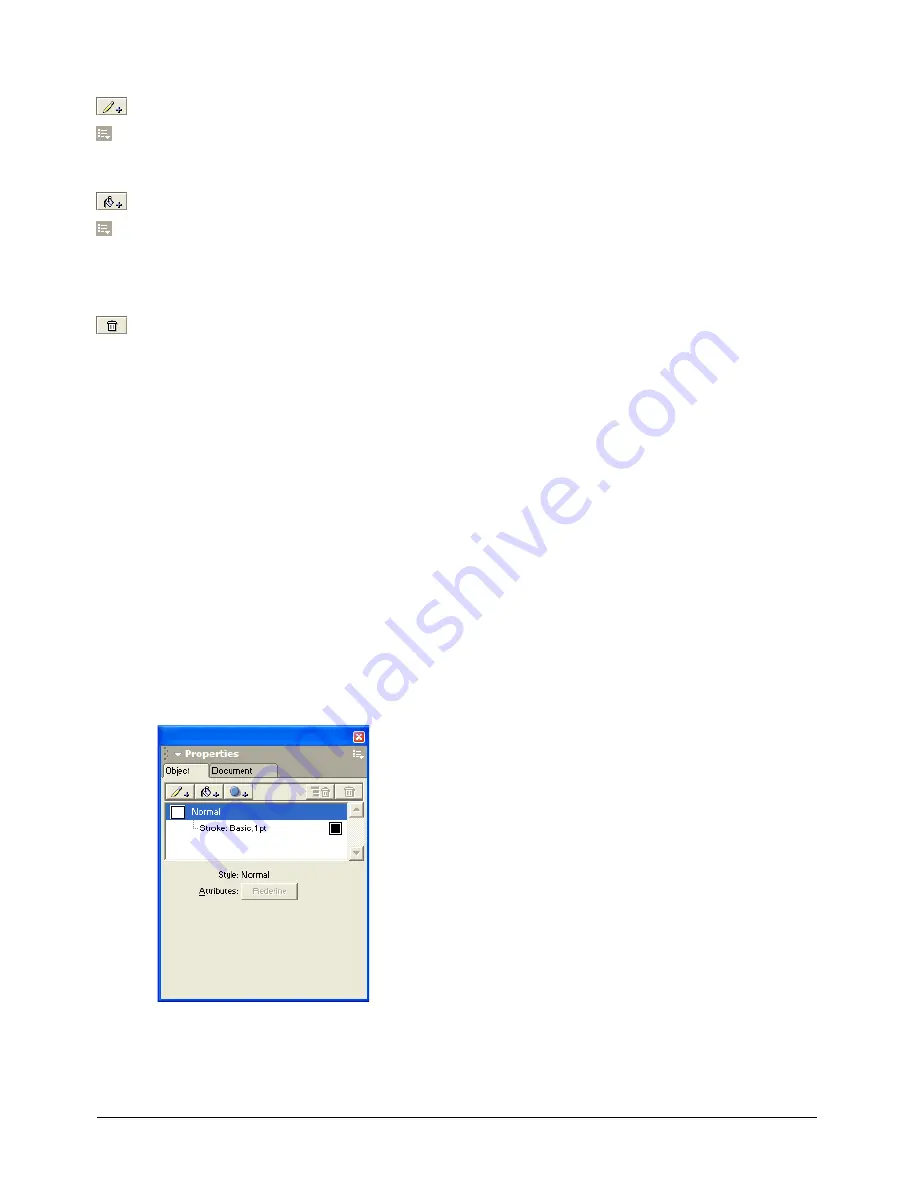
To add a stroke to a selected object, do one of the following:
•
Click the Add Stroke button in the Object panel.
•
Click the Object panel Options menu control and select Add Stroke.
To add a fill to a selected object, do one of the following:
•
Click the Add Fill button in the Object panel.
•
Click the Object panel Options menu control and select Add Fill.
To delete a stroke or fill from a selected object:
1
Select the stroke or fill in the Object panel.
2
Click the Remove Item button in the Object panel.
To move a stroke or fill up or down in an object’s hierarchical Properties list:
Drag the stroke or fill within the Properties list in the Object panel.
Applying attributes to strokes
There are six different attributes for stroke styles in the Object panel—Basic, Brush, Calligraphic,
Custom, Pattern, and PostScript.
Use the Object panel to apply stroke styles to selected strokes or to set the default stroke attributes
for new objects in the active document. You can choose from preset stroke widths, or you can
enter a custom width.
For more information on applying colors to strokes, see Chapter 5, “Working with Color,” on
page 147.
To set default stroke attributes for new objects:
1
Select Edit > Select > None to deselect all objects in the document.
2
Select Window > Object to display the Object panel.
3
Select a stroke in the Properties list.
4
Set the stroke attributes you want applied to new objects.
Summary of Contents for FreeHand MX
Page 1: ...Using FreeHand MX Macromedia FreeHand MX...
Page 42: ...Chapter 1 42...
Page 192: ...Chapter 6 192...
Page 232: ...Chapter 7 232...
Page 288: ...Chapter 8 288...
Page 308: ...Chapter 9 308...
Page 340: ...Chapter 11 340...
Page 362: ...Chapter 12 362...
Page 374: ...Chapter 13 374...
Page 388: ...Chapter 14 388...


