


Working with Color
153
4
To add the new tint to the Swatches panel, do one of the following:
•
Click the Add to Swatches button.
•
Drag a color swatch from any of the Tints panel color boxes to the arrow button in the
Swatches panel (for more information, see “Adding colors to the Swatches panel” on page 154).
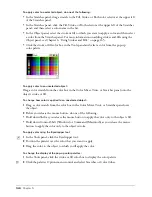
The tint’s name is preceded by the percentage of the original color it represents.
Using the Swatches panel
The Swatches panel lets you store colors, edit and rename them, convert process colors to spot
colors and vice versa, change the color space (RGB and CMYK), and import and export custom
color libraries.
To show or hide the Swatches panel:
Select Window > Swatches.
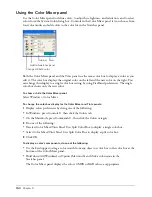
Swatches panel
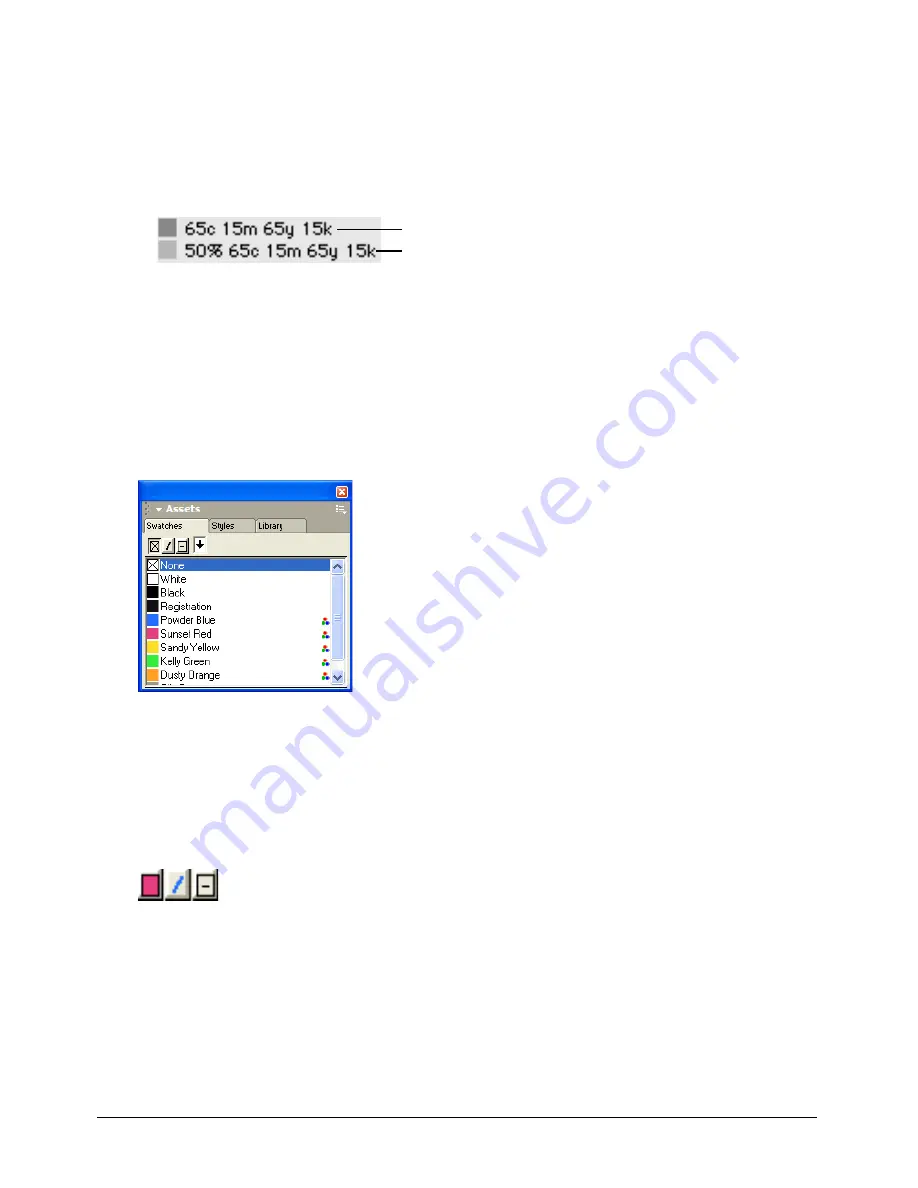
The Swatches panel displays the color list for the active document. It also has three selectors: Fill
(left), Stroke (center), and Both for combined Fill and Stroke (right). The active selector button
appears pressed. The selectors show the stroke and fill colors for a selected object. The colors also
appear in the color boxes in the Tools panel.
Fill selector (left), Stroke selector (middle), and Both selector (right)
The default colors in a new document are None, White, Black, and Registration. These colors
cannot be deleted or renamed. Black is a spot black that prints on the process black plate. The
registration color, used for crop marks or trim marks, prints solid on all plates.
Base color
Tint
Summary of Contents for FreeHand MX
Page 1: ...Using FreeHand MX Macromedia FreeHand MX...
Page 42: ...Chapter 1 42...
Page 192: ...Chapter 6 192...
Page 232: ...Chapter 7 232...
Page 288: ...Chapter 8 288...
Page 308: ...Chapter 9 308...
Page 340: ...Chapter 11 340...
Page 362: ...Chapter 12 362...
Page 374: ...Chapter 13 374...
Page 388: ...Chapter 14 388...


