262391
45
Revision A
Table 3.3 Float Setting Starting Point
Model
Conditioner
Type
Length of Exposed Thread
R113 FR
Roll
120
–
130 mm (4 3/4
–
5 1/8 in.)
R116 FR
Roll
70
–
80 mm (2 3/4
–
3 1/8 in.)
ϭϬϰϯϲϲϳ
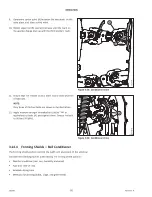
B
A
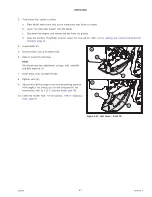
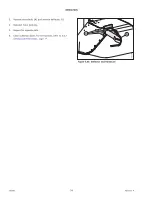
Figure 3.34: Adjuster Bolt Cover Plate
7.
Reposition cover plate (A) over the float spring adjuster bolt
as shown. Secure cover plate (A) by tightening bolt (B).
Repeat this step on the opposite side.
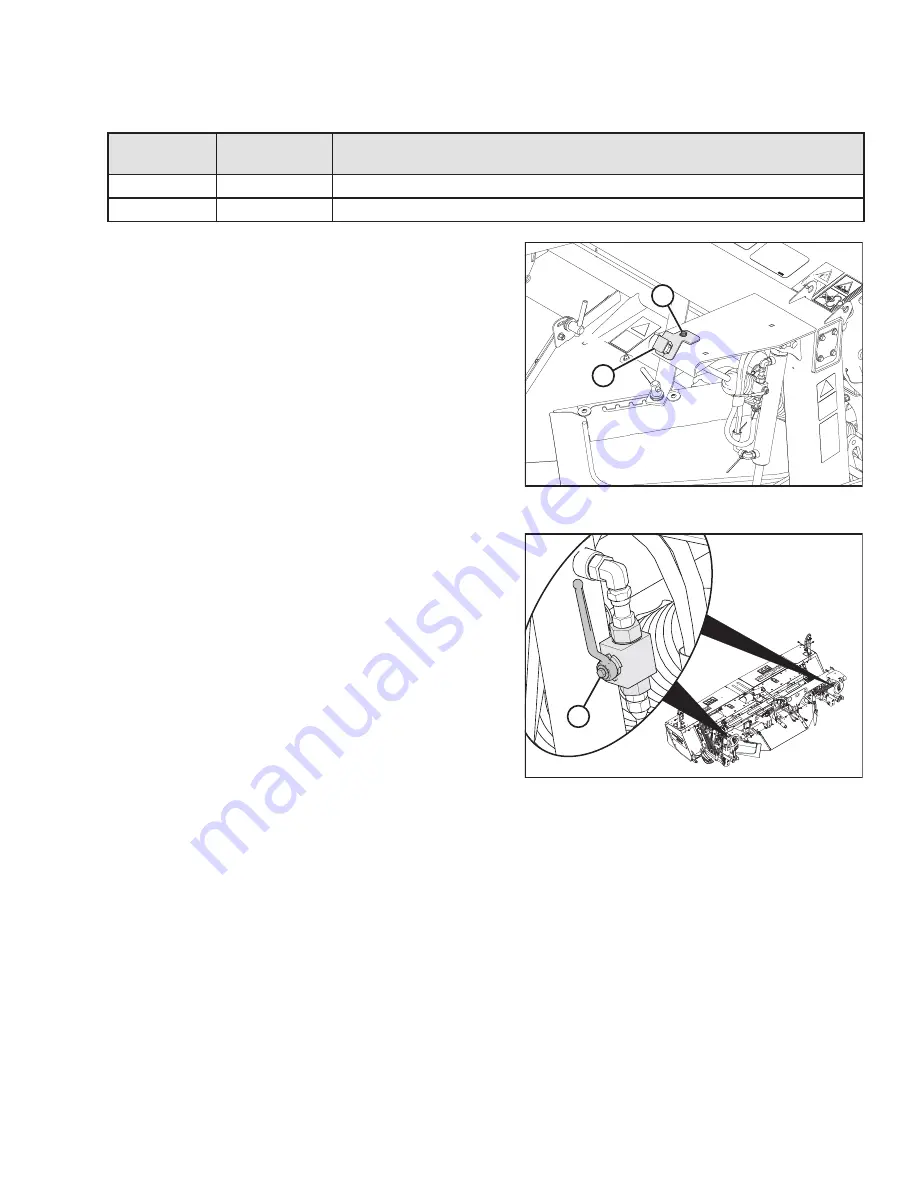
ϭϬϰϯϲϬϲ
A
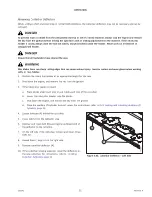
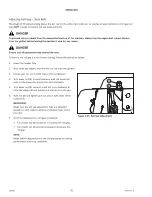
Figure 3.35: Lock-Out Valve
–
Open Position
8.
Open auxiliary lift cylinder lock-out valve (A) on each
cylinder by turning the handle to the open position (in line
with the hose).
9.
Lower the rotary disc header to cutting position, grasp the
front corner of the header, and lift; the weight should feel
approximately like 45 kg (100 lb.) at both ends.
NOTE:
In rough or stony conditions, it may be preferable to apply
less force in order to protect the cutting components.
NOTE:
When the float setting is light, it may be necessary to
reduce the ground speed to prevent excessive bouncing
and leaving a ragged cut.
10. Repeat the adjustment procedures until the desired weight
is achieved at both ends of the header.


