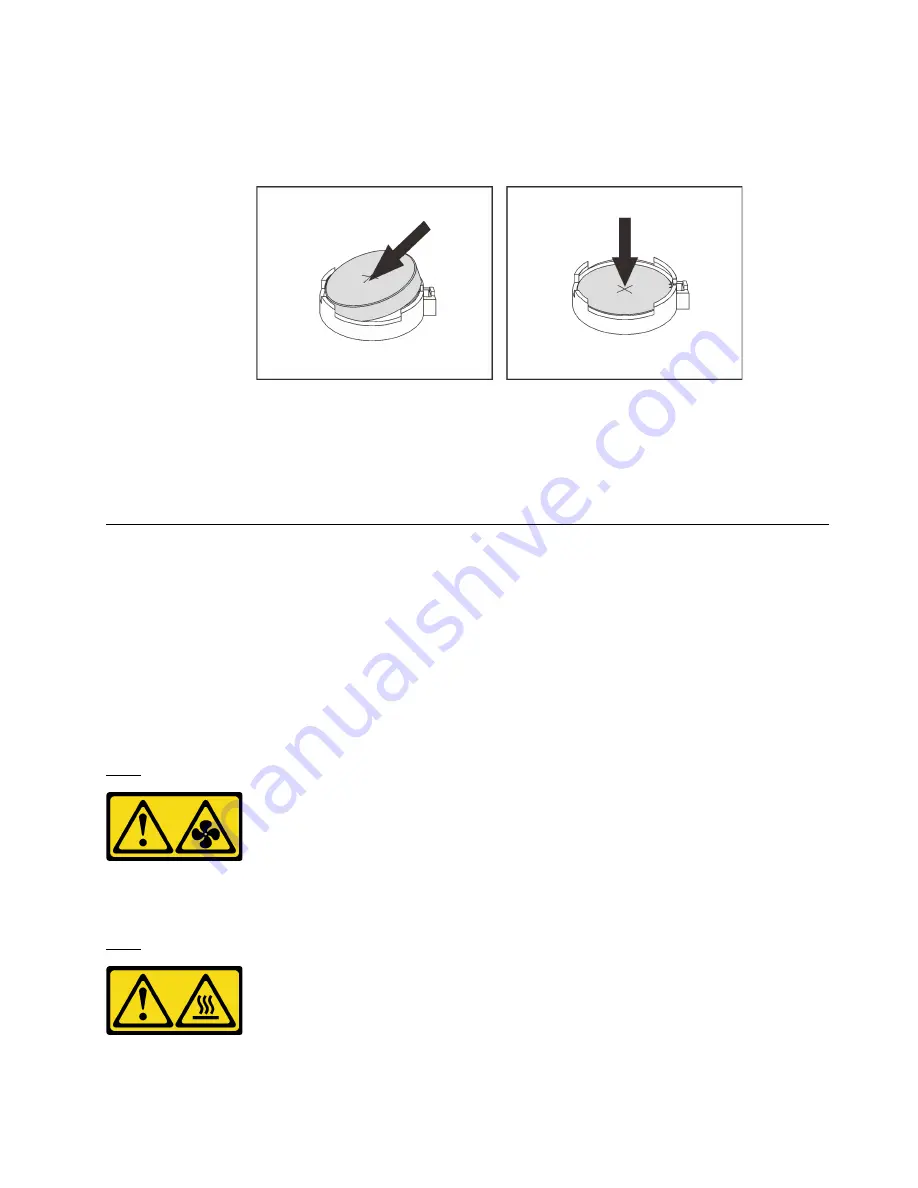
Step 2. Install the new CMOS battery. Ensure that the battery is seated in place.
Attention:
Do not tilt or push the CMOS battery using excessive force. Any damage to the socket
might require replacing the system board.
Figure 122. CMOS battery installation
After installing the CMOS battery:
1. Complete the parts replacement. See “Complete the parts replacement” on page 164.
2. Use the Setup utility to set the date, time, and any passwords.
System board replacement
Use this information to remove and install the system board.
Important:
Before you return the system board, make sure that you install the CPU socket dust covers from
the new system board. To replace a CPU socket dust cover:
1. Take a dust cover from the CPU socket assembly on the new system board and orient it correctly above
the CPU socket assembly on the removed system board.
2. Gently press down the dust cover legs to the CPU socket assembly, pressing on the edges to avoid
damage to the socket pins. You might hear a click on the dust cover is securely attached.
3.
Make sure
that the dust cover is securely attached to the CPU socket assembly.
S017
CAUTION:
Hazardous moving fan blades nearby. Keep fingers and other body parts away.
S012
CAUTION:
Hot surface nearby.
.
Hardware replacement procedures
155
Summary of Contents for ThinkSystem SR550
Page 1: ...ThinkSystem SR550 Maintenance Manual Machine Types 7X03 and 7X04 ...
Page 8: ...vi ThinkSystem SR550 Maintenance Manual ...
Page 49: ...Chapter 2 Server components 41 ...
Page 60: ...52 ThinkSystem SR550 Maintenance Manual ...
Page 113: ...Figure 80 Riser 1 assembly removal Chapter 3 Hardware replacement procedures 105 ...
Page 174: ...166 ThinkSystem SR550 Maintenance Manual ...
Page 192: ...184 ThinkSystem SR550 Maintenance Manual ...
Page 196: ...188 ThinkSystem SR550 Maintenance Manual ...
Page 200: ...192 ThinkSystem SR550 Maintenance Manual ...
Page 205: ......
Page 206: ......


