Maintenance
Lane Distributor
WARNING:
Be careful to avoid risk of injury caused by toothed belts that
may run in the marked area.
The purpose of this procedure is to avoid transport problems.
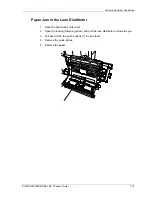
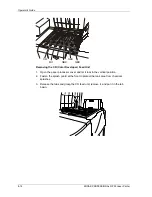
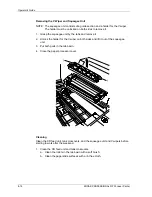
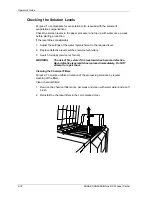
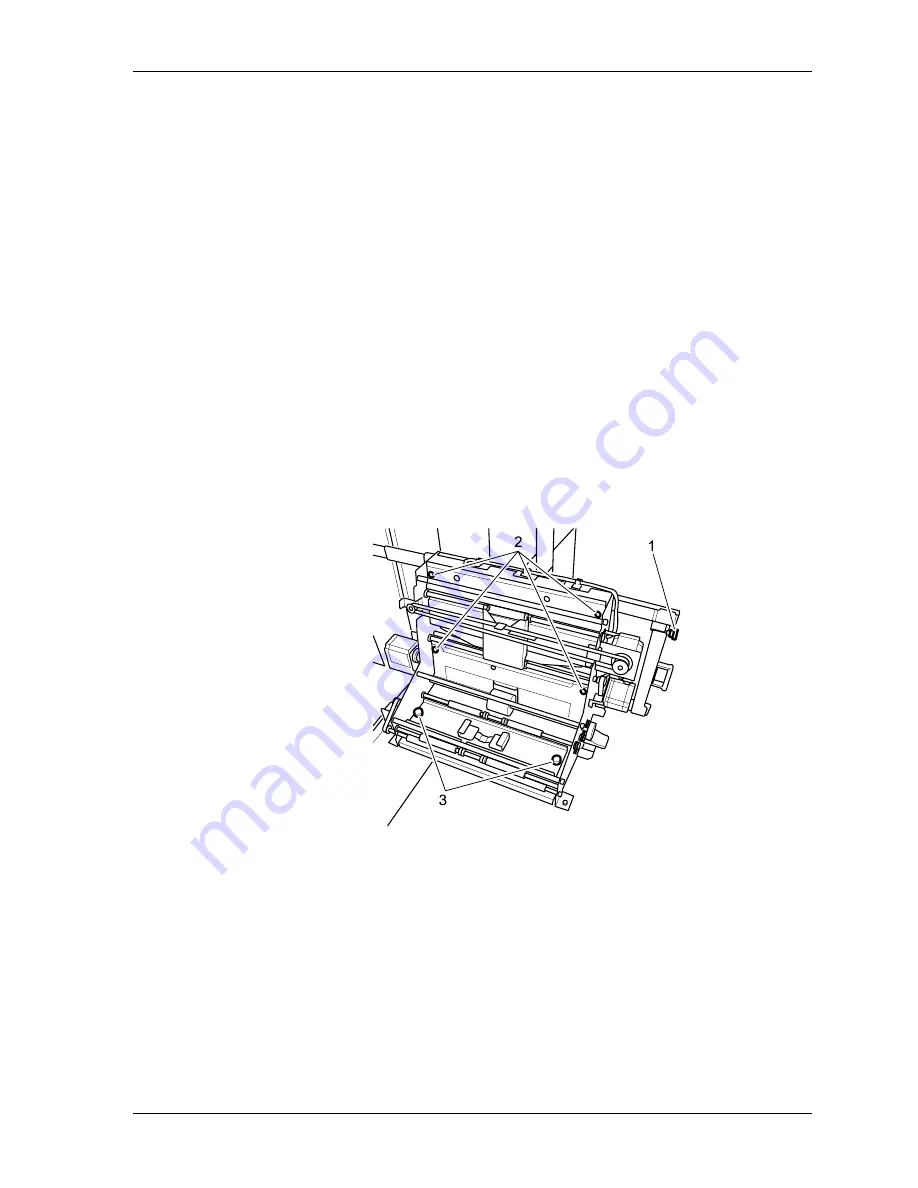
1. Loosen the red locking screw (1).
2. Pull out the unit on the telescopic rails.
3. Remove the paper dust with a vacuum cleaner.
4. Remove the guide plates after opening the quick-action locks (2) and the knurled
screws (3).
5. Clean all guide plates with a damp cloth.
6. Put back the guide plates. Check that they sit correctly in the holders and that the
quick-action locks are locked.
7. Clean the transport rollers.
8. Push in the unit and tighten the locking screw.
9. Vacuum the cabinet.
KODAK PROFESSIONAL RP 30 Laser Printer
8-11
Summary of Contents for RP 30
Page 1: ...RP30 LASERPRINTER OPERATOR S GUIDE ...
Page 2: ...Operator s Guide KODAK PROFESSIONAL RP 30 Laser Printer P N 6B7444 December 2002 ...
Page 17: ...Operator s Guide 1 2 KODAK PROFESSIONAL RP 30 Laser Printer ...
Page 48: ...Overview Print Mode Menu KODAK PROFESSIONAL RP 30 Laser Printer 2 29 ...
Page 50: ...Overview Settings Menu with Machine Settings ar KODAK PROFESSIONAL RP 30 Laser Printer 2 31 ...
Page 51: ...Operator s Guide Test Menu 2 32 KODAK PROFESSIONAL RP 30 Laser Printer ...
Page 61: ...Operator s Guide 3 2 KODAK PROFESSIONAL RP 30 Laser Printer ...
Page 134: ...Operator s Guide 5 2 KODAK PROFESSIONAL RP 30 Laser Printer ...
Page 144: ...Operator s Guide 5 12 KODAK PROFESSIONAL RP 30 Laser Printer ...
Page 172: ...Operator s Guide 7 2 KODAK PROFESSIONAL RP 30 Laser Printer ...
Page 216: ...Operator s Guide 8 24 KODAK PROFESSIONAL RP 30 Laser Printer ...
Page 233: ......

