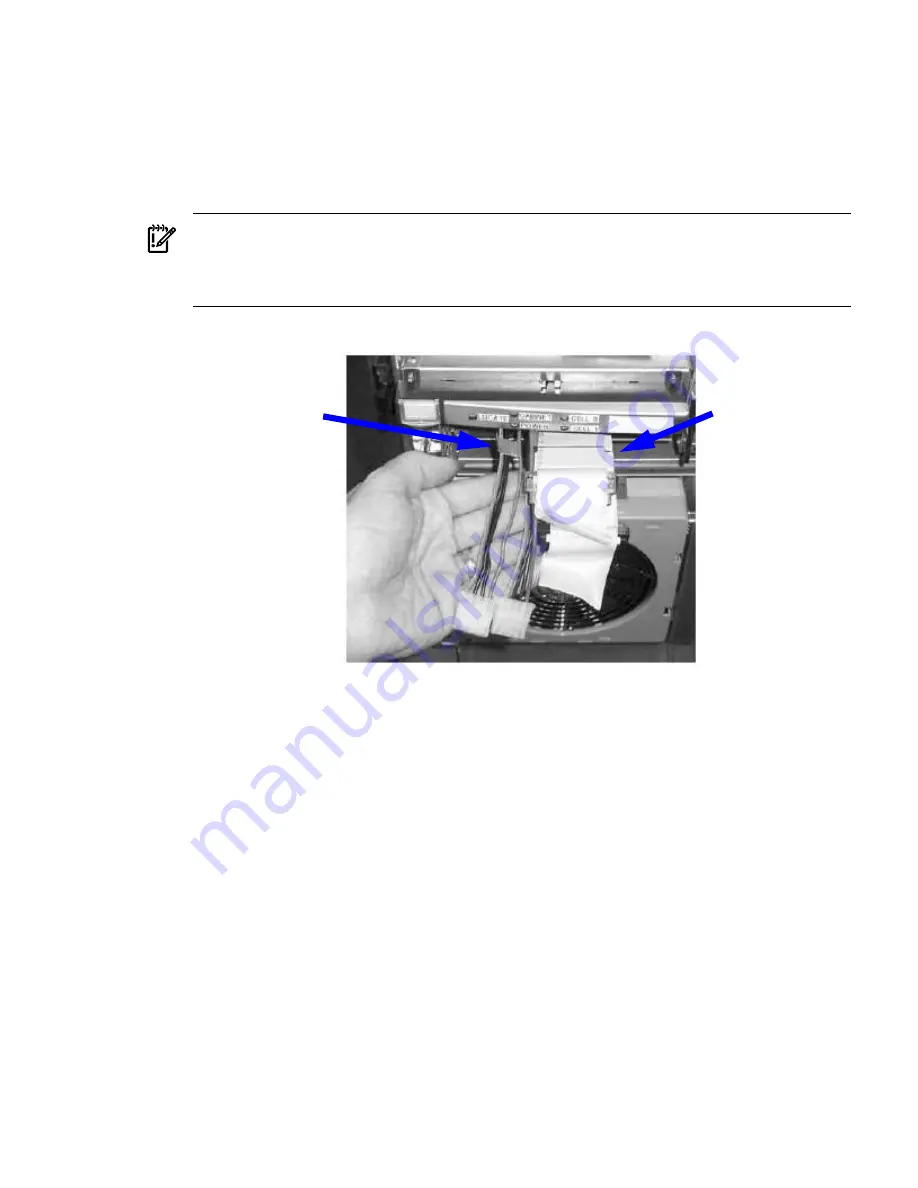
12. Replace the top cover.
13. Connect the SCSI cables to the mass storage backplane.
14. Proceed with
Installing the Slimline DVD+RW Drives
.
Installing the Slimline DVD+RW Drives
1.
Ensure the cables are the correct length. The black line on the SCSI cables and the red flags
on the red power cables must align with the front of the front bezel. See
Figure 6-28
.
IMPORTANT:
The SCSI connectors must be on the right and the power cables must be on
the left when viewed from the front of the server for proper installation. See
Figure 6-28
.
Cross the power cables under the SCSI cables in the top of the server before the cables are
inserted into the drive bay
Figure 6-28 SCSI and Power Cables for Slimline DVD Installation
SCSI Cable Length
Indicator
Power Cable Flag
Indicator
2.
Connect the SCSI cables to the rear of the drive carrier. The SCSI cables are labeled to indicate
the top and bottom drives.
3.
Connect the power cables to the rear of the drive carrier.
4.
Install the left and right media rails and clips to the drive carrier.
5.
Fold the cables out of the way and slide the drive carrier into the chassis.
a.
The carrier easily slides into the chassis; however, a slow firm pressure is needed for
proper seating.
b.
The front locking tab will latch to secure the carrier in the chassis.
6.
Install the slimline drives into the carrier.
Removing and Replacing a PCI/PCI-X Card
The PCI/PCI-X cards are located in the rear of the chassis in the PCI-X card cage. PCI/PCI-X cards
are hot pluggable components.
Removing and Replacing a PCI/PCI-X Card
165
Summary of Contents for Integrity rx7640
Page 8: ...8 ...
Page 12: ...12 ...
Page 13: ...List of Examples 4 1 Single User HP UX Boot 101 7 1 Single User HP UX Boot 181 13 ...
Page 14: ...14 ...
Page 42: ...42 ...
Page 88: ...88 ...
Page 130: ...Figure 5 8 Core I O Button Locations OLR MP Reset 130 Server Troubleshooting ...
Page 140: ...140 ...
Page 176: ...176 ...
Page 184: ...184 ...
Page 191: ...Figure C 3 Planning Grid Computer Room Layout Plan 191 ...


