Cenova Image Analytics Server 3.0 Installation & Service Manual
Chapter 3: Installing the System
Page 68
MAN-05205 Revision 003
2.
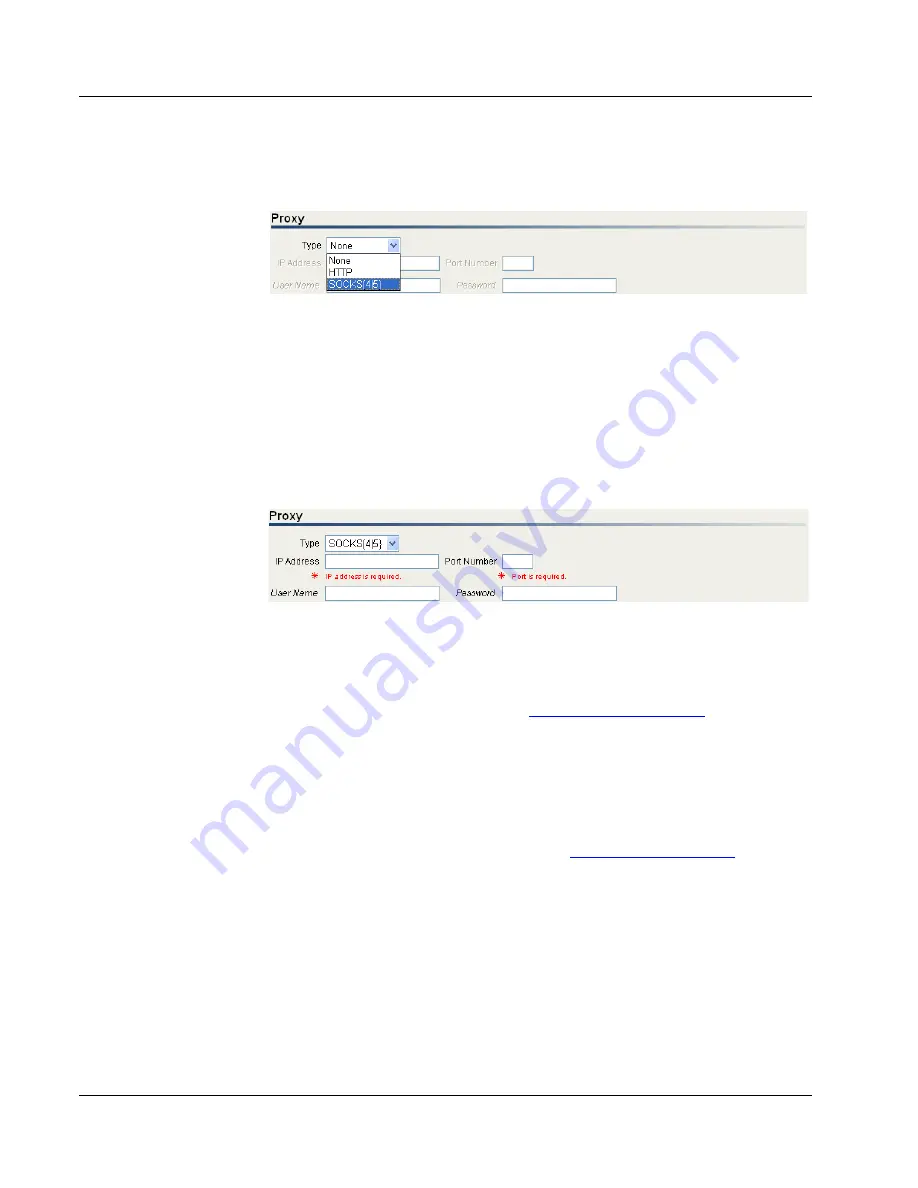
Select proxy type. Click the
Type
drop-down list and select
None
,
HTTP
, or
SOCKS{4|5}
.
•
None
– No proxy server.
•
HTTP
– The session connects through a Hypertext Transfer Protocol (HTTP)
proxy server. HTTP is a communications protocol used to transfer information
on intranets and the World Wide Web.
•
SOCKS{4|5}
– The session connects through a SOCKS version 4 or 5 proxy
server. SOCKS is an abbreviation for SOCKetS, and is an Internet protocol that
allows client-server applications to transparently use network firewall services.
3.
Enter proxy server settings. Enter the appropriate IP Address, Port, User Name, and
Password for the customer’s proxy server.
4.
Click
Apply
to save the settings. The server displays ‘Please restart the following
services: Hologic Connect’.
5.
Restart the Hologic Connect service.
Some sites require that communication through the Internet to the Cenova server be
managed over a secure HTTPS connection (see
on page 113).
Remote Connections
The ‘Allow LAN access over VNC’ option allows users to remotely connect and control
the Hologic system from the local network.
Verifying Hologic Connect Access
Point Internet Explorer to a secure external URL (i.e.,
) to verify
internet connection. Using the example URL, you should see a sign-in web page.


