Chapter 6 Operation
6 - 18
4
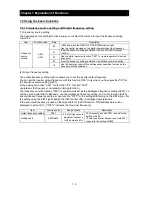
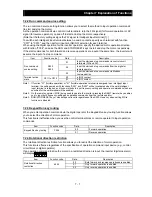
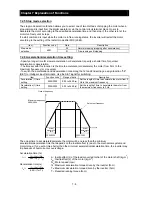
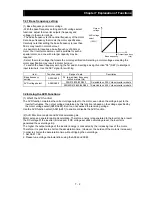
Set to "operator" run command source setting. (A002=02)
5
Set the output frequency. (F001) It is recommended to first slow and for the safety of about 10Hz.
6
Set the operation direction. (F004)
7
Set
“
Frequency output
”
to the monitor display on the operator. Displays the (d001).
Then press the SET key.
Checking the "0.00"(Hz).
8
Press the RUN key. Motor starts to rotate. Then, the operator's RUN(while driving) lamp is lit.
9
Please check and that there is no abnormality in the inverter and motor rotation direction motor rotation speed.
The direction of rotation of the motor, refer to [d003] display.
10
If there are no problems, gradually increase the output frequency in F001.
11
After checking the operation, push STOP key. Motor starts to slow down. The RUN lump(while driving) turns off
when the motor is stopped.
*1)"Operator" refers to Dedicated operator(NES1-OP), external digital operator(OPE-S/SR/SBK, OPE-SR mini), 5 line
LCD operator(WOP).
■
point to be checked
・
Whether there is any trip in the middle of acceleration and deceleration. Frequency meter and check whether the
correct number of revolutions.
・
When an overcurrent trip or overvoltage trip occurs during the test run, please make sure the input and the output of
the inverter state, the load condition.
・
When an overcurrent trip or overvoltage trip occurs during the test run, please increase the length of the acceleration
(F002)and deceleration time (F003). The operator is required to change the acceleration and deceleration time.
・
Check the Output Current Monitor (d002), DC voltage monitor(d102). Ensure that there is a margin to the value of the
current and voltage trip value. To check the monitor, operator is required.
U/T1
W/T3
V/T2
Power source,
3-phase or
1-phase, per
inverter model
ELB
R/L1
T/N
G
INVERTER
S
M
Motor
Summary of Contents for NES1-002LB
Page 9: ......
Page 21: ......
Page 25: ......
Page 28: ...Chapter 3 Exterior Views 3 3 ...
Page 30: ......
Page 35: ......
Page 53: ......
Page 75: ......
Page 154: ......
Page 196: ......
Page 203: ...Chapter 10 Troubleshooting This chapter describes the troubleshooting methods ...
Page 204: ......
Page 211: ......
Page 219: ......
Page 229: ......
Page 289: ...Appendix Appendix A Appendix A 1 ...
Page 290: ......
Page 292: ...Appendix Appendix 2 ...


