the desktop, then choose Properties. A dialog displays the properties of the media.
To close the properties dialog, click Close.
7.8.4. To Format a Floppy Diskette
To format media is to prepare the media for use with a particular file system. You can use the file
manager to format floppy diskettes.
Caution
When you format media, you overwrite any existing information on the media.
To format a floppy diskette, perform the following steps:
1. Insert the diskette in the diskette drive. Mount the diskette. For information on how to mount
media, see
To Mount Media
.
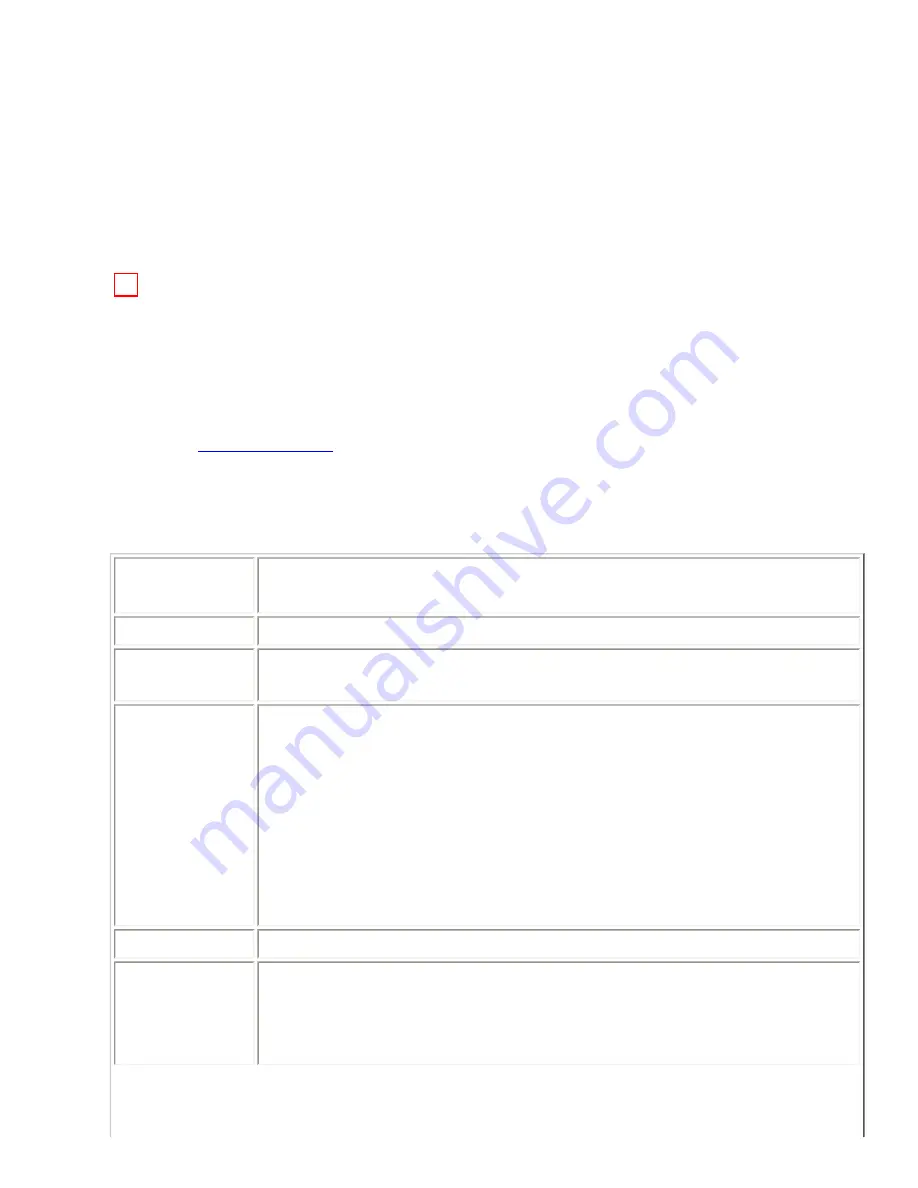
2. Right-click on the object that represents the diskette on the desktop, then choose Format. A
Format a Floppy dialog is displayed.
3. Select your format options in the Format a Floppy dialog. The following table describes the
elements on the dialog:
Dialog Element Description
Floppy device
Displays the name of the floppy device.
Floppy density
Select the density of the diskette. The density is the amount of data that the
diskette can store.
File system type Select the type of file system in which you want to format the diskette.
Select one of the following options:
❍
Linux Native (ext 2): Select this option to format a diskette for use
on Linux systems. Most non-Linux systems cannot read diskettes
with this file system type.
❍
DOS (FAT): Select this option to format a diskette for use on
Windows systems. Most UNIX-based systems can read diskettes
with this file system type.
Volume name
Type a name for the diskette in this text box.
Quick
Select this option to create only the file system on the diskette. A quick
format does not check for bad blocks.
Select this option if the diskette has been formatted before.
Summary of Contents for 2.4
Page 9: ... Prev Home Next 1 3 Using Windows Up 2 1 Introducing Desktop Environment Components ...
Page 15: ...5 7 Customizing Your Menus Up 6 1 Windows and Workspaces ...
Page 40: ... Prev Home Next 2 4 Windows Up 2 6 Nautilus File Manager ...
Page 76: ... Prev Home Next 4 7 Menus Up Chapter 5 Working With Menus ...
Page 84: ... Prev Home Next 5 3 Applications Menu Up 5 5 Main Menu ...
Page 86: ...5 4 Actions Menu Up 5 6 Menu Bar ...
Page 99: ... Prev Home Next 6 2 Types of Window Up 6 4 Manipulating Windows ...
Page 149: ...Chapter 8 Using Your Desktop Up 8 2 Desktop Objects ...
Page 157: ... Prev Home Next 8 2 Desktop Objects Up 8 4 Using the Desktop Menu ...


