TX140 S1
Upgrade and Maintenance Manual
529
Cabling
Ê
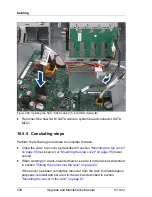
Reconnect the AC power cord to the power supply unit and secure it with a
cable tie as described in section
"Connecting the server to the mains" on
page 90
.
Ê
If applicable, close the rack door as described in section
"Closing the rack
door" on page 92
.
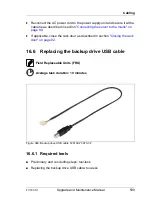
16.5 Replacing SAS / SATA backplane cables
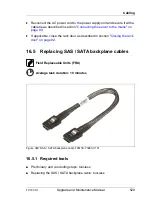
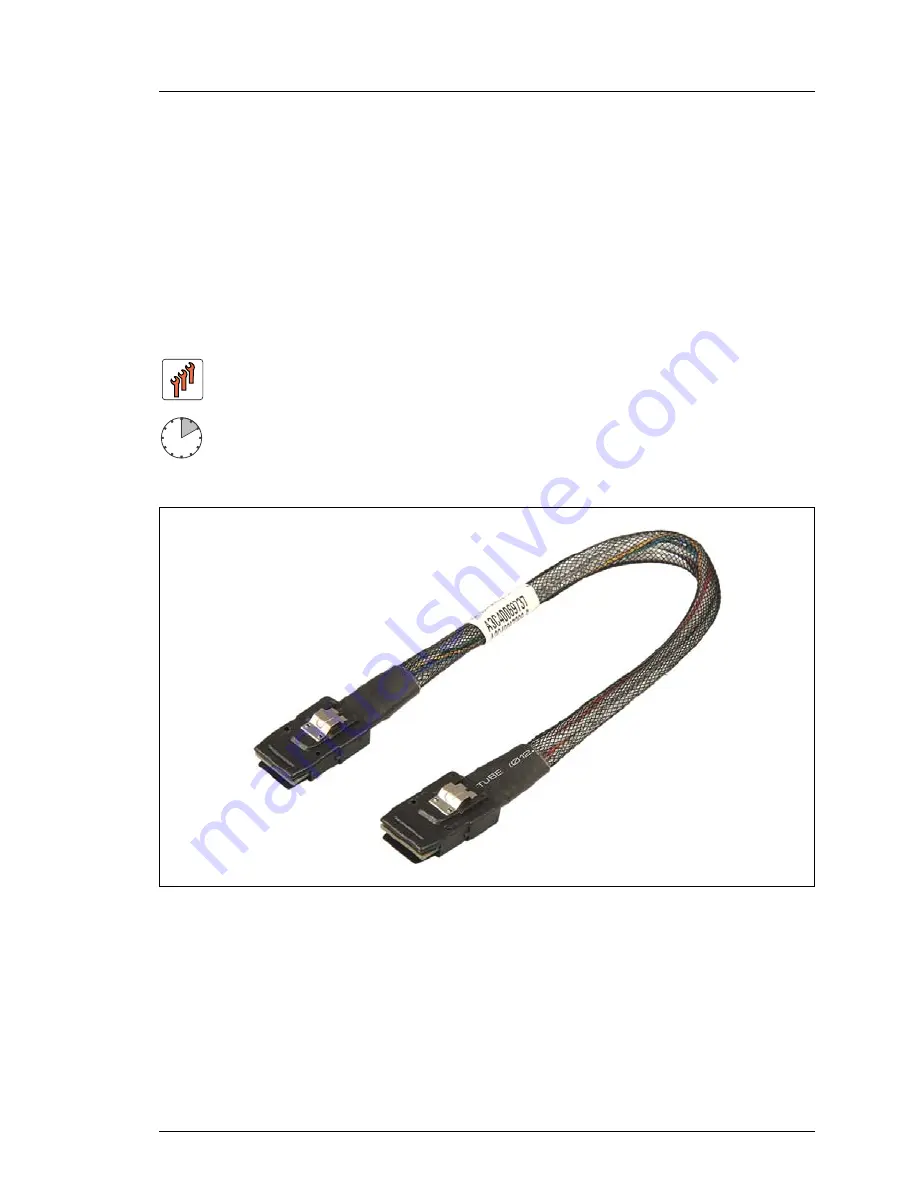
Figure 360: SAS / SATA backplane cable T26139-Y3963-V101
16.5.1 Required tools
●
Preliminary and concluding steps: tool-less
●
Replacing the SAS / SATA backplane cable: tool-less
Field Replaceable Units (FRU)
Average task duration: 10 minutes
Summary of Contents for PRIMERGY TX140 S1
Page 6: ...Upgrade and Maintenance Manual TX140 S1 ...
Page 22: ...Upgrade and Maintenance Manual TX140 S1 Contents ...
Page 24: ...24 Upgrade and Maintenance Manual TX140 S1 ...
Page 40: ...40 Upgrade and Maintenance Manual TX140 S1 Before you start ...
Page 204: ...204 Upgrade and Maintenance Manual TX140 S1 Hard disk drives solid state drives ...
Page 292: ...292 Upgrade and Maintenance Manual TX140 S1 Expansion cards and backup units ...
Page 306: ...306 Upgrade and Maintenance Manual TX140 S1 Main memory ...
Page 370: ...370 Upgrade and Maintenance Manual TX140 S1 Accessible drives ...
Page 414: ...414 Upgrade and Maintenance Manual TX140 S1 Front panel and external connectors ...
Page 472: ...472 Upgrade and Maintenance Manual TX140 S1 System board and components ...
Page 568: ...568 Upgrade and Maintenance Manual TX140 S1 Cabling ...

