


TX140 S1
Upgrade and Maintenance Manual
195
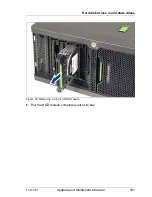
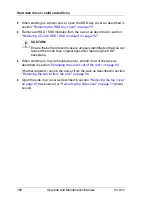
Hard disk drives / solid state drives
Ê
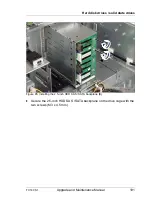
Remove all HDD / SSD modules from the server as described in section
"Removing 3.5-inch HDD modules" on page 179
.
V
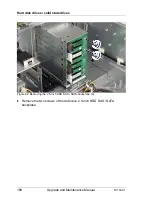
CAUTION!
Ensure that all hard disk drives are uniquely identified so that you can
reinsert them into their original bays after replacing the HDD
backplane.
Ê
When working on a rack-mounted server, extend it out of the rack as
described in section
"Extending the server out of the rack" on page 65
.
If further required, remove the server from the rack as described in section
"Removing the server from the rack" on page 66
.
Ê
Open the side / top cover as described in section
"Removing the top cover"
on page 67
(rack server) or
"Removing the side cover" on page 71
(tower
server).
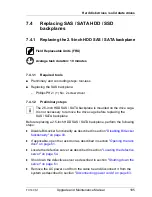
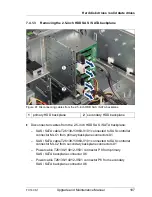
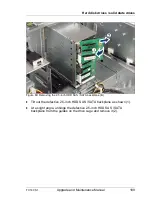
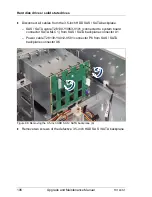
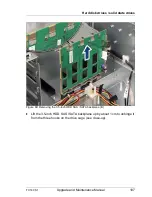
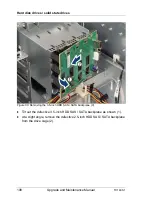
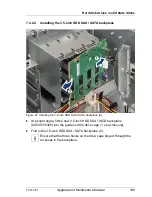
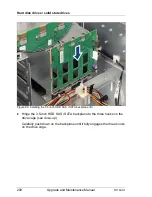
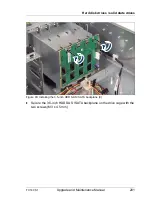
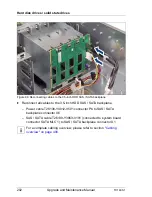
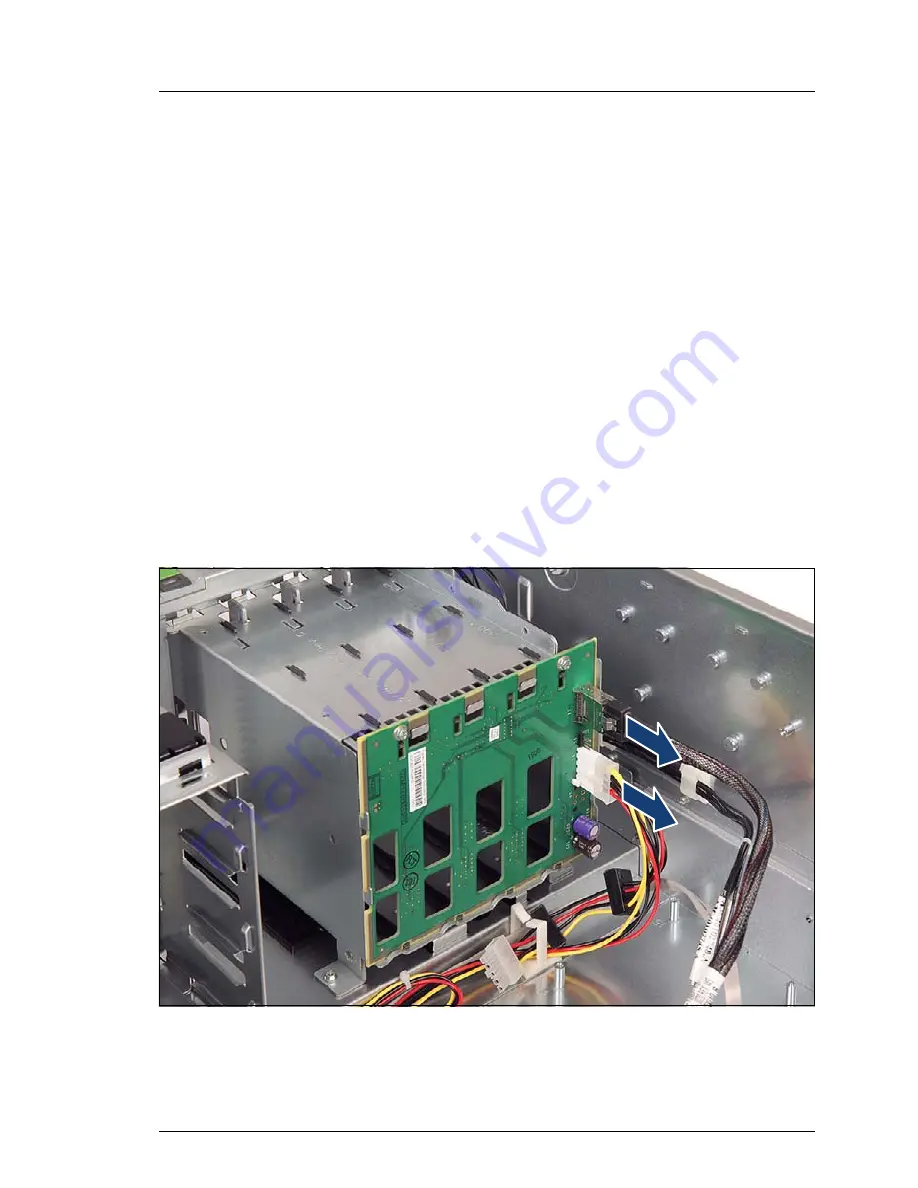
7.4.2.3
Removing the 3.5-inch HDD SAS / SATA backplane
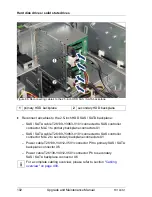
Figure 87: Disconnecting cables from the 3.5-inch HDD SAS / SATA backplane
Summary of Contents for PRIMERGY TX140 S1
Page 6: ...Upgrade and Maintenance Manual TX140 S1 ...
Page 22: ...Upgrade and Maintenance Manual TX140 S1 Contents ...
Page 24: ...24 Upgrade and Maintenance Manual TX140 S1 ...
Page 40: ...40 Upgrade and Maintenance Manual TX140 S1 Before you start ...
Page 204: ...204 Upgrade and Maintenance Manual TX140 S1 Hard disk drives solid state drives ...
Page 292: ...292 Upgrade and Maintenance Manual TX140 S1 Expansion cards and backup units ...
Page 306: ...306 Upgrade and Maintenance Manual TX140 S1 Main memory ...
Page 370: ...370 Upgrade and Maintenance Manual TX140 S1 Accessible drives ...
Page 414: ...414 Upgrade and Maintenance Manual TX140 S1 Front panel and external connectors ...
Page 472: ...472 Upgrade and Maintenance Manual TX140 S1 System board and components ...
Page 568: ...568 Upgrade and Maintenance Manual TX140 S1 Cabling ...