
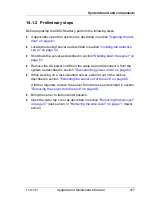
418
Upgrade and Maintenance Manual
TX140
S1
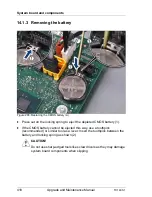
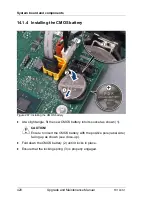
System board and components
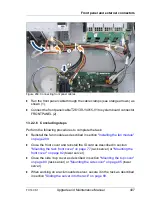
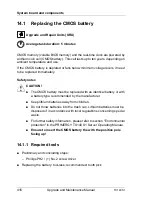
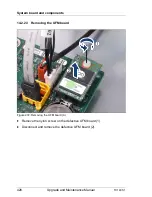
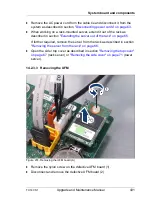
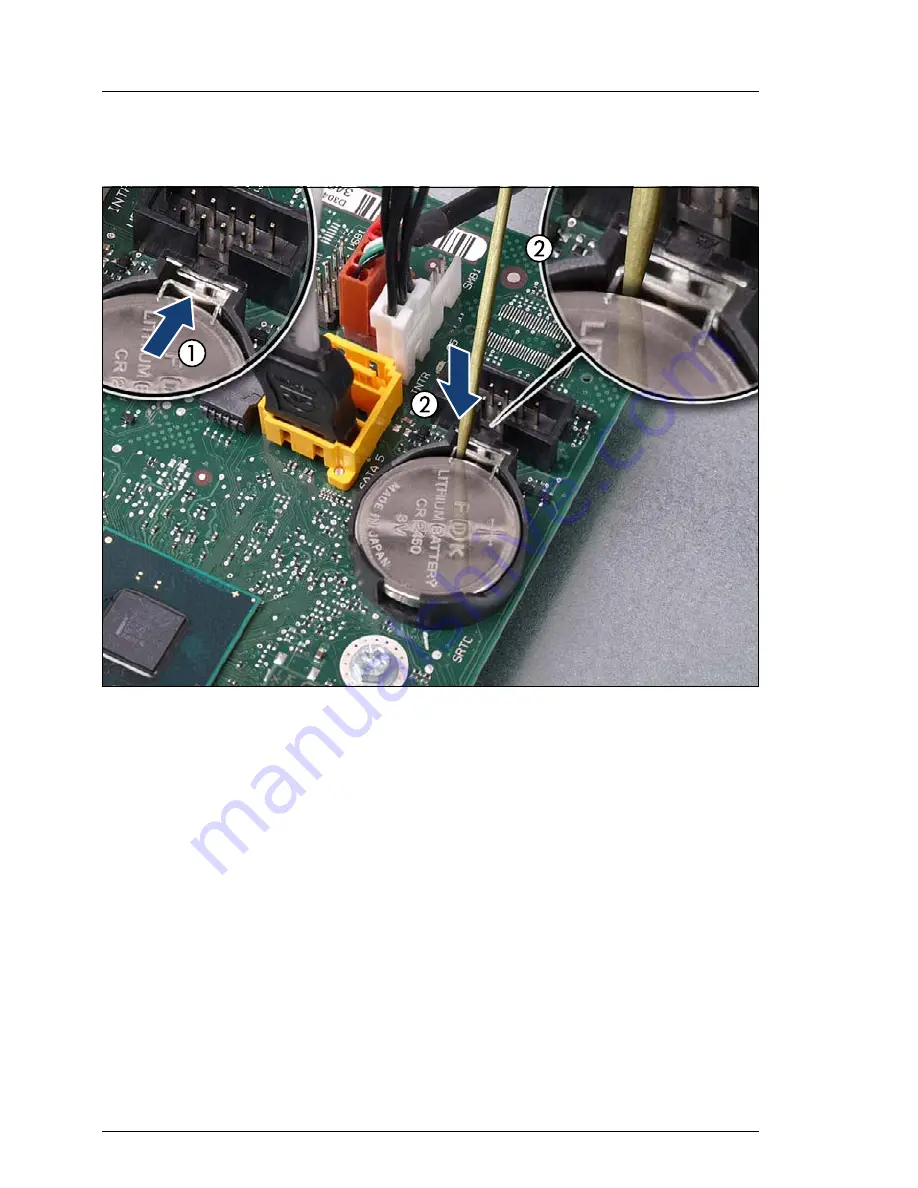
14.1.3 Removing the battery
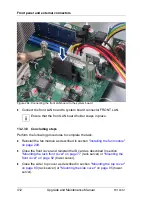
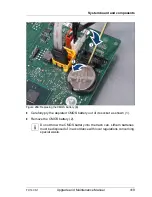
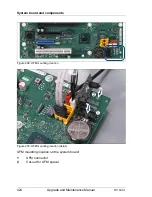
Figure 265: Replacing the CMOS battery (A)
Ê
Press out on the locking spring to eject the depleted CMOS battery (1).
Ê
If the CMOS battery cannot be ejected this way, use a toothpick
(recommended) or similar tool as a lever: Insert the toothpick between the
battery and locking spring as shown (2).
V
CAUTION!
Do not use sharp-edged tools like screw drivers as they may damage
system board components when slipping.
Summary of Contents for PRIMERGY TX140 S1
Page 6: ...Upgrade and Maintenance Manual TX140 S1 ...
Page 22: ...Upgrade and Maintenance Manual TX140 S1 Contents ...
Page 24: ...24 Upgrade and Maintenance Manual TX140 S1 ...
Page 40: ...40 Upgrade and Maintenance Manual TX140 S1 Before you start ...
Page 204: ...204 Upgrade and Maintenance Manual TX140 S1 Hard disk drives solid state drives ...
Page 292: ...292 Upgrade and Maintenance Manual TX140 S1 Expansion cards and backup units ...
Page 306: ...306 Upgrade and Maintenance Manual TX140 S1 Main memory ...
Page 370: ...370 Upgrade and Maintenance Manual TX140 S1 Accessible drives ...
Page 414: ...414 Upgrade and Maintenance Manual TX140 S1 Front panel and external connectors ...
Page 472: ...472 Upgrade and Maintenance Manual TX140 S1 System board and components ...
Page 568: ...568 Upgrade and Maintenance Manual TX140 S1 Cabling ...