Network Scanning Procedure
105
Sca
n
3
3
Select the features to set from the [More Fea-
tures] tab as required.
See
•
"[Scan - More Features] screen" (P.126)
Step3 Starting Scan Jobs
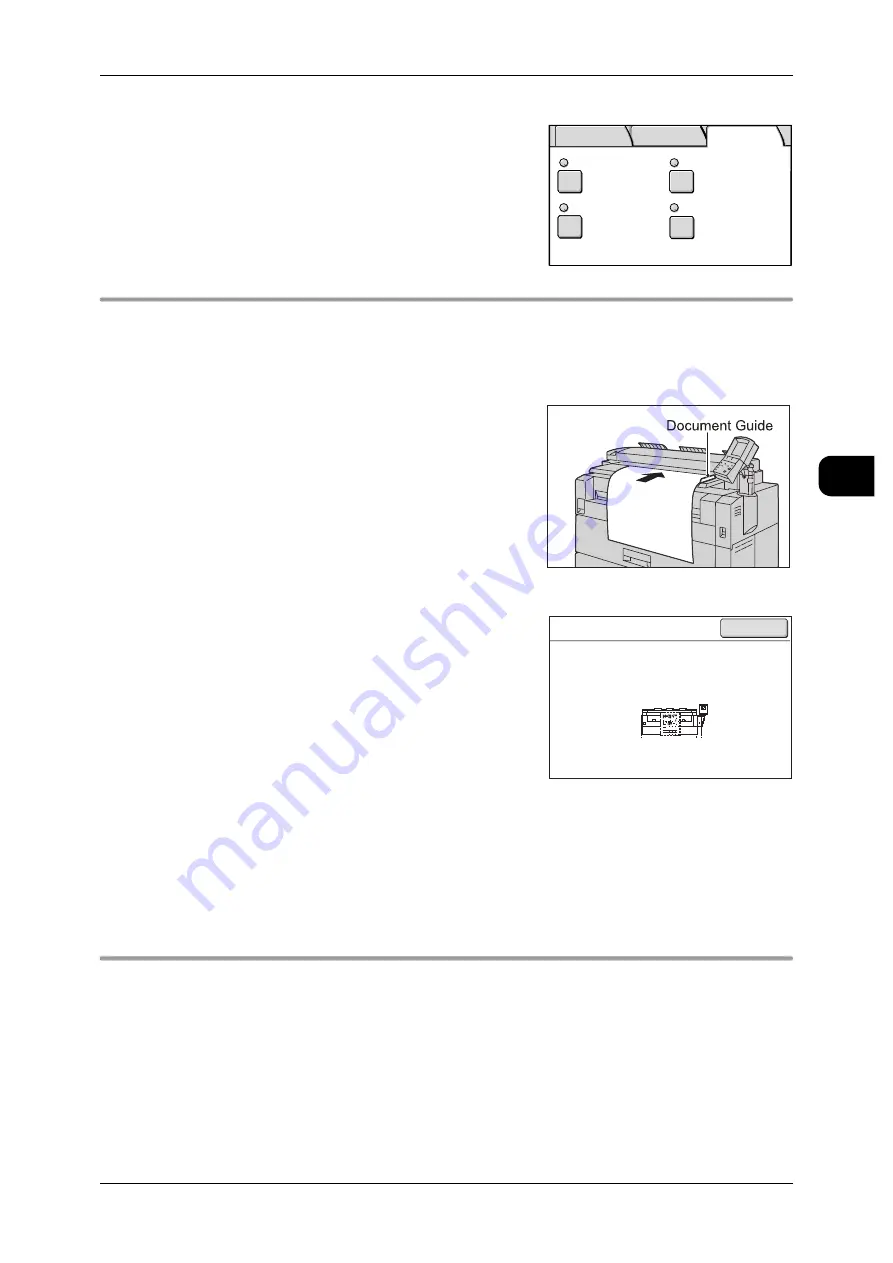
Load the documents.
Important •
Stopping, obstructing or pulling an document will cause an document jam.
•
When loading documents that contain holes, insert them so that the area with the holes is
the trailing edge, otherwise a jam may occur.
1
Align the document to the document guide and
then insert it with the side to be scanned facing
down, until its lead edge touches the machine.
Note
•
The document guide can be moved to the right
edge according to the width of the document.
•
When scanning thick documents, refer to
"Step3 Scanning Document" (P.49).
Once placed, the document is automatically fed
in and then stops at a certain position.
Then the machine starts scanning automatically.
Important •
Hold the document until scanning starts, or a
jam may occur.
Note
•
If the start method of document scanning has
been set to [Manual Start], press the <Start>
button.
For details of how to set Manual Start, refer to
"Scan Start Mode" (P.217).
•
If a problem occurs, an error message appears
in the touch screen. Take proper action
according to the message.
•
When changing the setting values for the next document, press [Close] and return to Step 2,
and then change the setting values as required.
2
Remove the ejected document.
Note
•
Documents are ejected forward when a U-turn Output Guide is installed.
Documents are ejected rearward when a Document Catch Tray (optional) is installed.
Step4 Importing Documents from Mailboxes
Import the scanned documents stored in the mailbox into your computer.
See
•
"Importing Documents from Mailboxes" (P.106)
Scan Size
Scan Start Position
Auto Detect
Edge Erase
Normal Erase
0 mm
Scan Speed
B&W:Normal
Color:Normal
Basic
Scan
Image
Quality
More
Features
Scan
Save in
Document Name
100.0%
A0
200dpi
: Mailbox 002-B Mailbox
: 002-081001-0001.tif
Close


