341
Dis
p
lay
ing
/Editin
g
/M
ana
g
ing Data
J
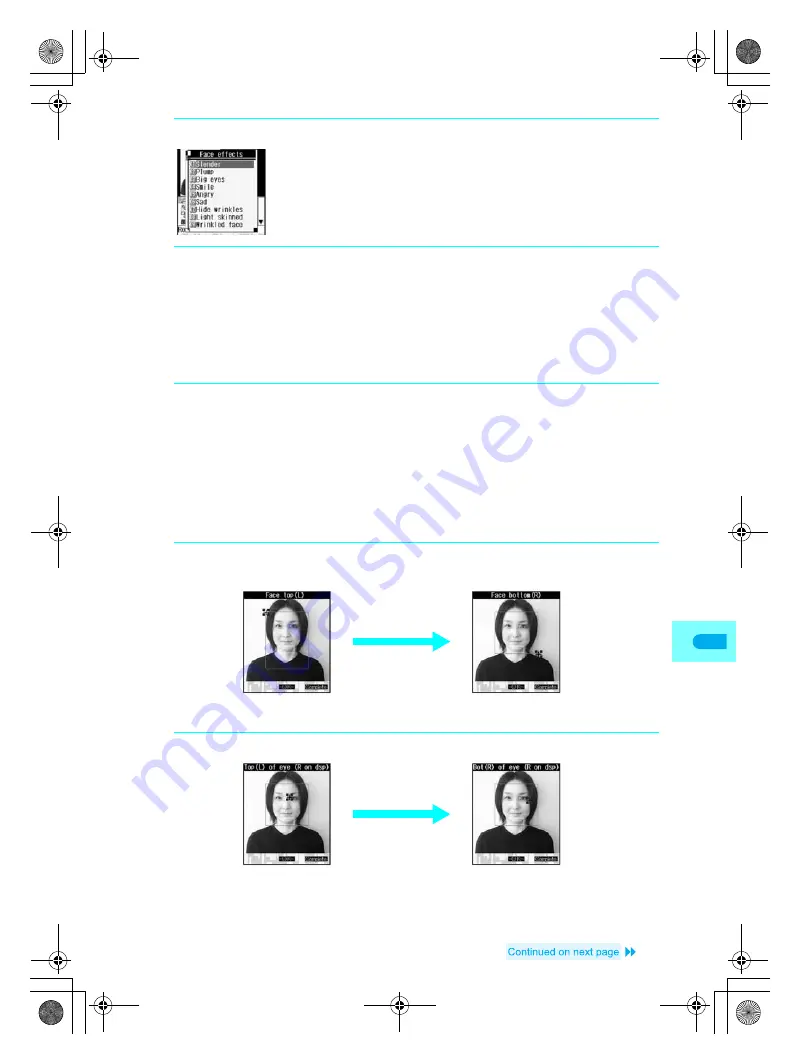
Setting contour manually
Set face contour, right eye contour, left eye contour and mouth contour and apply effects.
Move
+
cursor with
w
to set contour for each part.
+
moves only within image.
Outlines for contour are red for face, blue for right eye, green for left eye and yellow for mouth.
Also use contour data with Facial treatment (
n
P. 345).
1
In editing screen (
n
P. 336), press
C5
.
Effects
Slender
Plump
Big eyes
Smile
Angry
Sad
Hide wrinkles
Light skinned
Wrinkled face
Face symmetry (R)
Face symmetry (L)
Change position
2
Select an effect and press
t
.
Face contour is automatically extracted,
Processing FX
appears and processed still picture appears
on right.
To set contour manually
Press
12
[Change position]. Refer to the following “
J
Setting contour manually”.
When face contour is not extracted properly
Press
C#
, select
Yes
and press
t
to return to original image. Press
C512
and set
contour manually. Refer to the following “
J
Setting contour manually”.
3
Save still picture. (
n
steps 3 and 4 on P. 337)
1
In editing screen (
n
P. 336), press
C512
and specify the
face contour.
2
Set right eye contour.
Move
+
to top left of contour
with
w
and press
t
.
Move
+
to bottom right of
contour with
w
and press
t
.
Move
+
to top left of contour
with
w
and press
t
.
Move
+
to bottom right of
contour with
w
and press
t
.
dv22̲e.book Page 341 Monday, February 14, 2005 4:58 PM
Summary of Contents for SH700i
Page 50: ...LMEMO9 48 dv22 e book Page 48 Monday February 14 2005 4 58 PM ...
Page 92: ...LMEMO9 90 dv22 e book Page 90 Monday February 14 2005 4 58 PM ...
Page 244: ...LMEMO9 242 dv22 e book Page 242 Monday February 14 2005 4 58 PM ...
Page 581: ...LMEMO9 579 dv22 e book Page 579 Monday February 14 2005 4 58 PM ...


