Network Software
147
Network Guide
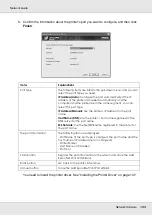
OK button:
Saves the settings.
Cancel button:
Cancels any changes.
Note:
❏
The settings you make above can be changed from the printer driver. In the printer
Properties dialog box, click the
Details
tab, and click the
Port Settings
button to change the
settings.
❏
Be aware that when connecting to the Internet using a dial-up router and selecting the
Get
status every 20 sec
check box, you may be charged for the extra line connection.
❏
When you check the
Get Printer Attributes
check box and click
OK
, an error message may
appear. Be sure that the printer power is on, and the printer is correctly connected on the
network.
❏
If the printer power is off or there is a problem on the network, the
Get status every 20 sec
check box is automatically cleared. If this happens, make sure that the printer power is on
and the printer is correctly connected on the network, and then select the
Get status every
20 sec
check box again.
5. Click
OK
to save settings.
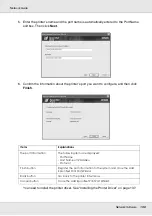
6. When a message appears saying the settings are correctly configured, click
OK
to start
the Add Printer Wizard. Click
Next
.
Note:
If you click
Cancel
and then later want to add the printer, start the Add Printer Wizard and follow
the steps below.
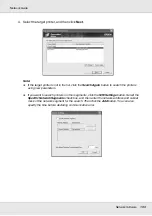
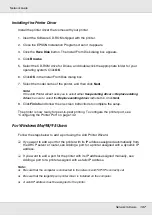
7. Click the
Local printer
radio button and click
Next
.
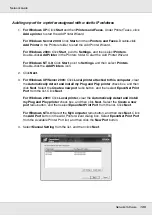
8. Select the printer driver and click
Next
.
If the following dialog box appears, select
Replace existing driver
and click
Next
.

