Network Software
149
Network Guide
6. Click the
Add Port
button, and select
EPSON IPP Port
from the list. Then click the
New
Port
button.
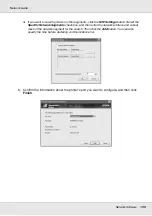
7. The following screen appears. The address you set here becomes the port for Internet
printing. Make the settings described below.
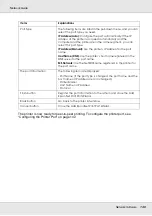
Enter Printer URI:
Enter the target printer’s URI (up to 127 characters). The URI you set here must be the
same as the IPP URL you set for the IPP configuration in EpsonNet Config. Do not use
the following characters; | \ [ ] { } < > # " `
Format:
http:
//IP address of printer:
631
/printer name
Example:
http:
//192.168.100.201:
631
/EPSON_IPP_Printer
Use Proxy:
When using a proxy server, select this box and enter the Proxy Server Name and Port
Number. All communication is done via the proxy server.
Enter Proxy Server Name:
Enter the proxy server name or the IP address of the proxy server (up to 256
characters). Do not use the following characters; | \ [ ] { } < > # " `
Port Number:
Enter the port number of the proxy server (from 0 to 65535).

