How To
83
Network Guide
❏
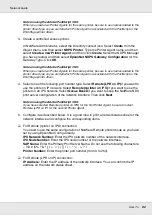
For Queue Based connection:
NDS Context:
Type the NDS context.
Print Server Name:
Print server name that is already defined in NDS or Bindery. If the
printer is in the Remote Printer mode, enter the print server name that is used when
PSERVER.NLM is loaded.
Printer Name:
Printer name that is already defined in NDS or Bindery.
NDS Volume for Print Queue:
The format is as follows:
Format: NDS Volume and context
For example: NDPS_SERVER_SYS.EPSON
File Server for Print Queue:
Enter the file server name for the print queue.
IPX Network Number:
Enter the IPX network number of the network interface.
IPX Node Number:
Enter the IPX node number of the network interface.
6. When you finish filling in the boxes, press
Finish
. Follow the on-screen instructions.
7. The Select Printer Drivers dialog box appears. Select an appropriate printer driver for
Windows Me/98 and Windows 2000/NT 4.0. Be sure to select the correct printer driver
for your printer from the appropriate menus. Windows 3.1 is not supported.
8. Click
Continue
.
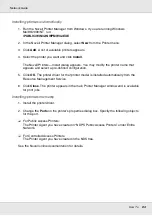
9. Confirm the Printer Agent that you have just created.
In NetWare Administrator, double-click the NDPS Manager object and click
Printer
Agent List
. Check that the status of the Printer Agent you have just created is “Idle”.
Configuring for NetWare using EpsonNet Config
Follow the steps below if you want to use the printer in IPX network.
Note:
Be sure that the one of the following clients is installed on your computer: Novell Client 32, Novell
IntranetWare Client, or Novell Client.
1. Turn on your printer.
2. From any NetWare client, log in to the target NetWare server as an ADMIN.
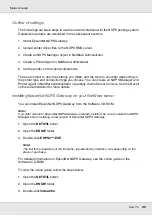
3. Run EpsonNet Config from the Start menu. See “Accessing the EpsonNet Config
User’s Guide” on page 101 for details.
If the IP address of the printer is already assigned, you can use EpsonNet Config with
Web Browser too. See “NetWare” on page 122 for details.
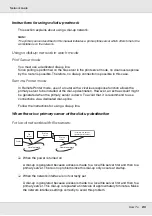
Setting the printer on client workstations
After configuring the network interface, set up the printer on client workstations.


