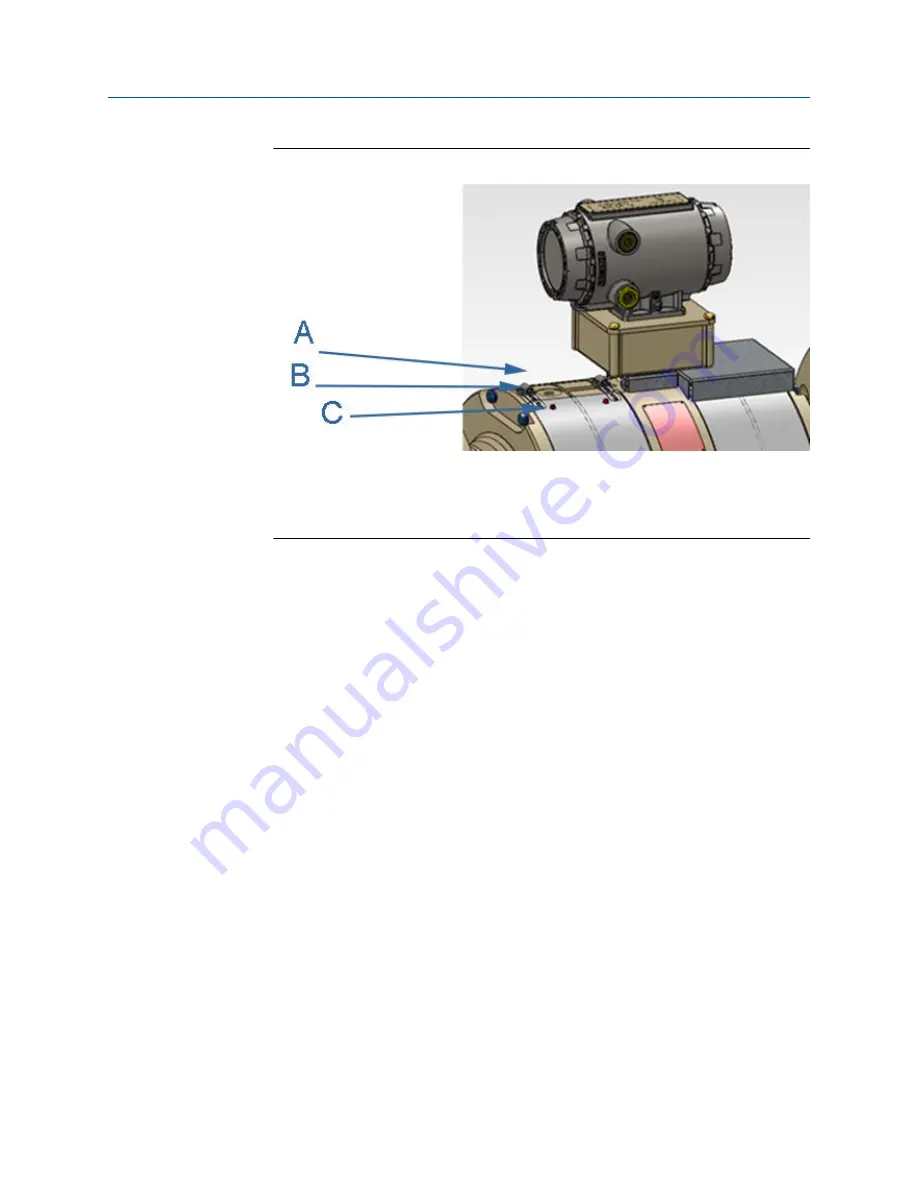
Figure 3-10: Clamped band shroud disassembly
A. Back band shroud
B. Worm screw clamps
C. Guide pins
7. Grasp both ends of the clamped band shroud and move them apart from each other
and move the edges towards the body center removing the band shroud from the
body OD. Place one edge of the band shroud assembly on a flat surface.
8. With the clamped band shroud assembly on its side edge on a flat surface, locate
the hem bend joint of the band shroud assembly half way from each end. Move
each part of the assembly away from each other, freeing the sheet metal hem bend
joint. Place the band shroud assembly on its side edge on a flat surface. Move the
back band shroud with respect to the front band shroud, freeing the sheet metal
hem bend joint assembly.
Meter maintenance
Maintenance and Troubleshooting Manual
April 2022
00809-0100-3812
48
Emerson.com/Rosemount


