


1.
Select the
Channel #
in the Current Channel frame. Click the
Browse
button
to select the desired
channel from the list.
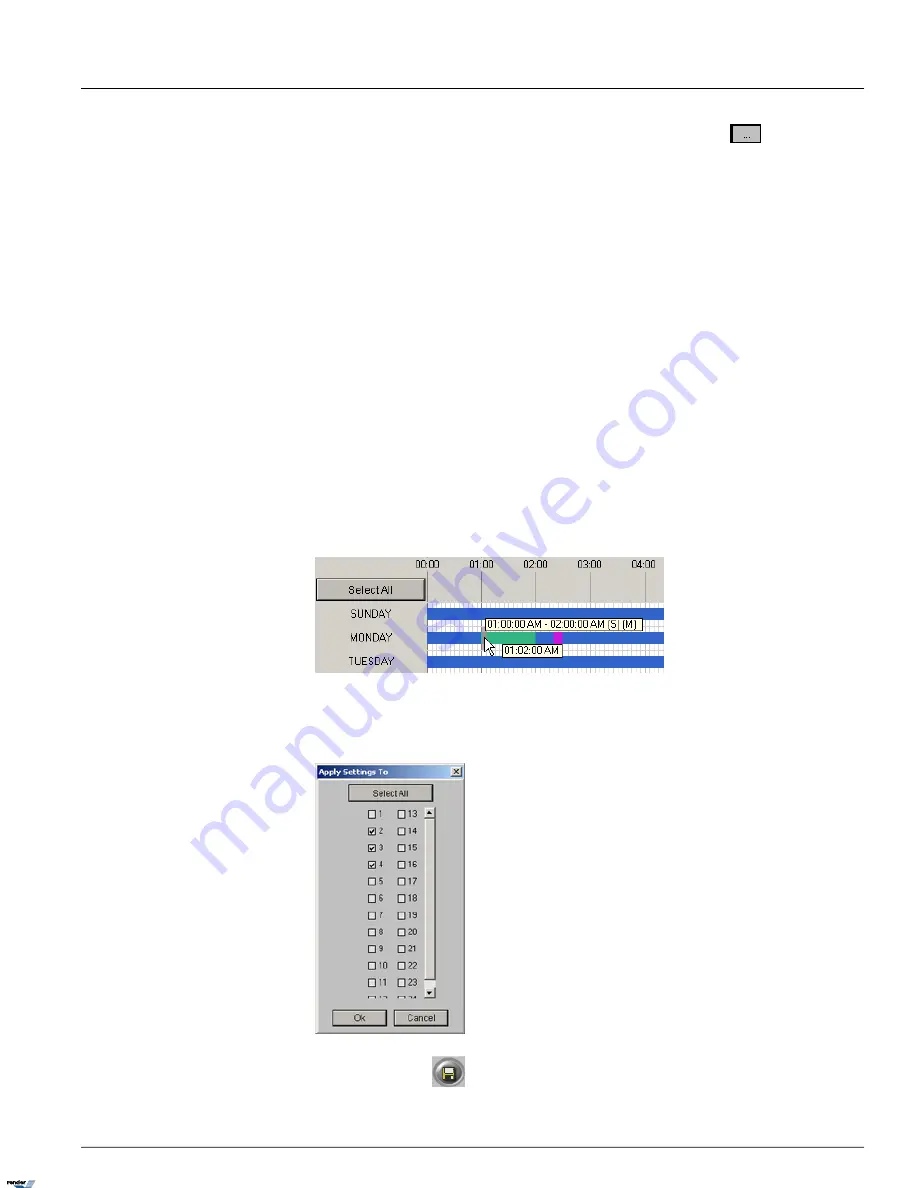
2. Position the cursor at the desired day and time on the timeline graph. The bottom pop-up time display will show the
exact time.
In the example below, the cursor is pointed at 1:02 AM.
The top pop-up time display will show the length of the recording type at which the cursor is pointed.
In the example below, the cursor is pointed at the time block that is scheduled for Motion recording. The
top pop-up time display shows that the channel is scheduled for sensor and motion recording
(S) (M)
from
1:00
AM
to
2:00 AM
3. To select the desired time, left-click and drag the cursor until the desired area on the timeline graph is selected. The
cursor can be dragged in any direction: horizontally to select time within one day or vertically to select more than
one day at a time.
4. To deselect, repeat step 3 on the previously selected area on the timeline graph.
5. In the
Recording Type
menu, check off desired checkbox. Select on of the following recording modes: Continuous;
Motion; Sensor; Motion. In the example below, on Monday, the video channel will record based on motion
from 12:00 AM till 1:00 AM, from 2:00 AM till 2:20 AM and from 2:30 AM onward; based on motion from
1:00 AM till 2:00 AM and continuously from 2:20 AM till 2:30 AM.
6. Click
Apply Settings to
, to apply created recording schedule to other channels. A new window will be displayed.
Check off the video channel check boxes to apply existing recording schedule to the selected video channel(s). In the
example below, the schedule created for Channel 1 will also be applied to Channels 2-4.
7.
Click the
Save
button
to save the configured settings
46
ELMO-PRO v.1.403.16 - User Manual
Schedule Setup
Chapter 1. ELMO-PRO Server
XML to PDF by RenderX XEP XSL-FO Formatter, visit us at
http://www.renderx.com/


