Adding and Replacing Parts
131
Replacing the Hard Drive
1
Remove the new drive from its packaging.
Save the original packaging for storing or shipping the hard drive.
NOTICE:
Use firm and even pressure to slide the drive into place. If you use
excessive force, you may damage the connector.
2
Slide the hard drive into the bay.
3
Replace and tighten the four screws on the hard drive.
4
Install the operating system for your computer, as needed (see "Restoring
Your Microsoft® Windows Vista® Operating System" on page 120).
5
Install the drivers and utilities for your computer, as needed (see
"Reinstalling Drivers and Utilities" on page 117).
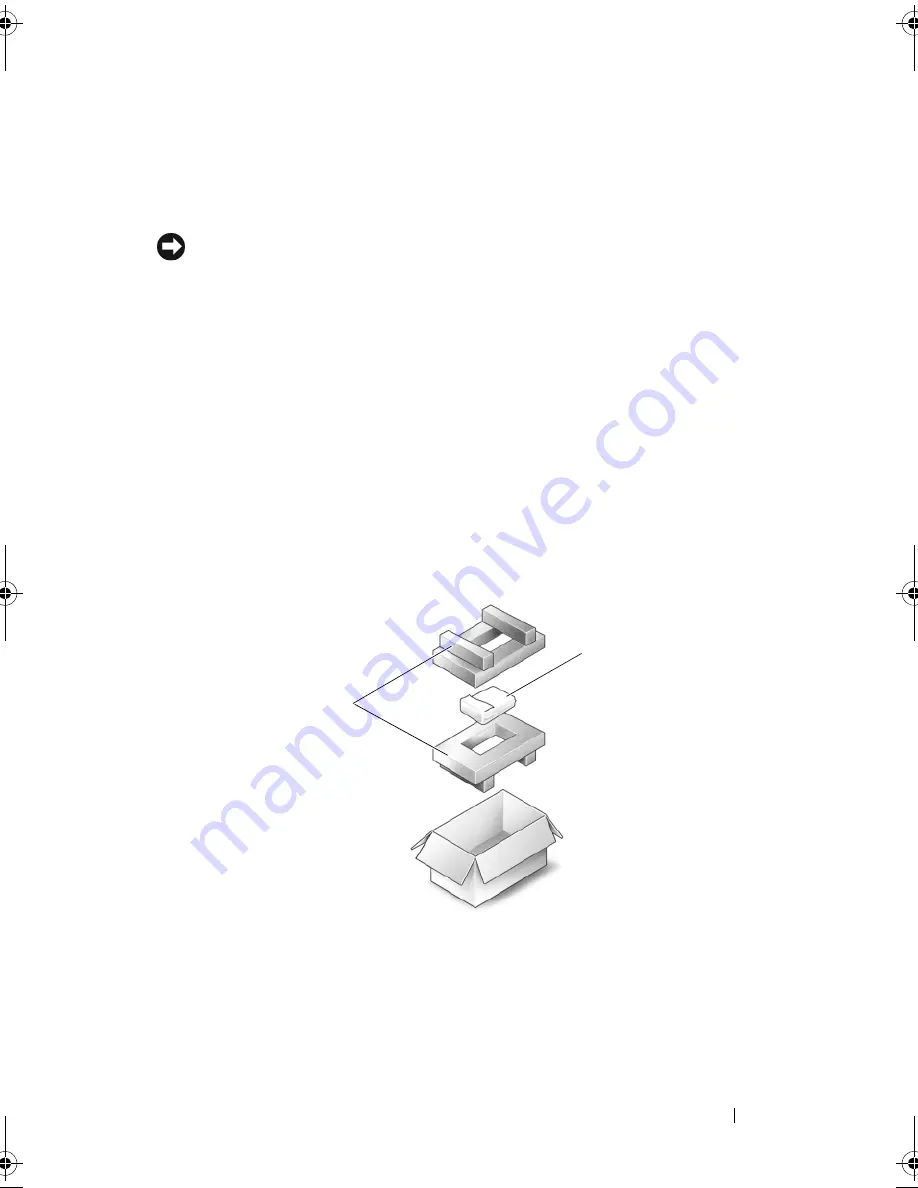
Returning a Hard Drive to Dell
Return your old hard drive to Dell in its original, or comparable, foam
packaging. Otherwise, the hard drive may be damaged in transit.
1
foam packaging
2
hard drive
2
1
book.book Page 131 Tuesday, October 7, 2008 6:00 PM
Summary of Contents for M1330 - XPS - Core 2 Duo 1.83 GHz
Page 1: ...w w w d e l l c o m s u p p o r t d e l l c o m Dell XPS M1330 Owner s Manual Model PP25L ...
Page 56: ...56 Using a Battery ...
Page 66: ...66 Using Multimedia ...
Page 70: ...70 Using ExpressCards ...
Page 82: ...82 Setting Up and Using Networks ...
Page 86: ...86 Securing Your Computer ...
Page 126: ...126 Troubleshooting ...
Page 154: ...154 Adding and Replacing Parts ...
Page 156: ...156 Dell QuickSet ...
Page 176: ...176 Appendix ...
Page 194: ...194 Glossary ...
Page 202: ...202 Index ...


