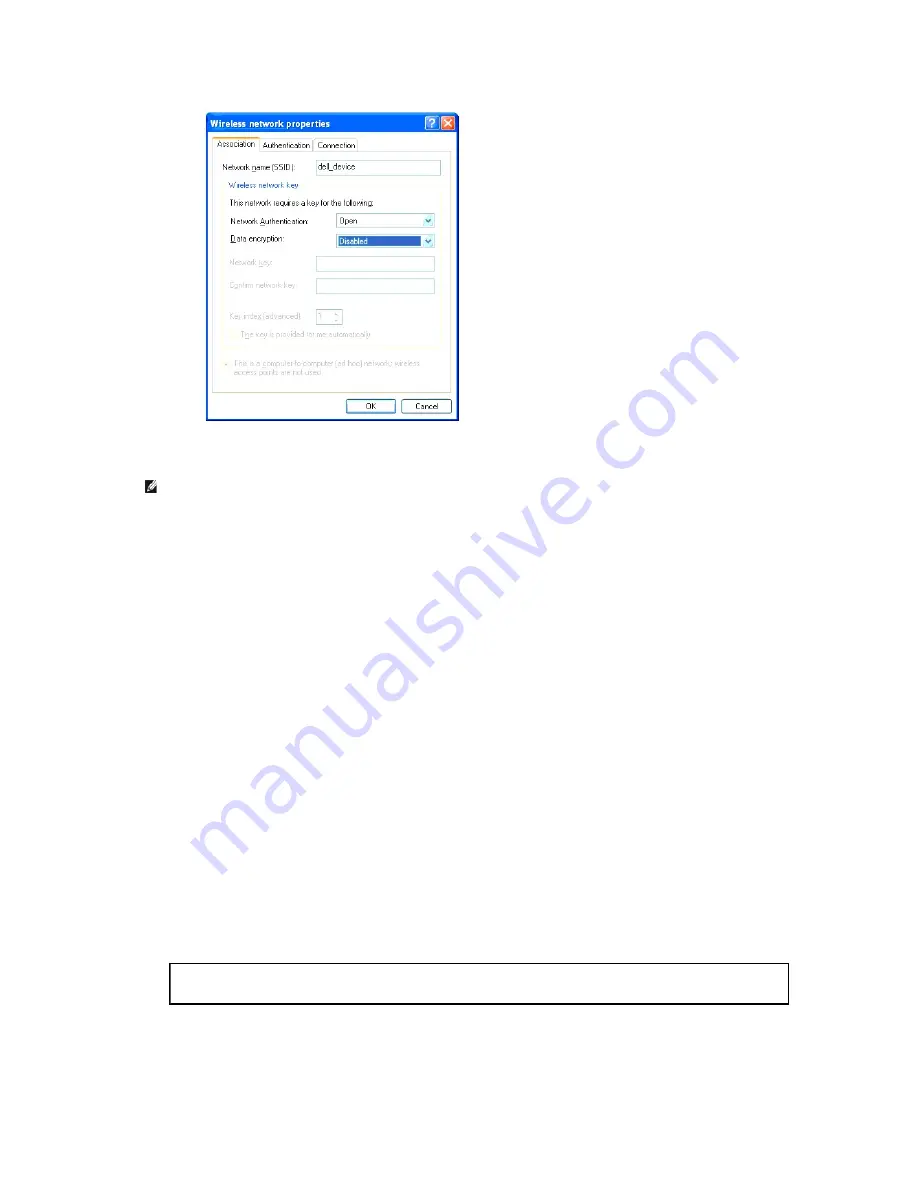
i.
Click the
Move up
button to move the newly added SSID to the top of the list.
j.
Click
OK
to close the
Property
dialog box.
For Windows Vista:
a.
Open
Control Panel
.
b.
Select
Network and Internet
.
c.
Select
Network and Sharing Center
.
d.
Select
Connect to a network
.
e.
Select
dell_device
from the network items listed in
Connect to a network
.
f.
Select
Connect Anyway
in the warning dialog box indicating you are entering an unsecured area.
g.
Click
Close
in the dialog box after confirming the connection is a success.
For Windows Server 2008:
a.
Open
Control Panel
.
b.
Select
Network and Sharing Center
.
c.
Select
Connect to a network
.
d.
Select
dell_device
from the network items listed in
Connect to a network
.
e.
Select
Connect Anyway
in the warning dialog box indicating you are entering an unsecured area.
f.
Click
Close
in the dialog box after confirming the connection is a success.
2.
Check the IP address assigned by AutoIP on the printer.
a.
Press
Menu
on the printer control panel.
b.
Scroll down and select
Admin Menu
.
c.
Scroll down and select
Network
.
d.
Scroll down and select
TCP/IP
.
e.
Scroll down and select
IPv4
.
f.
Scroll down and select
IP Address
.
(Default IP address range: 169.254.
xxx.yyy
)
3.
Check that the IP address on your computer is assigned by DHCP.
NOTE:
When your operating system is earlier than Windows 2000, create settings according to the manual of the wireless settings tool provided
by your wireless device manufacturer.
IP Address
169.254.000.041
*
Summary of Contents for 2130 Color Laser
Page 7: ......
Page 52: ......
Page 58: ...Back to Contents Page ...
Page 63: ...Back to Contents Page Symbol Wingdings ITC ZapfDingbats MS ...
Page 90: ...Back to Contents Page ...
Page 98: ......
Page 124: ...Back to Contents Page ...
Page 136: ...Back to Contents Page ...


