65
Follow the steps below.
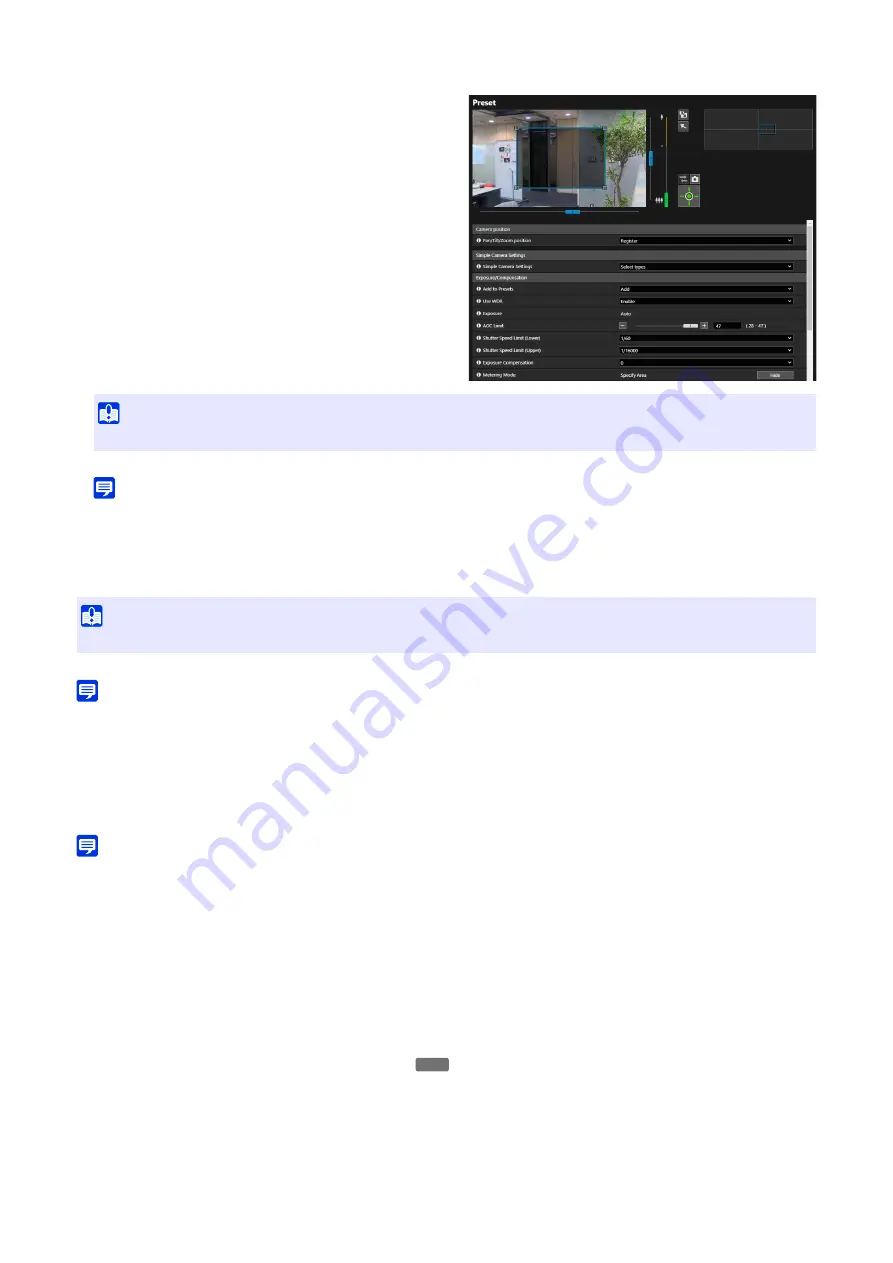
1. When [View] is clicked with the zoom at its widest angle, a
frame appears in the video display area.
2. Set the frame to any area.
• Drag inside the frame to move the area.
• Drag the corner
to change the size.
Note
• Frames may not be specified at the top, bottom, left and right edges of the video display area.
[
S
mart
S
hade Control]
Select whether to enable the Smart Shade Control function. If the background is bright and the subject is hard to see, by
using the Smart Shade Control, dark areas are automatically compensated be bright to improve subject visibility.
Note
• The video data size increases if the Smart Shade Control is set.
[Haze Compensation]
Select whether to enable the Haze Compensation function. If the subject is obscured by haze, by using the Haze
Compensation function, the video contrast is adjusted automatically to improve subject visibility. The strength of
compensation can be changed by [Video] > [Picture (Option)] > [Camera Control] > [Haze Compensation Strength (Auto)]
Note
• The video data size may increase by setting the Haze Compensation.
[Day/Night]
Select a shooting mode according to the brightness of the installation environment.
[Auto]
The camera automatically switches to Day Mode or Night Mode according to the ambient brightness.
[Day Mode]
Captures normal color video.
[Night Mode]
Video turns to monochrome.
Removes the infrared cut filter to increase sensitivity.
Important
• The frame cannot be displayed in the digital zoom area.
Important
• When [Use WDR] is set to [Enable], fixed to [Auto].
HM4x
Summary of Contents for VB-H47
Page 194: ...194 Z Zoom 36 38 ...


