


79
6
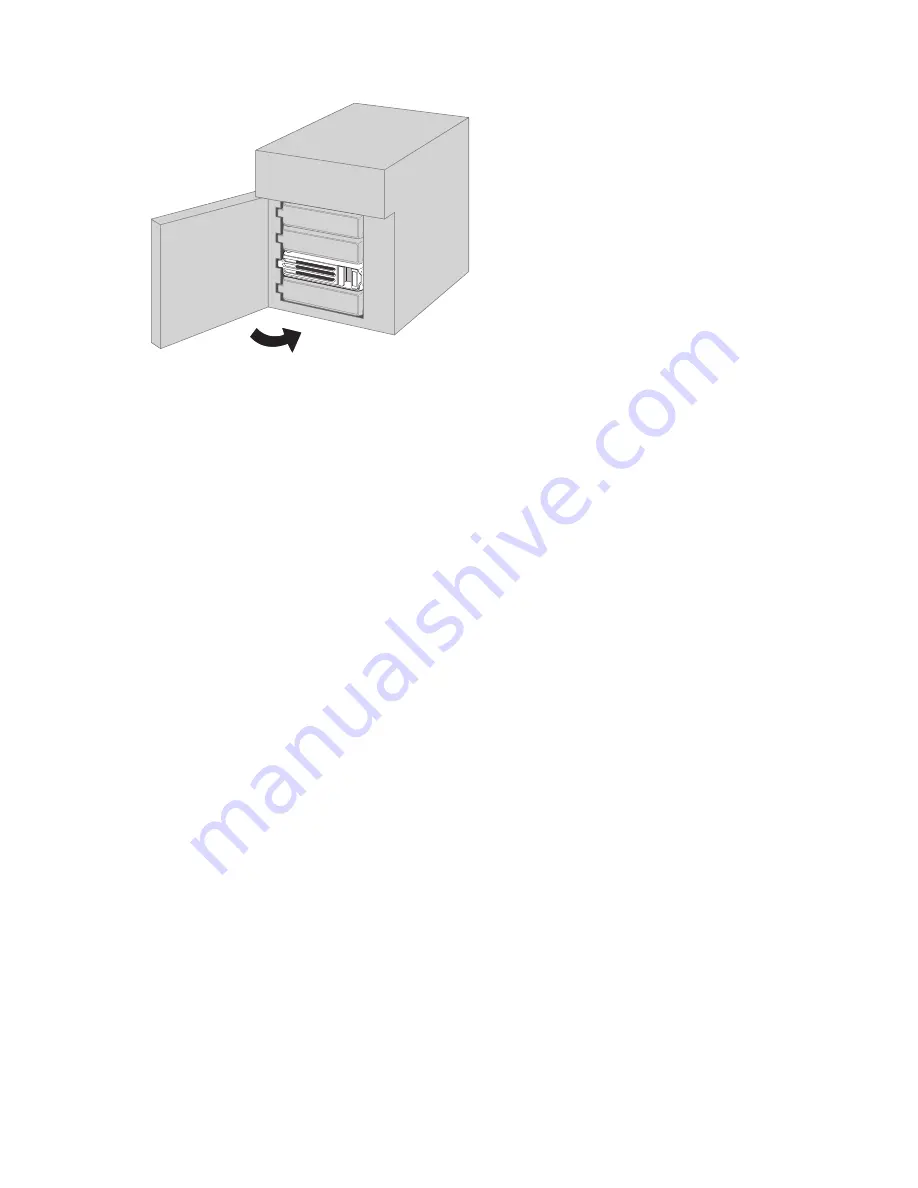
Close the front cover.
7
When the replacement hard drive is recognized, the status LED will flash red and the I31 message will be
displayed on the LCD panel.
8
Hold down the function button on the front of the TeraStation for 3 seconds until it beeps.
For RAID 1, 5, or 6:
The TeraStation will start rebuilding the RAID array automatically. After a few minutes, the I18 message will be
displayed until the array is rebuilt.
For JBOD:
The drive will be formatted as an individual drive. Create a shared folder on the drive before use.
Drive Replacement (using a redundant RAID mode such as RAID 1, 5, or 6 with auto-
shutdown enabled)
This section describes the process of replacing a drive while
the TeraStation is off
.
1
Open the front cover with the key.
2
Push the unlock button of the failed hard drive and swing the lock mechanism out.
3
Pull out the drive cartridge and remove it from the TeraStation.
4
Insert the new hard drive into the empty slot. Slide the drive in with the locking mechanism open. Swing the
lock back down until it clicks into place.
5
Close the front cover.
6
Press the power button on the TeraStation.
7
When the replacement hard drive is recognized, the status LED will flash red and the I31 information message
will be displayed on the LCD panel.
8
Hold down the function button on the front of the TeraStation for 3 seconds until it beeps. The TeraStation will
start rebuilding the RAID array automatically. It will take about 5 minutes before the I18 message is displayed.
Drive Replacement (RAID 0)
Drives in a RAID 0 array do not automatically turn off in the event of a malfunction. Before replacing the failed drive,
either dismount the drive from Settings, or shut down the TeraStation.
Summary of Contents for TeraStation TS3200D
Page 22: ...21 4 Configure the desired settings then click OK...
Page 84: ...83 2 Click to the right of Backup 3 Click List of LinkStations and TeraStations...
Page 86: ...85 3 Click Create New Job Note Up to 8 backup jobs can be configured...
Page 119: ...118 6 Click OK then OK again 7 Move the iTunes server switch to the position...
Page 124: ...123 4 Open the License tab then click Activate Free License To deactivate the license click...
Page 126: ...125 3 Click Next 4 Click Find Cameras...
Page 132: ...131 2 Select the search criteria on the left side of the search screen then click Search...
Page 133: ...132 3 The search results are displayed Click a thumbnail to start the media viewer...
Page 214: ...213 For Customers in Taiwan BSMI For Customers in China CCC A...


