108
Maintenance & Troubleshooting
Upgrading the Multiviewer Using a USB Key
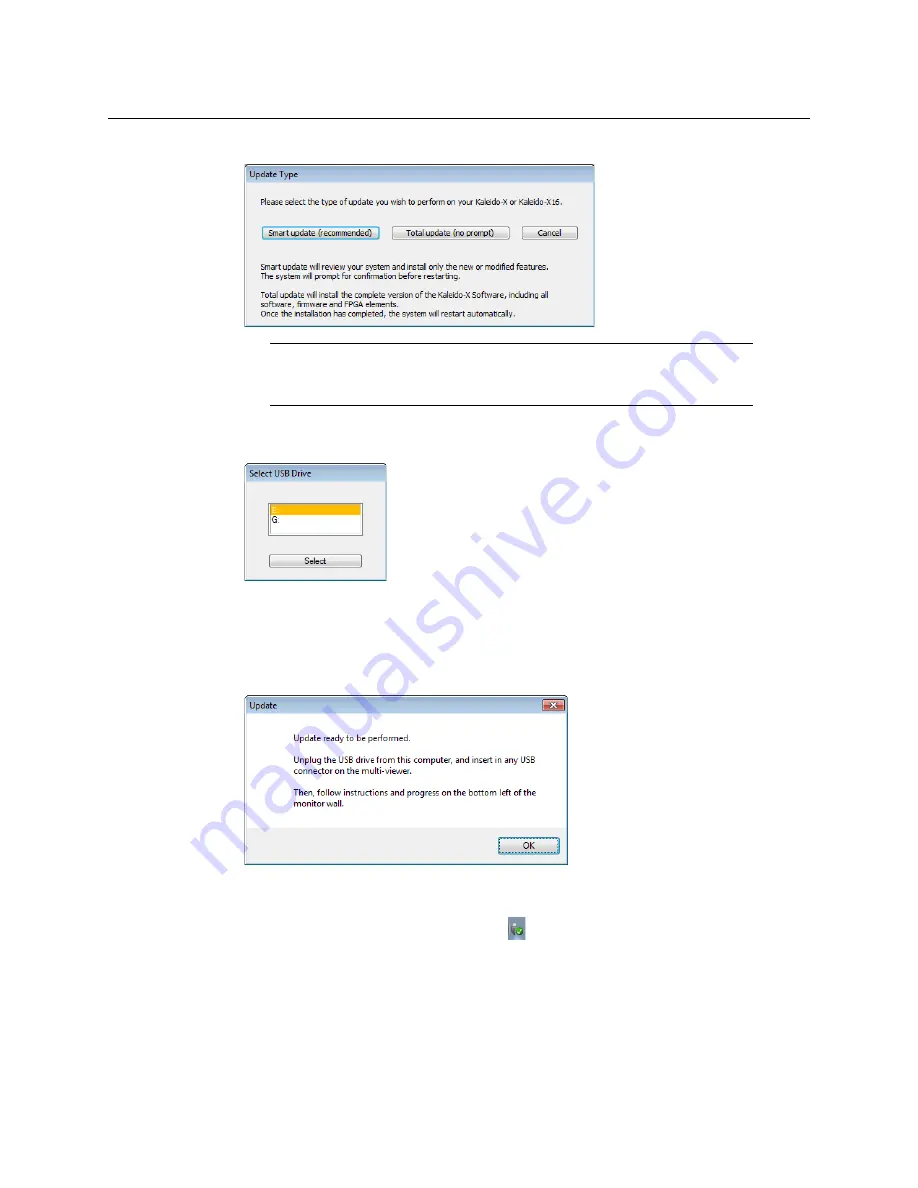
5 When prompted to select a type of update, click
Smart update (recommended)
.
6 If the
Select USB Drive
window appears, click the letter corresponding to the USB key
you inserted in step 2, and then click
Select
.
7 When prompted to select an update file, locate and open the following Kaleido
Software operating system file, with the following format:
kxos-9.10_build_xxxx-
4GB.img
The
.img
file will be copied to the USB key. This may take a few minutes.
When the copying process has finished, a message appears.
8 Click
OK
.
9 Click
EXIT
on the startup screen.
10 Click the
Safely Remove Hardware
icon
in your desktop’s notification area, and
then click the USB key on the menu. When a message informs you that it is safe to
remove the key, do so.
Note:
If you click
Total update (no prompt)
, then the update process, once
initiated, cannot be halted. This option should only be used to recover from
a failed upgrade.
Summary of Contents for Grass Valley KALEIDO-X16
Page 20: ...20 Overview Functional block diagrams...
Page 26: ...26 Installation CompactFlash...
Page 42: ...42 Multiviewer Cabling Enabling EDID Auto Detection from the Monitor Wall...
Page 126: ...126 Configuring a Kaleido X16 Cascade Limitations...
Page 151: ...151 Kaleido X16 Hardware Description Installation Manual...


