


Deploying Avaya IP Office™ Platform IP500 V2
Page 58
15-601042 Issue 30j (18 May 2015)
IP Office™ Platform 9.1
Comments on this document? [email protected]
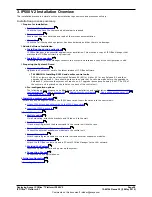
3. IP500 V2 Installation Overview
This installation process is a simple outline as installation requirements and processes will vary.
Installation process summary
1. Prepare for installation
a.
Tools and Parts Required
Check that you have the tools and additional parts required.
b.
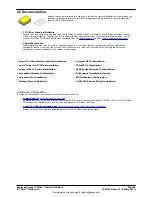
Documentation
Ensure that you have obtained and read all the relevant documentation.
c.
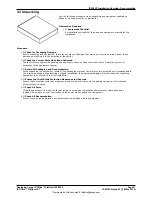
Unpacking
Check that all the required equipment has been delivered and that there is no damage.
2. Admin Software Installation
a.
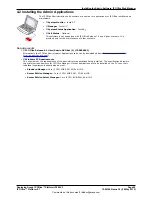
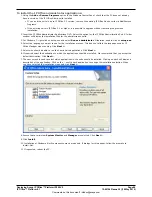
Installing the admin applications
IP Office Manager is an essential application for installation. This must be a copy of IP Office Manager that
matches the IP Office software level required.
b.
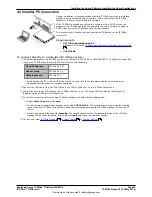
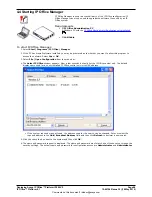
Installer PC connection
Understand how IP Office Manager connects to a system and receives a copy of the configuration to edit.
3. Preparing the System SD card
a.
Upgrade the SD card
Upgrade the System SD card to the latest release of IP Office software.
·
!
WARNING: Installing PCS14 and earlier control units
PCS 14 or lower units must first install Release 8.1(65) (or higher 8.1) or any Release 9.0 and then
upgrade to Release 9.1. Care should be taken to ensure that no calls are made before the upgrade to
Release 9.1, otherwise the system will require an 9.1 upgrade license despite being "new". The PCS of
the control unit is printed on the label on the back of the control unit.
b. Pre-configuration options
The following options steps can be added to speed up installation and configuration:
Create and load an offline
configuration file
,
Add a licenses file
,
Adding security certificates
,
Add a phone screen saver file
,
Add music on hold files
4.
Install the control unit cards
Attach any trunk daughter cards to the IP500 base cards. Insert the cards into the control unit.
a.
Fit any IP500 trunk daughter cards to the IP500 base cards
b.
Insert the IP500 base cards
5.
Install the system
a.
Wall Mounting
If wall mounting, attach the brackets and fit the unit to the wall.
b.
Rack Mounting
If rack mounting, attach the brackets and fit the control unit into the rack.
c.
Connect the External Expansion Modules
Connect the external expansions modules to the control unit.
d.
Ground the system
Attach required ground cables to the control unit and external expansion modules.
e.
LAN Network Connections
Attach the IP Office control unit and a PC with IP Office Manager to the LAN network.
f.
Starting the System
Insert the System SD card and power up the system.
g.
Connecting Phones
Connect the Avaya digital phones.
6.
Initial configuration
7.
Securing the system
59
60
61
65
67
72
74
75
75
76
76
78
79
80
82
82
84
85
87
88
89
92
96
112


