


Deploying Avaya IP Office™ Platform IP500 V2
Page 114
15-601042 Issue 30j (18 May 2015)
IP Office™ Platform 9.1
Comments on this document? [email protected]
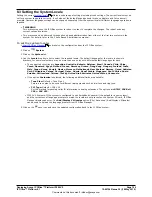
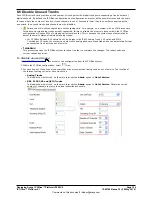
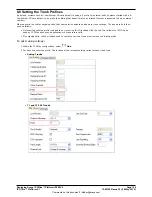
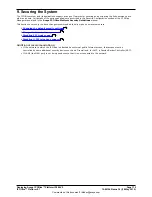
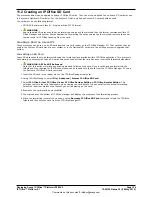
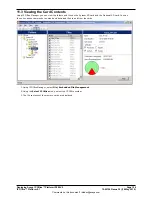
9.2 Changing the Remote User Password
The IP Office configuration contains a user whose password is used as the default for remote dial in access to the IP
Office network. The password of this user should be changed.
To change the remote user password:
1.
Start IP Office Manager
and connect to the IP Office system.
2. Click on
Users and in the list of users click on Remote Manager.
3. On the User tab, enter a new password for the user and click OK.
4. Click on the
icon and save the updated configuration back to the IP Office system.
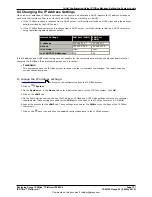
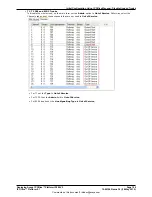
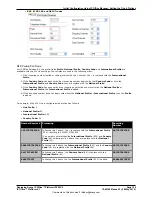
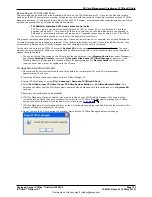
9.3 Disabling SIP Trunk Support
The IP Office system supports SIP trunks. If these are not required for the customer installation, we recommend that the
system's SIP trunk support is disabled.
To disable SIP trunk support:
·
!
WARNING
This process requires the IP Office system to reboot in order to complete the changes. The reboot ends any
current calls and services.
1.
Start IP Office Manager
and receive the configuration from the IP Office system.
2. Select System.
3. Select LAN1 and select the VoIP tab.
4. Check that SIP Trunks Enable is not selected.
5. Repeat the process for LAN2.
6. Click on the
save icon and save the updated configuration back to the IP Office system.
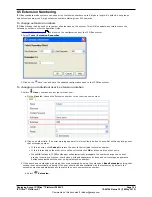
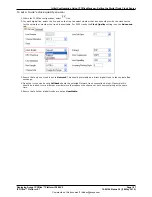
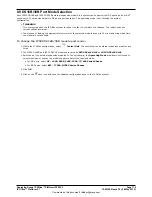
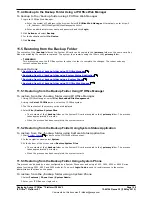
9.4 Disabling H.323 Telephone Support
The IP Office system can support H.323 IP telephones. If these are not required for the customer installation, we
recommend that the system's H.323 telephone support is disabled.
To disable H.323.telephone support:
·
!
WARNING
This process requires the IP Office system to reboot in order to complete the changes. The reboot ends any
current calls and services.
1.
Start IP Office Manager
and receive the configuration from the IP Office system.
2. Select System.
3. Select LAN1 and select the VoIP tab.
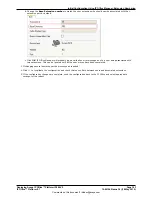
4. Check that H323 Gatekeeper Enable is not selected.
5. Check that H323 Remote Extn Enable is not selected.
6. Repeat the process for LAN2.
7. Click on the
save icon and save the updated configuration back to the IP Office system.
68
68
68


