Firmware Pages and Descriptions
98
NXD/T-1200V Wall/Flush Mount Touch Panel
Password Setup Page
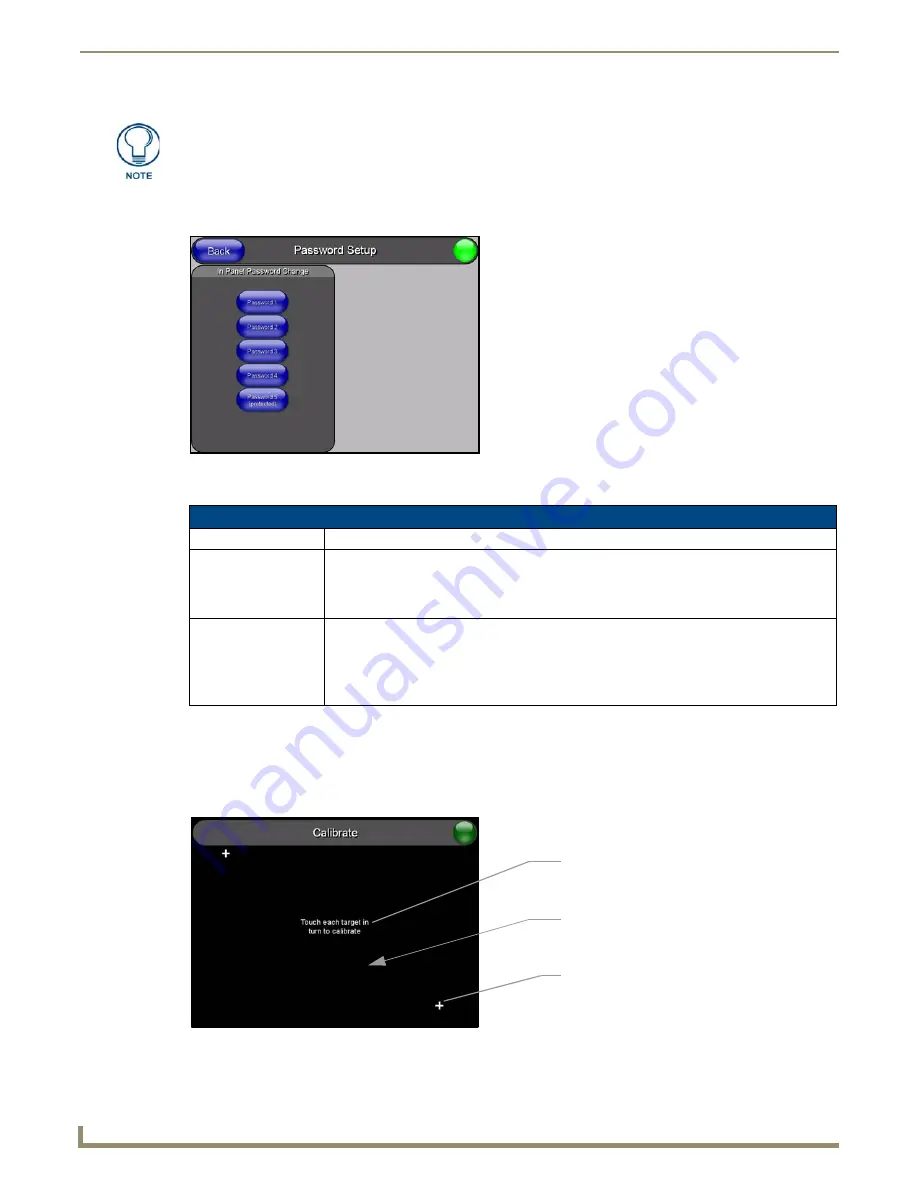
The Password Setup page (FIG. 98) centers around the properties used to assign passwords for the Modero panel pages.
The elements of the Password Setup page are described in the table below:
Calibration Page
This page (FIG. 99) allows you to calibrate the input touch device (touch panel) using the pre-selected touch driver.
Press and hold the grey Front Setup Access button (below the Modero LCD) for 6 seconds to access the
Calibration page.
Press the crosshairs to calibrate the panel and return to the last active firmware page.
The minimum (lower level) of the dimmer should be at least 10% lower than the
minimum detected level (ex: lower dimmer level at 30% if the detected lighting of the
room is at 40%).
FIG. 98
Password Setup page
Password Setup Page Elements
Back:
Saves the changes and returns you to the previously active touch panel page.
Connection Status icon: This visual display of the connection status allows the user to have a current visual update of
the panel’s connection status regardless of what page is currently active.
• A Lock only appears on the icon if the panel has established a connection with a currently
secured target Master (
requiring a username and password
).
In Panel Password
Change:
Accesses the alphanumeric values associated to particular password sets.
• PASSWORD 1, 2, 3, 4, 5 (protected) buttons open a keyboard where you can enter
alphanumeric values associated to a selected password group.
• Clearing Password #5 removes the need to enter a password before accessing the
Protected Setup page.
FIG. 99
Calibration page (actually 3 separate screens)
The request to touch the crosshairs
is the first on-screen message
Calibration successful
is the second
on-screen message that appears
On-screen crosshairs used for
calibration of the touch device
after the calibration process is
completed
Summary of Contents for Modero NXD-1200V
Page 40: ...Touch Panel Accessories 28 NXD T 1200V Wall Flush Mount Touch Panel...
Page 80: ...Configuring Communication 68 NXD T 1200V Wall Flush Mount Touch Panel...
Page 92: ...Upgrading Modero Firmware 80 NXD T 1200V Wall Flush Mount Touch Panel...
Page 164: ...Programming 152 NXD T 1200V Wall Flush Mount Touch Panel...
Page 170: ...Appendix 158 NXD T 1200V Wall Flush Mount Touch Panel...
Page 175: ...Troubleshooting 163 NXD T 1200V Wall Flush Mount Touch Panel...


