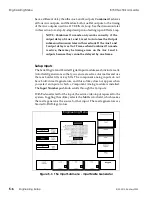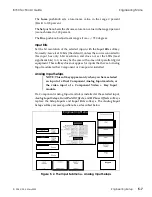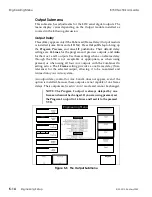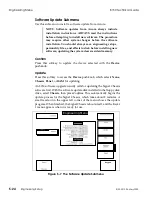
V Blanking
This softkey appears only if the Enhanced (Frame Delay) Output module
is installed (some 8100s and all 8150s). Press
V Blanking
to set the vertical
blanking width of the Program 1 and 2, Preview, and Aux 1 and 2
outputs. DIP switches set the vertical blanking widths for the original
Output module (8100s only) and the Aux 3/4 outputs (all 8100s/8150s
with this option).
As of this writing, the 8150 ships with lines 12 through 19 blanked, and
line 20 is the first active line in 525-line systems. In 626-line systems, lines
15 through 22 are blanked, and line 23 is the first active line. In both cases,
the status of the field 2 line that corresponds to the indicated Field 1 line
is identical to the Field 1 line status.
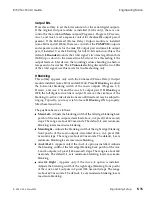
The
Blanking Status
pushknob label shows which lines are blanked by
displaying the line number with its two digits oriented vertically. In 525
systems, the display looks like this:
11111111--
23456789--
In 626 systems, the display looks like this:
11111222--
56789012--
The dashes (
--
) are "place holders" for the lines that would appear next
in the sequence, and indicate that those lines are not blanked.
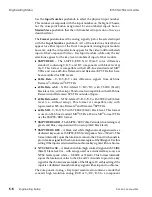
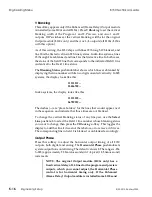
To change the vertical blanking status of any line pair, use the
Select
Line
pushknob to select the Field 1 line number whose blanking status
you want to change, then press the
V Blanking
softkey. This toggles the
display to add that line if it was not there before, or to remove it if it was.
The corresponding line in field 2 is blanked or unblanked accordingly.
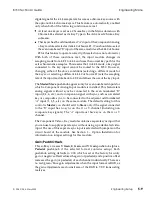
Output Phase
Press this softkey to adjust the horizontal output timing of all 8150
outputs, both digital and analog. The
Horizontal Phase
pushknob sets
system output horizontal timing. The default value is 8. The range is -256
to 245 (approximately 9.28 microseconds) in 1/4 pixel (18.5 nanosecond)
increments.
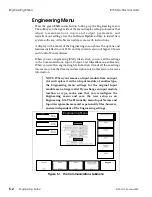
NOTE: The original Output module (8100s only) has a
fixed vertical delay of 34 lines for the program and preview
outputs, which you cannot adjust; the Horizontal Phase
control is for horizontal timing only. If the Enhanced
(Frame Delay) Output module is installed (some 8100s and
Engineering Menu
8150 Technical Guide
5-16
Engineering Setup
9100-0212-04 - May 2000
Summary of Contents for ASWR8150
Page 12: ...Table of Contents 8150 Technical Guide X Contents 9100 0212 04 May 2000...
Page 39: ......
Page 80: ...Control Panel Connector Detail 8150 Technical Guide 2 40 Installation 9100 0212 04 May 2000...
Page 109: ...Option Installation 8150 Technical Guide 3 30 Option Installation 9100 0212 04 May 2000...
Page 236: ...8150 Partial Parts List 8150 Technical Guide A 6 Appendix 9100 0212 04 May 2000...

