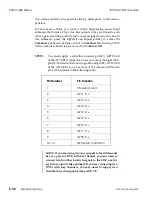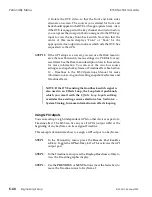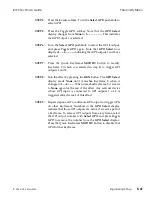
Diagnostics Submenu
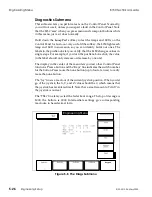
This submenu lets you perform tests on the Control Panel. Normally,
you will not use it, unless you suspect a fault in the Control Panel. Note
that the 8150 "sees" when you press menu and crosspoint buttons while
in this menu, just as it does normally.
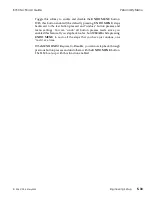
Hold down the
Lamp Test
softkey to test the lamps and LEDs on the
Control Panel for burn-out. As you hold the softkey, the 8150 lights each
lamp and LED in succession so you can identify burnt out ones. The
labels in the pushknobs let you verify that the 8150 changes values in
single steps. For example, if you turn the pushknob one click, the value
in the label should only increase or decrease by one unit.
The display in the center of the menu lets you test other Control Panel
functions. Press a button and the "Keys" line indicates the switch number
for the button. Press more than one button (up to four at a time) to verify
more than one button.
The "Joy" line is a read-out of the current joystick position. When you let
go of the joystick, the X, Y, and Z values should be 0, which means that
the joystick has recentered itself. Note that a small amount of "drift" in
the joystick is normal.
The "TBar" line lets you test the fader bar’s range. The top of its range is
8000, the bottom is 0000. Intermediate settings give corresponding
read-outs, in hexadecimal form.
Keypad
Engineering Menu
Figure 5-8 The Diags Submenu
Engineering Menu
8150 Technical Guide
5-26
Engineering Setup
9100-0212-04 - May 2000
Summary of Contents for ASWR8150
Page 12: ...Table of Contents 8150 Technical Guide X Contents 9100 0212 04 May 2000...
Page 39: ......
Page 80: ...Control Panel Connector Detail 8150 Technical Guide 2 40 Installation 9100 0212 04 May 2000...
Page 109: ...Option Installation 8150 Technical Guide 3 30 Option Installation 9100 0212 04 May 2000...
Page 236: ...8150 Partial Parts List 8150 Technical Guide A 6 Appendix 9100 0212 04 May 2000...

