Input Modules
Before proceeding, ensure that you have the necessary Input module(s)
and/or blank plate(s) to install in all empty slots. These are the Accom
part numbers:
Dual Serial Digital Input, Accom P/N 9400-0675
Dual Parallel Digital Input, Accom P/N 9400-0669
Dual Component Analog Input, Accom P/N 9400-0667
Component Video + Key Input, Accom P/N 9400-0687
Blank plate, Accom P/N 8900-0976-03
NOTE: If you are installing the Component Video + Key
Input module, there are some jumper settings that you may
need to change before installation. See Section 4 – System
Overview for information on these jumpers.
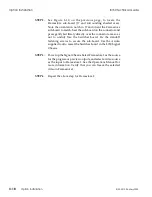
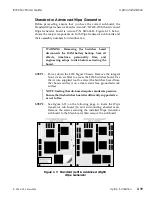
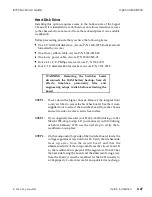
STEP 1:
Power down the 8150 Signal Chassis. Remove the two screws
securing the Input module or blank plate currently installed
in the slot at which you wish to install the new module.
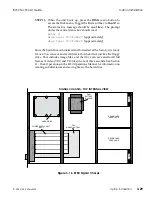
STEP 2:
Remove the Input module or blank plate from the slot and
replace it with the new Input module. Gently slide the
module into place along the built-in card guides. It should
seat easily but firmly into place on the Motherboard.
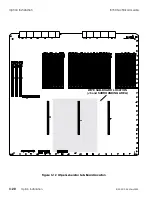
NOTE: If there is no module in an input slot, install a blank
plate over the slot to prevent cooling problems caused by
air being drawn in the rear instead of the front of the
chassis. Extra blank plates were included with the
manuals, etc. that shipped with your 8150.
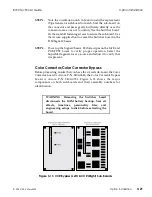
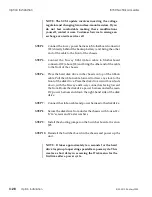
STEP 3:
Power up the Signal Chassis. Connect signals to the new
inputs and verify that they appear correctly when selected.
Note that on power-up, each Input module identifies itself to
the 8150 Switcher CPU. If there is no module installed in a
slot, those inputs do not appear in the Personality menu Input
Names submenu list. We recommend that you install all
Input modules in the Signal Chassis when you create the
Input Names and save them to disk.
Option Installation
8150 Technical Guide
3-24
Option Installation
9100-0212-04 - May 2000
Summary of Contents for ASWR8150
Page 12: ...Table of Contents 8150 Technical Guide X Contents 9100 0212 04 May 2000...
Page 39: ......
Page 80: ...Control Panel Connector Detail 8150 Technical Guide 2 40 Installation 9100 0212 04 May 2000...
Page 109: ...Option Installation 8150 Technical Guide 3 30 Option Installation 9100 0212 04 May 2000...
Page 236: ...8150 Partial Parts List 8150 Technical Guide A 6 Appendix 9100 0212 04 May 2000...


