


CHAPTER 6. ARRANGEMENT VIEW
84
6.8
Selecting Clips and Time
With the exception of moving and resizing clips, Arrangement editing in Live is selection-
based: You select something using the mouse, then execute a menu command (e.g., Cut,
Copy, Paste, Duplicate) on the selection. This editing method lends itself to an ef cient
division of labor between the two hands: One hand operates the mouse or trackpad, while
the other hand issues the keyboard shortcuts for the menu commands. The menu eventually
is only used as a reference for looking up the keyboard shortcuts.
Here is how selection works:
Clicking a clip selects the clip.
Clicking into the Arrangement background selects a point in time, represented by a
ashing insert mark. The insert mark can then be moved in time with the
and
keys, or between tracks via
and
. Holding
Ctrl
(PC) /
Alt
(Mac) while
pressing the
and
keys snaps the insert mark to locators and the edges of clips
in the selected track or tracks.
Clicking and dragging selects a timespan.
To access the time
within
a clip for editing, unfold its track by clicking the
button
next to the track name.
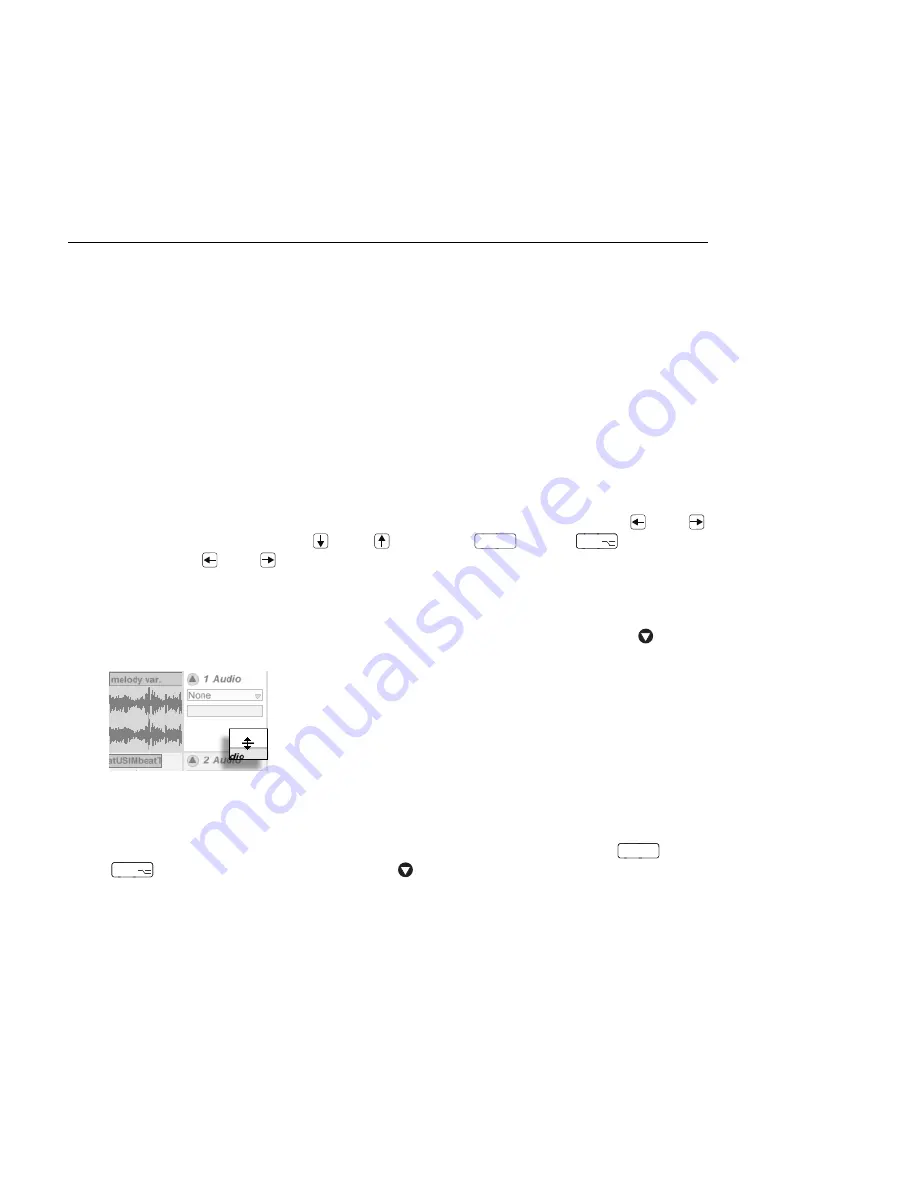
Adjusting an Unfolded
Track's Height.
Clicking and dragging in the waveform display below the clip's horizontal strip allows
you to select time within the clip. Notice that you can adjust the height of the
unfolded track by dragging the split line below the Unfold Track button. Note that
you can actually unfold all of your tracks at once by holding down the
Alt
(PC) /
Alt
(Mac) modi er when clicking the
button.
Clicking on the loop brace is a shortcut for executing the Edit menu's Select Loop
command, which selects all material included within the loop.


