


CHAPTER 8. CLIP VIEW
112
8.2.5
Saving Default Clip Settings with the Sample
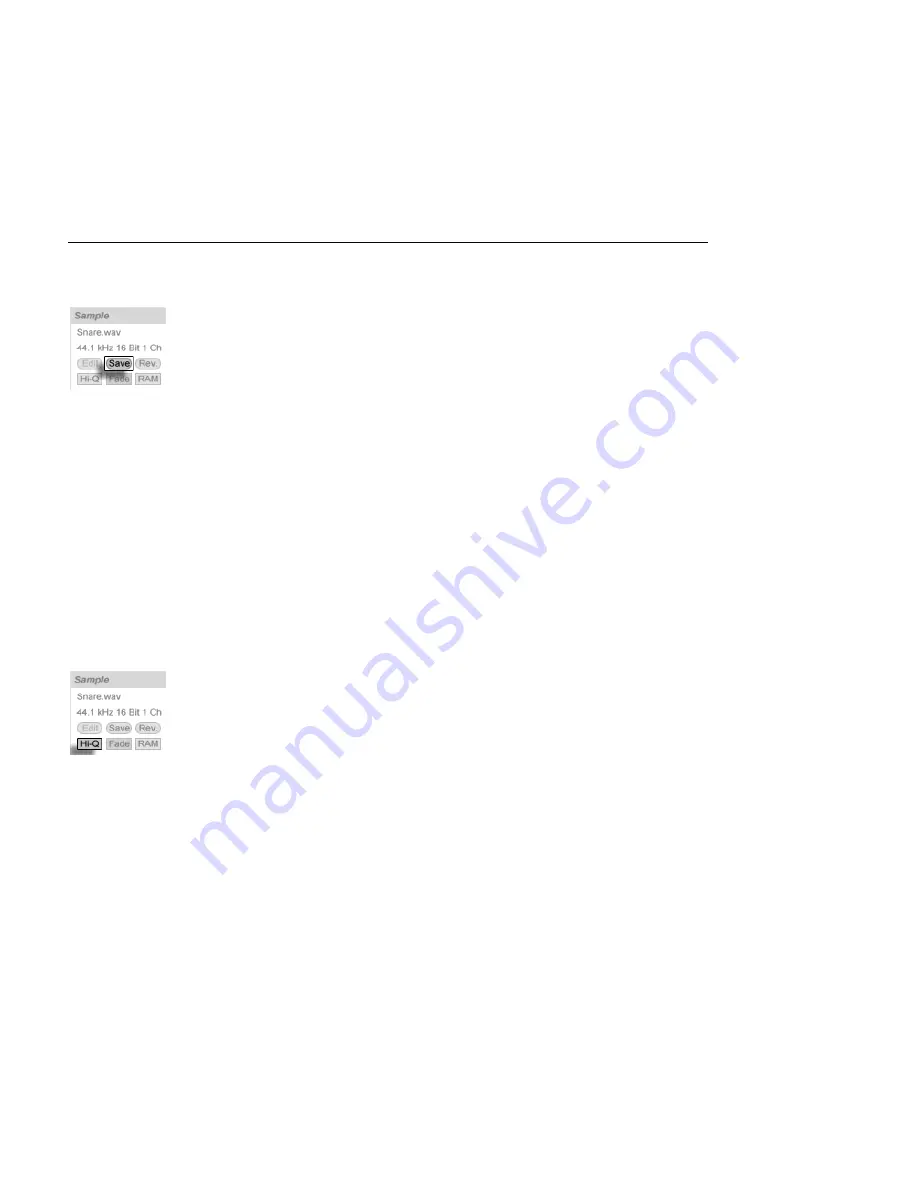
The Save Default Clip
Button.
The Save Default Clip button saves the current clip's settings with the sample. With multiple
clips selected, this button will save them all simultaneously. Once saved, Live will restore
the current clip settings whenever you drop the sample into a Live Set. This is especially
useful with regards to the Warp Markers, which have to be set correctly for Live to play long
les in sync. Note that you can use the Save button without affecting any existing clips;
Save just saves default settings for future clips using this sample.
The clip data becomes part of the
analysis le
that accompanies the sample.
Note that storing default clip settings with the sample is different from saving the clip as a
Live Clip
, which also saves devices and device settings.
8.2.6
High Quality Interpolation
The High Quality Switch.
If the High Quality switch is on, Live uses an advanced sample-rate conversion algorithm
that provides better sound quality at the expense of a higher
CPU load
. Samples processed
with the Hi-Q algorithm generate less distortion, particularly at high frequencies, when
transposing a sample and/or matching an imported sample's sampling rate to the system's
sampling rate. With this mode enabled, samples can be transposed roughly 19 semitones
in either direction before aliasing is likely to be audible.
Note: As of Live 7, the Hi-Q mode uses an algorithm that produces even smaller audible
artifacts than in previous versions. Although we think this has greatly improved sound
quality, any Sets made in older versions that used Hi-Q mode may now sound different. For


