wc_tx004029gb_FM10.fm
112
Rammer
Disassembly and Reassembly
4.28
Installing the Engine—Honda
Requirements
■
Torque wrench
■
Loctite® 243
Procedure
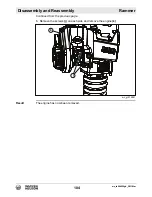
Perform the procedure below to install the GX100 (Honda) engine.
1. With the aid of an assistant, install the engine
(j)
, the heat shield
(k)
, and the two
engine mounting nuts
(e)
. Tighten the nuts
(e)
but do not torque the nuts at this
time.
2. Apply Loctite® 243 to the two 30 mm screws
(m)
and the four 20 mm screws
(n)
.
3. Fasten the lower engine guard
(o)
to the machine with the screws
(m)
and
(n)
.
Torque all six screws to 25 Nm (18 ft.lbs.).
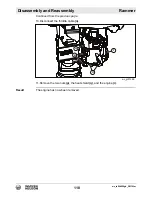
4. Install the low-oil shutdown switch to the lower engine guard
(o)
with two screws
(q)
.
5. Install a new wire tie
(p)
fastening the low-oil shutdown switch wire to the lower
engine guard.
This procedure continues on the next page.
wc_gr012896
j
k
p
o
n
n
m
q
e
Содержание BS 50-4s, BS 50-4As
Страница 1: ...Repair Manual Vibratory Rammer 5100018465 01 1015 5 1 0 0 0 1 8 4 6 5 EN...
Страница 6: ...wc_tx004061gb_FM10 fm 6 Rammer Foreword...
Страница 10: ...Table of Contents Rammer wc_br5100018465_FM10TOC fm 10...
Страница 180: ...wc_td000553gb_FM10 fm 180 Rammer Technical Data Notes...
Страница 192: ......
Страница 193: ......


