Using Interference Analyzer
76
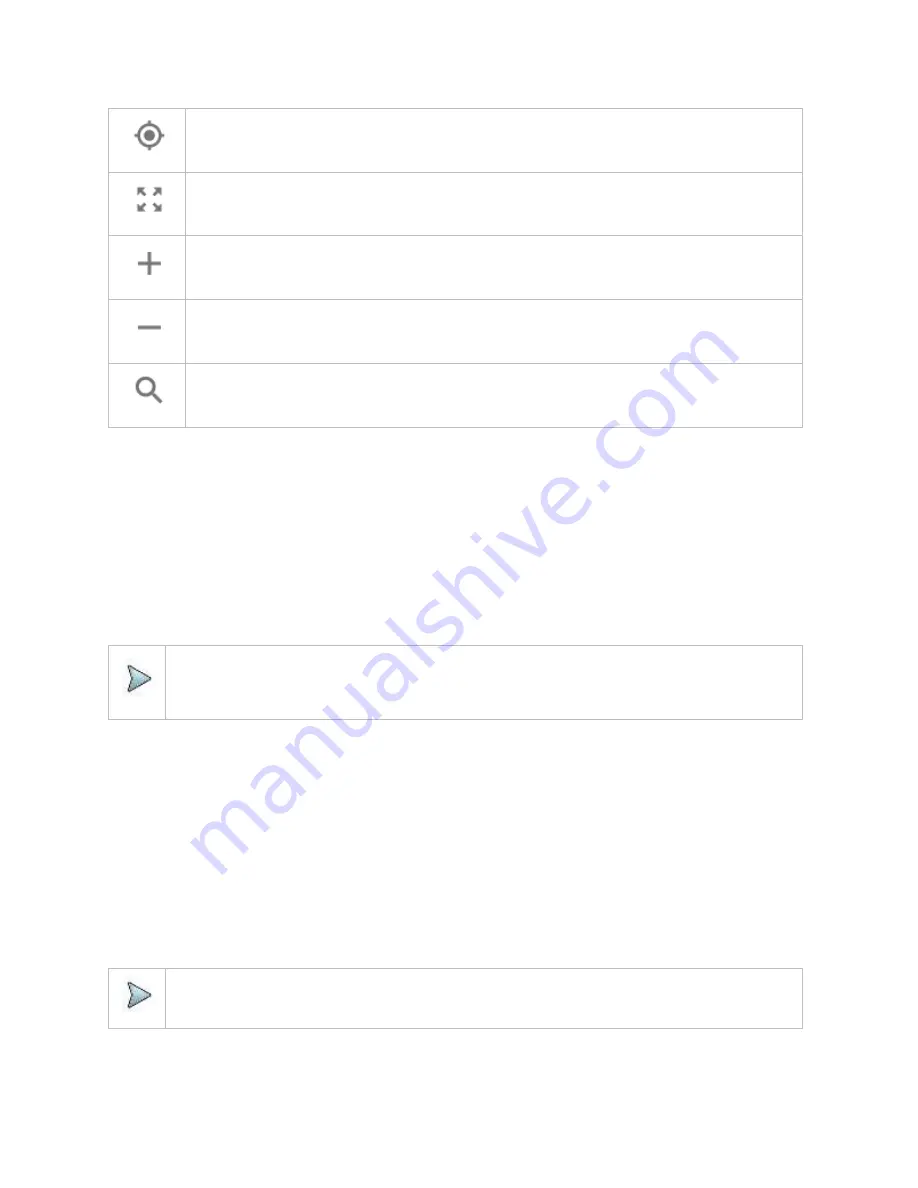
Tap to go to your current location on the map. Once tapped, the purple icon appears on the map indicating your
current location.
Tap to switch to the full screen map view.
Tap to zoom in the map.
Tap to zoom out the map.
Tap and select the area where you want to expand.
Initializing AntennaAdvisor
Once you have connected the AntennaAdvisor Handle to your instrument, antenna initialization is required to get the right azimuth
data. You need to initialize the antenna handle to calibrate the built-in compass by completing the following steps. Note that you can
adjust Bandwidth based on the center frequency of the interfering signal that you have identified in the Spectrum view by tapping the
Setup
>
Bandwidth
. A message appears at the bottom of the screen to alert you if you have not performed initialization of your
connected the antenna handle set.
1
Hold your antenna handle horizontally in its upright position.
To avoid unnecessary impact of external magnetic field, position yourself at the location where the value of magnetic field
strength displayed on the instrument is green.
2
Point the antenna to the north and tap the
Setup
>
Initialize AntennaAdvisor
.
The message disappears and the red line for the current antenna direction moves to the 0-degree line and overlaps to let you
know that the initialization is done successfully.
NOTE:
It is recommended that you re-initialize the AntennaAdvisor Handle after measurements to re-calibrate the compass
when you notice that the red line on the radar chart is not aligned with the north on the map even though you are
pointing the antenna to the north.
Obtaining RSSI data
Once you have connected your antenna handle set and done necessary setups, you can monitor the power level of the received
signal, the amount of polarization, and elevation level real time. Using the Trigger button on the antenna handle set, you can plot the
RSSI level through 360 degrees at your location.
1
When you have the green GPS indicator, Tap the
GPS
icon on the side panel to set your current location to the center of the
radar chart. The latitude and longitude information at the side of the di
splay changes from ‘Unknown Position’ to the obtained
position information.
2
Tap the
Save Position
icon on the side panel to save a position to recall for triangulation in the
Interference Finder
mode and
select one that you want to save.
3
Monitor the RSSI reading of the received signal. If the signal is weak, turn on the LNA switch on the antenna handle set to
improve S/N.
4
The message disappears and the red line for the current antenna direction moves to the 0-degree line and overlaps to let you
know that the initialization is done successfully.
NOTE:
The AntennaAdvisor Handle has a built-in low-noise amplifier (LNA) and you can turn it on and off by toggling the
physical On/Off switch located on the rear side of the handle unit.
5
Hold the antenna handle set horizontally and then make the following measurement.
6
The message disappears and the red line for the current antenna direction moves to the 0-degree line and overlaps to let you
know that the initialization is done successfully.
Содержание CellAdvisor 5G
Страница 1: ...1 CellAdvisorTM 5G User s Guide ...
Страница 2: ......
Страница 18: ......
Страница 22: ......
Страница 110: ......
Страница 146: ......
Страница 182: ...Using LTE LTE A TDD Analyzer 170 CCDF measurement with LTE LTE A TDD Analyzer ...
Страница 264: ......
Страница 312: ......
Страница 332: ......
Страница 338: ......
Страница 346: ...Using RFoCPRI Analyzer 334 Rx Settings with RFoCPRI Analyzer ...
Страница 352: ......
Страница 356: ...Appendix 344 ...
Страница 357: ...345 ...
Страница 358: ......


