
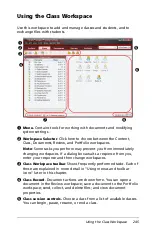
Using the Class Workspace
247
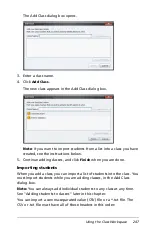
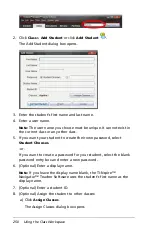
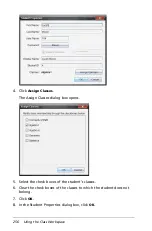
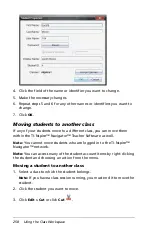
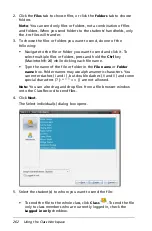
The Add Class dialog box opens.
3. Enter a class name.
4. Click
Add Class
.
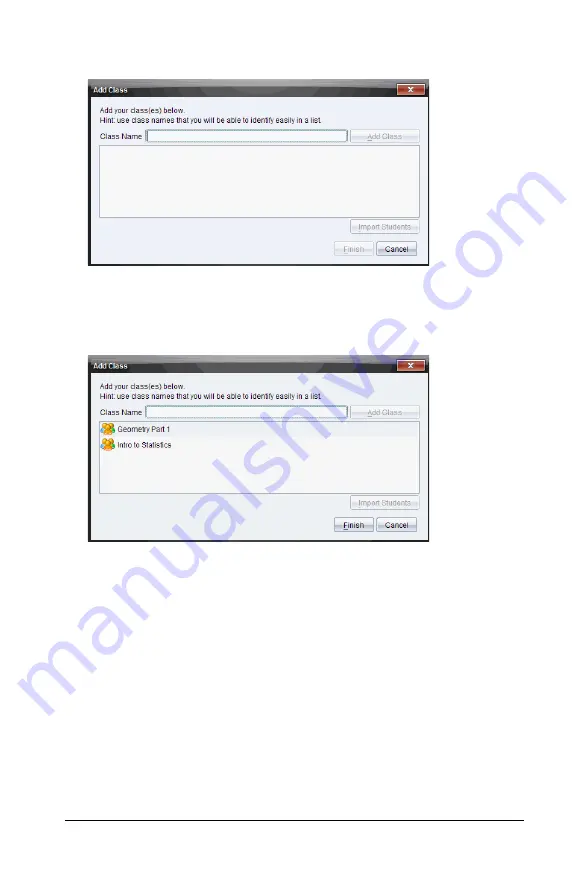
The new class appears in the Add Class dialog box.
Note
: If you want to import students from a list into a class you have
created, see the instructions below.
5. Continue adding classes, and click
Finish
when you are done.
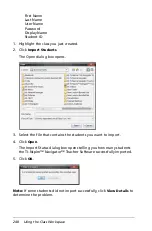
Importing students
When you add a class, you can import a list of students into the class. You
must import students while you are adding classes, in the Add Class
dialog box.
Note:
You can always add individual students to any class at any time.
See "Adding students to classes" later in this chapter.
You can import a comma-separated value (CSV) file or a *.txt file. The
CSV or .txt file must have all of these headers in this order:
Содержание TI-Nspire
Страница 38: ...26 Setting up the TI Nspire Navigator Teacher Software ...
Страница 46: ...34 Getting started with the TI Nspire Navigator Teacher Software ...
Страница 84: ...72 Using the Content Workspace ...
Страница 180: ...168 Capturing Screens ...
Страница 256: ...244 Embedding documents in web pages ...
Страница 332: ...320 Polling students For detailed information on viewing and sorting poll results see Using the Review Workspace ...
Страница 336: ...324 Polling students ...
Страница 374: ...362 Using the Review Workspace ...
Страница 436: ...424 Calculator ...
Страница 450: ...438 Using Variables ...
Страница 602: ...590 Using Lists Spreadsheet ...
Страница 676: ...664 Using Notes You can also change the sample size and restart the sampling ...
Страница 684: ...672 Libraries ...
Страница 714: ...702 Programming ...
Страница 828: ...816 Data Collection and Analysis ...
Страница 846: ...834 Regulatory Information ...
Страница 848: ...836 ...


