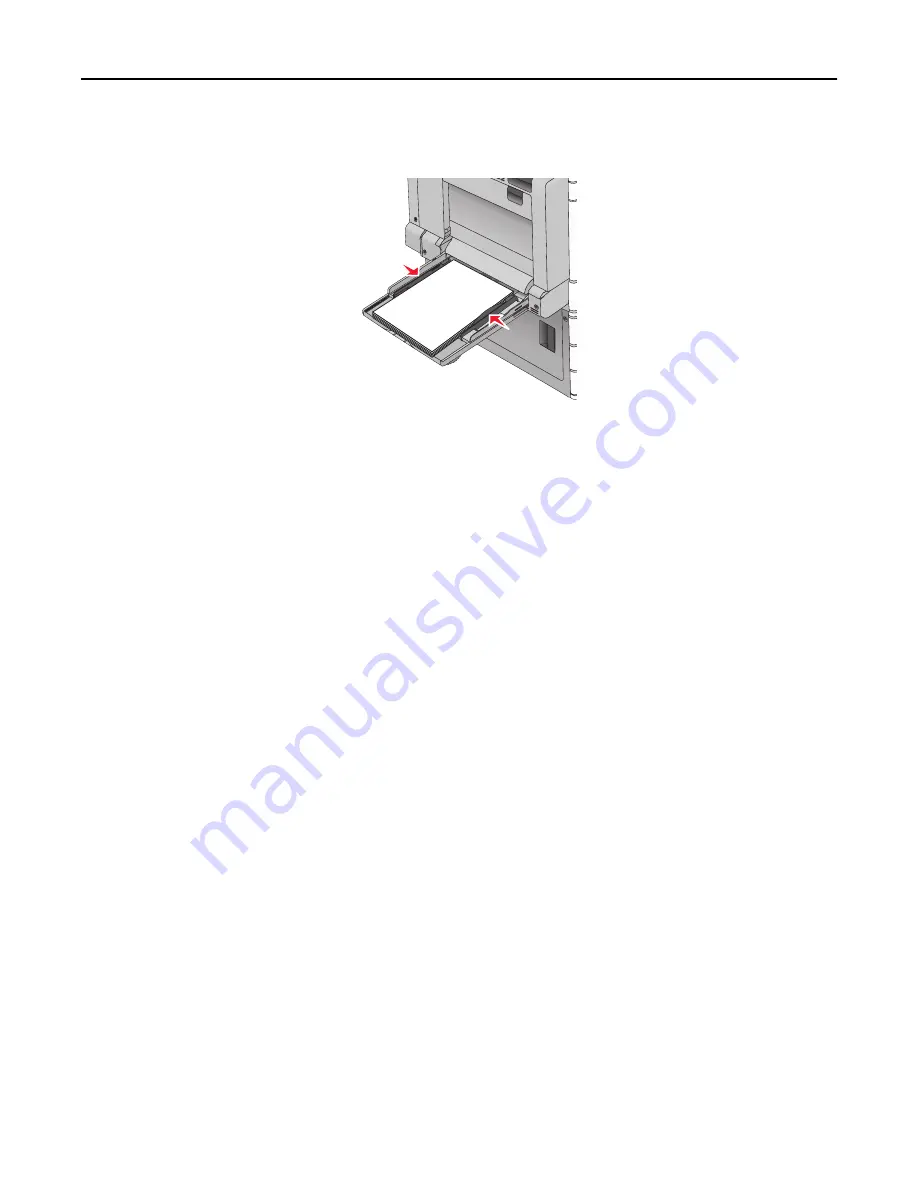
5
Adjust the width guide to lightly touch the edge of the stack. Make sure the paper or specialty media fits loosely in
the multipurpose feeder, lies flat, and is not bent or wrinkled.
6
From the printer control panel, set the Paper Size and Paper Type for the multipurpose feeder (MP Feeder Size and
MP Feeder Type) based on the paper or specialty media loaded.
Linking and unlinking trays
Linking trays
Tray linking is useful for large print jobs or for printing multiple copies. When one linked tray is empty, paper feeds
from the next linked tray. When the Paper Size and Paper Type settings are the same for any trays, the trays are
automatically linked. The Paper Size setting is automatically sensed according to the position of the paper guides in
each tray except Tray 1 and the multipurpose feeder. The Paper Size setting for the multipurpose feeder must be set
manually from the Paper Size menu. The Paper Type setting must be set for all trays from the Paper Type menu. The
Paper Type menu and the Paper Size menu are both available from the Paper Size/Type menu.
Unlinking trays
Note:
Trays that do not have the same settings as any other tray are not linked.
Change one of the following tray settings:
•
Paper Type
Paper Type names describe the paper characteristics. If the name that best describes your paper is used by linked
trays, assign a different Paper Type name to the tray, such as Custom Type [x], or define your own custom name.
•
Paper Size
Load a different paper size to automatically change the Paper Size setting for a tray. Paper Size settings for the
multipurpose feeder are not automatic; they must be set manually from the Paper Size menu.
Warning—Potential Damage:
Do not assign a Paper Type name that does not accurately describe the type of paper
loaded in a tray. The temperature of the fuser varies according to the specified Paper Type. Prints may not be
properly processed if an inaccurate Paper Type is selected.
Loading paper and specialty media
82
Содержание X950de 4
Страница 28: ...Touch To Reset Reset values on the screen Understanding the home screen 28 ...
Страница 242: ...4 Locate the printhead wipers Maintaining the printer 242 ...
Страница 244: ...7 Slide the release lever to the right to lock the cover 8 Close the front door Maintaining the printer 244 ...
Страница 245: ...Emptying the hole punch box 1 Open door G 2 Pull out the hole punch box Maintaining the printer 245 ...
Страница 254: ...11 Close the cover 12 Rotate the release lever clockwise to lock the cover Maintaining the printer 254 ...
Страница 259: ...7 Lower the cover 8 Slide out the printhead wipers 3x 3x 3x Maintaining the printer 259 ...
Страница 260: ...9 Slide the printhead wipers back into place 10 Close the cover Maintaining the printer 260 ...
Страница 266: ...3 Hold the tabs on both sides of the staple cartridge Maintaining the printer 266 ...
Страница 267: ...4 Rotate the booklet staple cartridge at an angle Maintaining the printer 267 ...
Страница 285: ...2 Open the top cover 1 2 2 3 Firmly grasp the jammed paper on each side and then gently pull it out Clearing jams 285 ...


