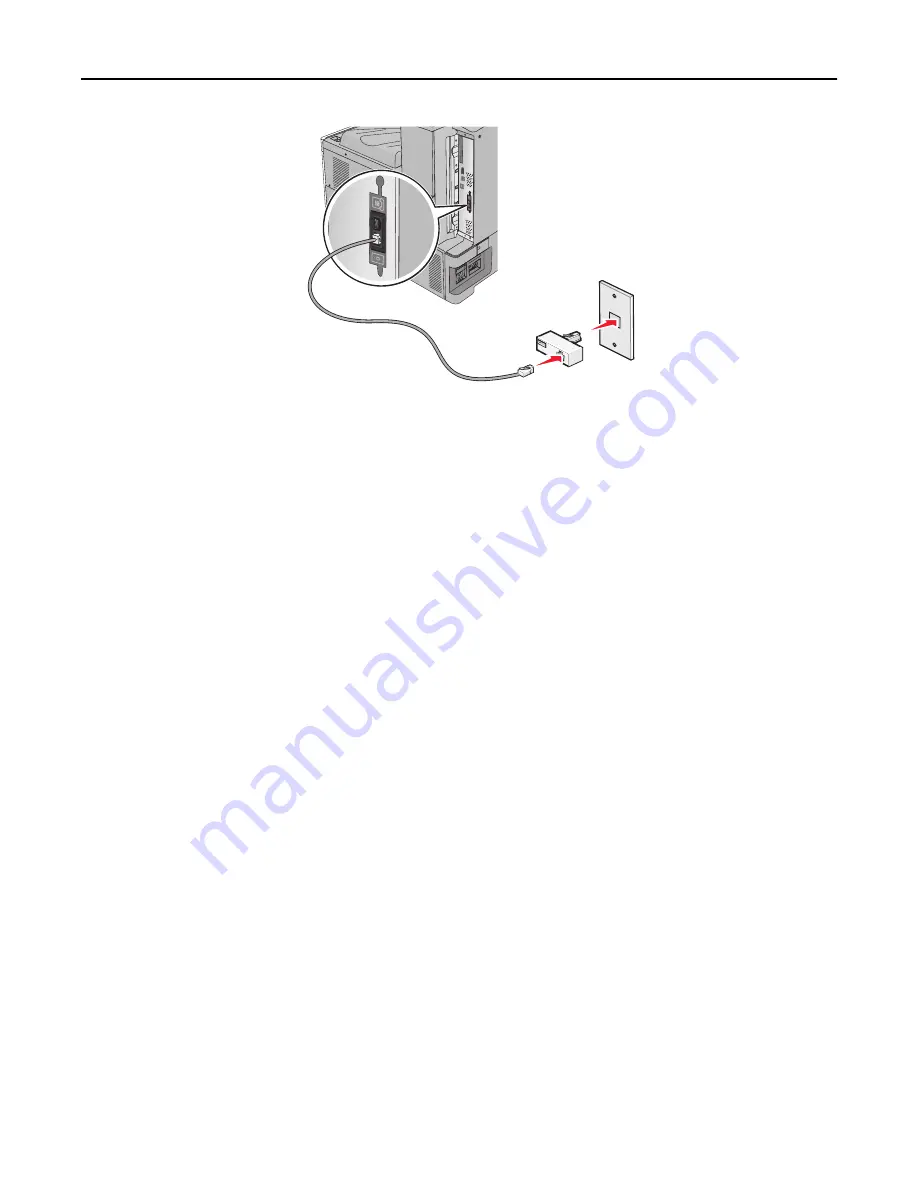
Setting the outgoing fax or station name and number
1
Type the printer IP address into the address field of your Web browser.
If you do not know the IP address of the printer, you can:
•
View the IP address on the printer control panel in the TCP/IP section under the Networks/Ports menu.
•
Print a network setup page or the menu settings pages and locate the IP address in the TCP/IP section.
2
Click
Settings
>
Fax Settings
>
Analog Fax Setup
.
3
In the Fax Name or Station Name field, enter the name to be printed on all outgoing faxes.
4
In the Fax Number or Station Number field, enter the printer fax number.
5
Click
Submit
.
Setting the date and time
You can set the date and time so that they are printed on every fax you send. If there is a power failure, then you may
have to reset the date and time.
1
Type the printer IP address in the address field of your Web browser.
If you do not know the IP address of the printer, then you can:
•
View the IP address on the printer control panel in the TCP/IP section under the Networks/Ports menu.
•
Print a network setup page or the menu settings pages and locate the IP address in the TCP/IP section.
2
Click
Security
>
Set Date and Time
.
3
In the Set Date & Time field, enter the current date and time.
4
Click
Submit
.
Note:
It is recommended to use the network time.
Faxing
128
Содержание X950de 4
Страница 28: ...Touch To Reset Reset values on the screen Understanding the home screen 28 ...
Страница 242: ...4 Locate the printhead wipers Maintaining the printer 242 ...
Страница 244: ...7 Slide the release lever to the right to lock the cover 8 Close the front door Maintaining the printer 244 ...
Страница 245: ...Emptying the hole punch box 1 Open door G 2 Pull out the hole punch box Maintaining the printer 245 ...
Страница 254: ...11 Close the cover 12 Rotate the release lever clockwise to lock the cover Maintaining the printer 254 ...
Страница 259: ...7 Lower the cover 8 Slide out the printhead wipers 3x 3x 3x Maintaining the printer 259 ...
Страница 260: ...9 Slide the printhead wipers back into place 10 Close the cover Maintaining the printer 260 ...
Страница 266: ...3 Hold the tabs on both sides of the staple cartridge Maintaining the printer 266 ...
Страница 267: ...4 Rotate the booklet staple cartridge at an angle Maintaining the printer 267 ...
Страница 285: ...2 Open the top cover 1 2 2 3 Firmly grasp the jammed paper on each side and then gently pull it out Clearing jams 285 ...


