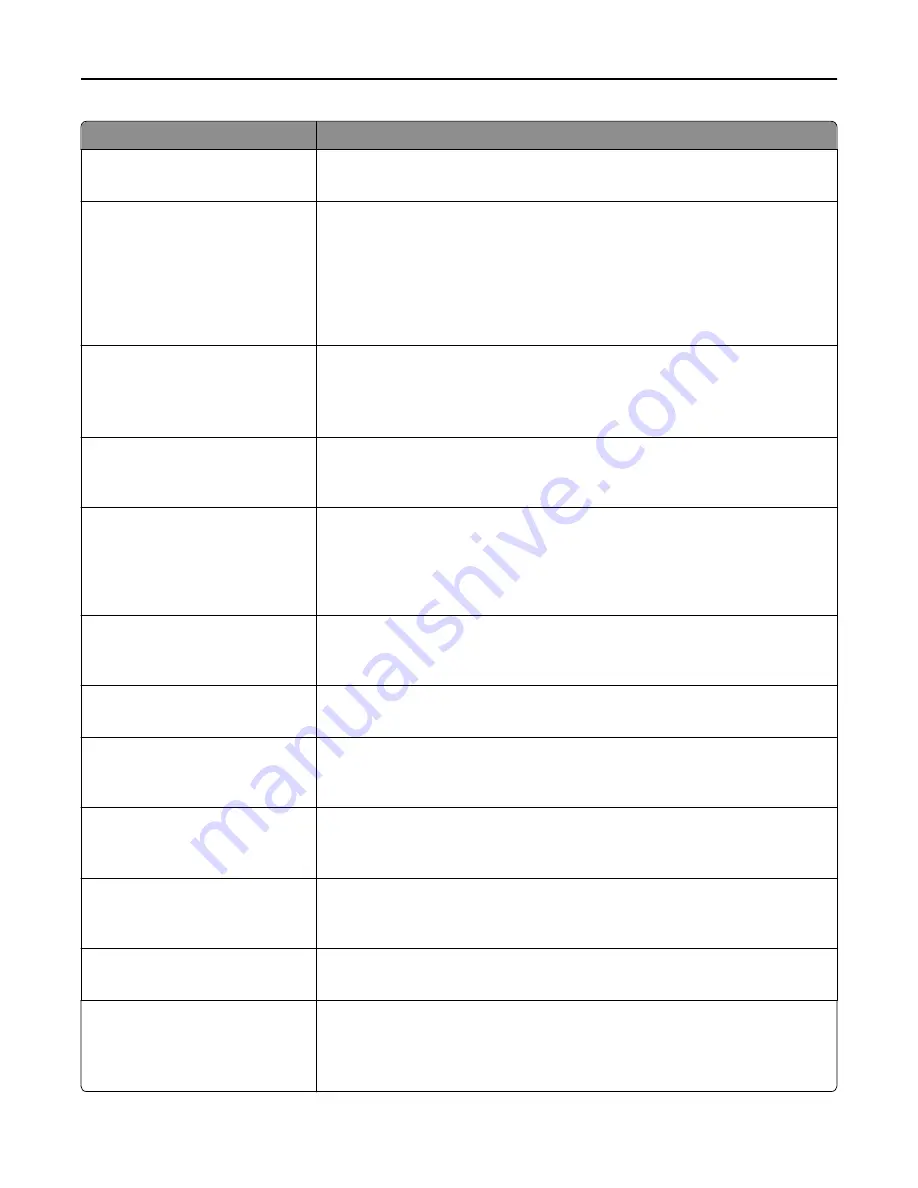
Menu item
Description
Photo Default
5–90
Sets the quality of a photo image in relation to file size and the quality of the image
Note:
50 is the factory default setting.
Use Multi
‑
Page TIFF
On
Off
Provides a choice between single-page TIFF files and multiple
‑
page TIFF files. For a
multiple-page scan
‑
to
‑
FTP job, either one TIFF file is created containing all the pages,
or multiple TIFF files are created with one file for each page of the job.
Notes:
•
On is the factory default setting.
•
This menu applies to all scan functions.
Transmission Log
Print log
Do not print log
Print only for error
Specifies whether the transmission log prints
Note:
“Print log” is the factory default setting.
Log Paper Source
Tray [x]
Manual Feeder
Specifies a paper source when printing FTP logs
Note:
Tray 1 is the factory default setting.
Log Output Bin
Standard Bin
Bin [x]
Specifies an exit bin for FTP logs
Notes:
•
Standard Bin is the factory default setting.
•
Bin [x] only appears when at least one optional exit bin is installed.
FTP bit Depth
8 bit
1 bit
Enables the Text/Photo mode to have smaller file sizes by using 1
‑
bit images when
Color is set to Off
Note:
8 bit is the factory default setting.
Base File Name
Lets you enter a base file name
Note:
The limitation is 53 characters.
Custom Job Scanning
Off
On
Lets you copy a document that contains mixed paper sizes into a single scan job
Note:
Off is the factory default setting.
Scan Preview
Off
On
Specifies whether a preview will appear on the display for scan jobs
Note:
Off is the factory default setting.
Allow Save as Shortcut
On
Off
Enables shortcut creation for FTP addresses
Note:
On is the factory default setting.
Background Removal
‑
4 to 4
Adjusts the amount of background visible on a copy
Note:
0 is the factory default setting.
Color Balance
Cyan - Red
Magenta - Green
Yellow - Blue
Enables an equal balance of colors in the output
Understanding printer menus
212
Содержание X950de 4
Страница 28: ...Touch To Reset Reset values on the screen Understanding the home screen 28 ...
Страница 242: ...4 Locate the printhead wipers Maintaining the printer 242 ...
Страница 244: ...7 Slide the release lever to the right to lock the cover 8 Close the front door Maintaining the printer 244 ...
Страница 245: ...Emptying the hole punch box 1 Open door G 2 Pull out the hole punch box Maintaining the printer 245 ...
Страница 254: ...11 Close the cover 12 Rotate the release lever clockwise to lock the cover Maintaining the printer 254 ...
Страница 259: ...7 Lower the cover 8 Slide out the printhead wipers 3x 3x 3x Maintaining the printer 259 ...
Страница 260: ...9 Slide the printhead wipers back into place 10 Close the cover Maintaining the printer 260 ...
Страница 266: ...3 Hold the tabs on both sides of the staple cartridge Maintaining the printer 266 ...
Страница 267: ...4 Rotate the booklet staple cartridge at an angle Maintaining the printer 267 ...
Страница 285: ...2 Open the top cover 1 2 2 3 Firmly grasp the jammed paper on each side and then gently pull it out Clearing jams 285 ...


