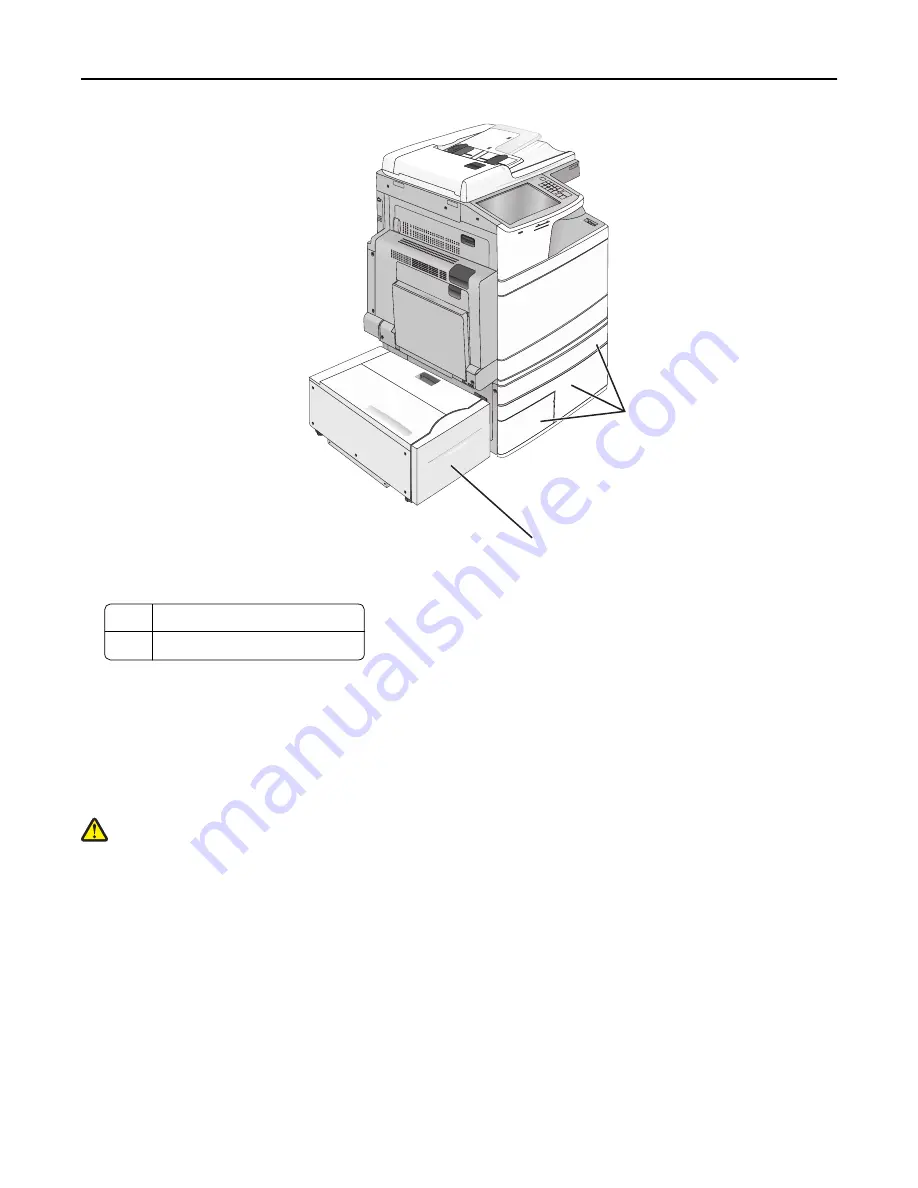
1
2
Tandem
‑
tray module
1
Tandem
‑
tray module
2
2,000
‑
sheet high
‑
capacity feeder
5
Turn the printer back on.
6
Set the printer software to recognize the optional tray. For more information, see “Updating available options in
the printer driver” on page 54.
Attaching cables
CAUTION—POTENTIAL INJURY:
Do not use the fax feature during a lightning storm. Do not set up this product
or make any electrical or cabling connections, such as the fax feature, power cord, or telephone, during a
lightning storm.
Connect the printer to the computer using a USB cable or Ethernet cable.
Be sure to match the following:
•
The USB symbol on the cable with the USB symbol on the printer
•
The appropriate Ethernet cable to the Ethernet port
Additional printer setup
52
Содержание X950de 4
Страница 28: ...Touch To Reset Reset values on the screen Understanding the home screen 28 ...
Страница 242: ...4 Locate the printhead wipers Maintaining the printer 242 ...
Страница 244: ...7 Slide the release lever to the right to lock the cover 8 Close the front door Maintaining the printer 244 ...
Страница 245: ...Emptying the hole punch box 1 Open door G 2 Pull out the hole punch box Maintaining the printer 245 ...
Страница 254: ...11 Close the cover 12 Rotate the release lever clockwise to lock the cover Maintaining the printer 254 ...
Страница 259: ...7 Lower the cover 8 Slide out the printhead wipers 3x 3x 3x Maintaining the printer 259 ...
Страница 260: ...9 Slide the printhead wipers back into place 10 Close the cover Maintaining the printer 260 ...
Страница 266: ...3 Hold the tabs on both sides of the staple cartridge Maintaining the printer 266 ...
Страница 267: ...4 Rotate the booklet staple cartridge at an angle Maintaining the printer 267 ...
Страница 285: ...2 Open the top cover 1 2 2 3 Firmly grasp the jammed paper on each side and then gently pull it out Clearing jams 285 ...


