S
ELECT
ANOTHER
TRAY
OR
FEEDER
•
From the printer control panel Paper Menu, select Default Source.
•
For Windows users, select the paper source from Print Properties.
•
For Macintosh users, select the paper source from the Print dialog and pop
‑
up menus.
M
AKE
SURE
THERE
IS
NO
WORN
,
DEFECTIVE
,
OR
EMPTY
TONER
CARTRIDGE
Replace the worn, defective, or empty toner cartridge.
C
LEAR
THE
PAPER
PATH
AROUND
THE
TONER
CARTRIDGE
CAUTION—HOT SURFACE:
The inside of the printer might be hot. To reduce the risk of injury from a hot
component, allow the surface to cool before touching.
Clear any paper you see or clean any visible toner from the paper path. If the problem persists, then contact Customer
Support.
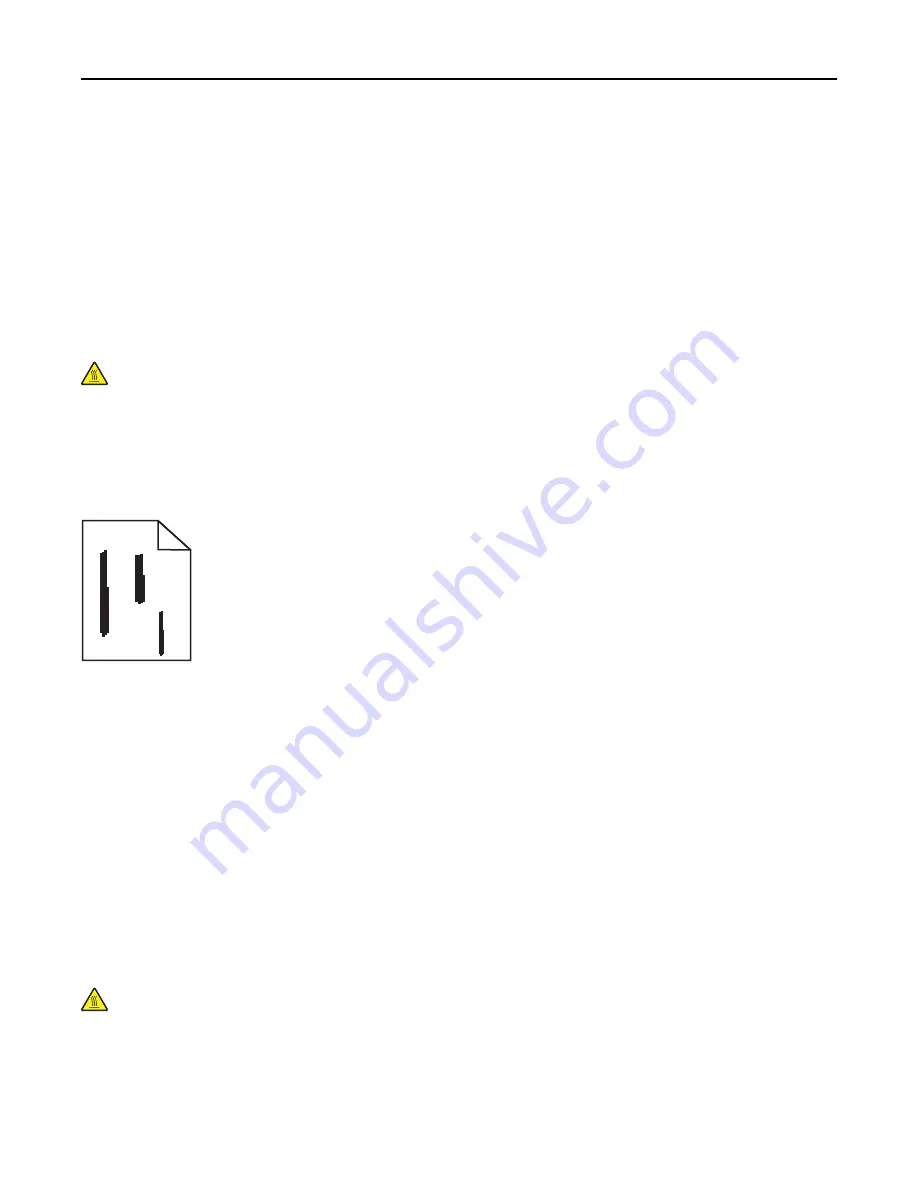
Streaked vertical lines appear on prints
ABCDE
ABCDE
ABCDE
Try one or more of the following:
S
ELECT
ANOTHER
TRAY
OR
FEEDER
•
From the printer control panel Paper menu, select Default Source
•
For Windows users, select the paper source from Print Properties.
•
For Macintosh users, select the paper source from the Print dialog and pop
‑
up menus.
M
AKE
SURE
THERE
IS
NO
WORN
,
DEFECTIVE
,
OR
EMPTY
TONER
CARTRIDGE
Replace the worn, defective, or empty toner cartridge.
C
LEAR
THE
PAPER
PATH
AROUND
THE
TONER
CARTRIDGE
Check the paper path around the toner cartridge.
CAUTION—HOT SURFACE:
The inside of the printer might be hot. To reduce the risk of injury from a hot
component, allow the surface to cool before touching.
Clear any paper you see.
M
AKE
SURE
THERE
IS
NO
TONER
IN
THE
PAPER
PATH
Troubleshooting
340
Содержание X950de 4
Страница 28: ...Touch To Reset Reset values on the screen Understanding the home screen 28 ...
Страница 242: ...4 Locate the printhead wipers Maintaining the printer 242 ...
Страница 244: ...7 Slide the release lever to the right to lock the cover 8 Close the front door Maintaining the printer 244 ...
Страница 245: ...Emptying the hole punch box 1 Open door G 2 Pull out the hole punch box Maintaining the printer 245 ...
Страница 254: ...11 Close the cover 12 Rotate the release lever clockwise to lock the cover Maintaining the printer 254 ...
Страница 259: ...7 Lower the cover 8 Slide out the printhead wipers 3x 3x 3x Maintaining the printer 259 ...
Страница 260: ...9 Slide the printhead wipers back into place 10 Close the cover Maintaining the printer 260 ...
Страница 266: ...3 Hold the tabs on both sides of the staple cartridge Maintaining the printer 266 ...
Страница 267: ...4 Rotate the booklet staple cartridge at an angle Maintaining the printer 267 ...
Страница 285: ...2 Open the top cover 1 2 2 3 Firmly grasp the jammed paper on each side and then gently pull it out Clearing jams 285 ...


