M
AKE
SURE
THE
PRINTER
IS
CLEAN
OR
IS
NOT
CONTAMINATED
WITH
PAPER
DUST
Clean the exterior of the printer
1
Make sure that the printer is turned off and unplugged from the wall outlet.
Warning—Potential Damage:
To avoid the risk of electric shock when cleaning the exterior of the printer,
unplug the power cord from the wall outlet and disconnect all cables to the printer before proceeding.
2
Remove paper from the standard exit bin.
3
Dampen a clean, lint-free cloth with water.
Warning—Potential Damage:
Do not use household cleaners or detergents, as they may damage the finish of
the printer.
4
Wipe only the exterior of the printer, making sure to include the standard exit bin.
Warning—Potential Damage:
Using a damp cloth to clean the interior may cause damage to your printer.
5
Make sure the paper support and standard exit bin are dry before beginning a new print job.
M
AKE
SURE
THE
PAPER
FEED
ROLLERS
ARE
CLEAN
AND
ARE
NOT
CONTAMINATED
WITH
DUST
1
Turn the printer off using the power switch, and then unplug the power cord from the wall outlet.
2
Remove the paper feed rollers.
Note:
For instructions on how to remove and reinstall the paper feed rollers, see the setup sheet that came with
the rollers inside the compartment box of Tray 1.
3
Dampen a clean, lint-free cloth with water.
4
Clean the paper feed rollers.
Warning—Potential Damage:
Do not touch the rubber. Doing so will damage the rollers.
5
Reinstall the paper feed rollers.
Note:
Make sure to replace the worn or defective paper feed rollers.
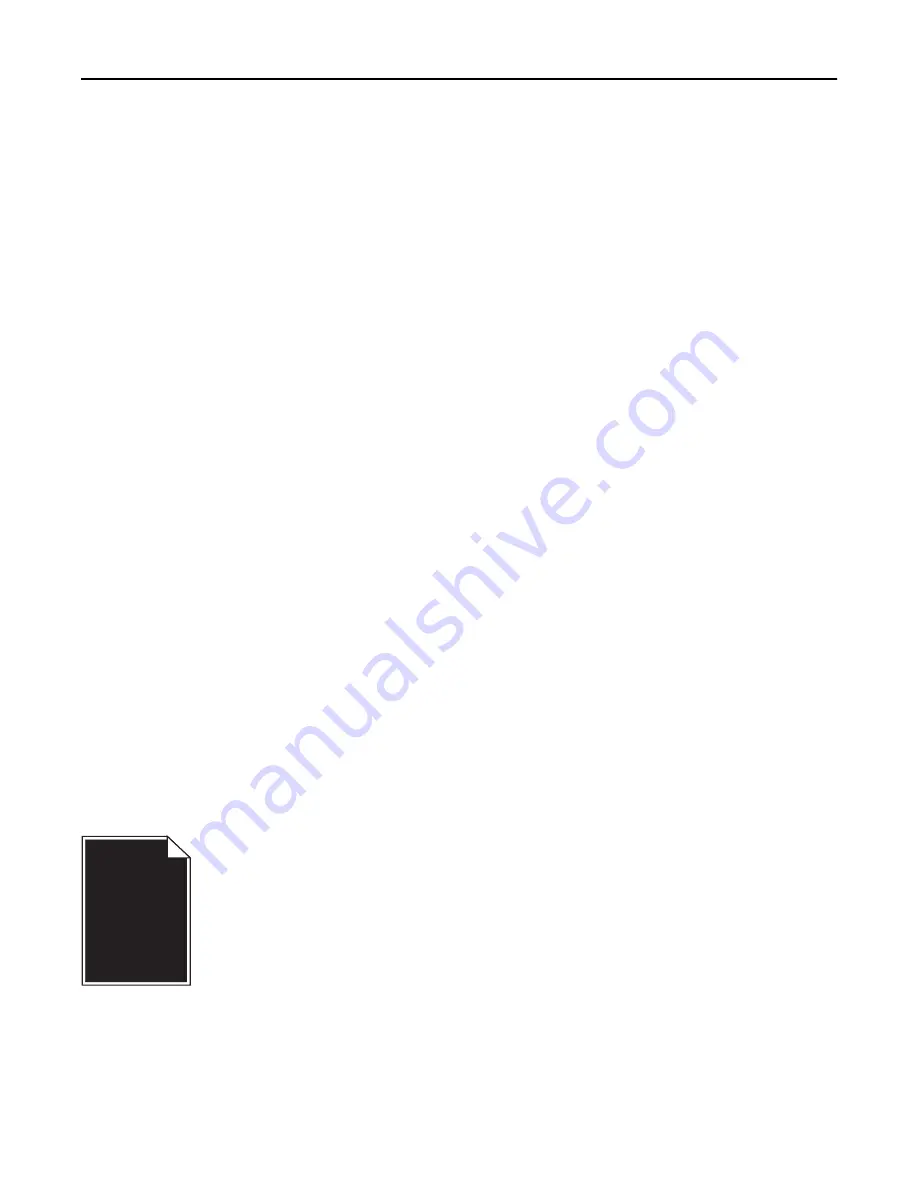
Solid color pages
M
AKE
SURE
THE
PHOTOCONDUCTOR
IS
NOT
DEFECTIVE
AND
IS
INSTALLED
CORRECTLY
Remove and then reinstall the photoconductor. If the problem continues, then the photoconductor may need to be
replaced.
Troubleshooting
338
Содержание X950de 4
Страница 28: ...Touch To Reset Reset values on the screen Understanding the home screen 28 ...
Страница 242: ...4 Locate the printhead wipers Maintaining the printer 242 ...
Страница 244: ...7 Slide the release lever to the right to lock the cover 8 Close the front door Maintaining the printer 244 ...
Страница 245: ...Emptying the hole punch box 1 Open door G 2 Pull out the hole punch box Maintaining the printer 245 ...
Страница 254: ...11 Close the cover 12 Rotate the release lever clockwise to lock the cover Maintaining the printer 254 ...
Страница 259: ...7 Lower the cover 8 Slide out the printhead wipers 3x 3x 3x Maintaining the printer 259 ...
Страница 260: ...9 Slide the printhead wipers back into place 10 Close the cover Maintaining the printer 260 ...
Страница 266: ...3 Hold the tabs on both sides of the staple cartridge Maintaining the printer 266 ...
Страница 267: ...4 Rotate the booklet staple cartridge at an angle Maintaining the printer 267 ...
Страница 285: ...2 Open the top cover 1 2 2 3 Firmly grasp the jammed paper on each side and then gently pull it out Clearing jams 285 ...


