Installing the printer on a wireless network (Macintosh)
Make sure to disconnect the Ethernet cable when installing the printer on a wireless network.
Prepare to configure the printer
1
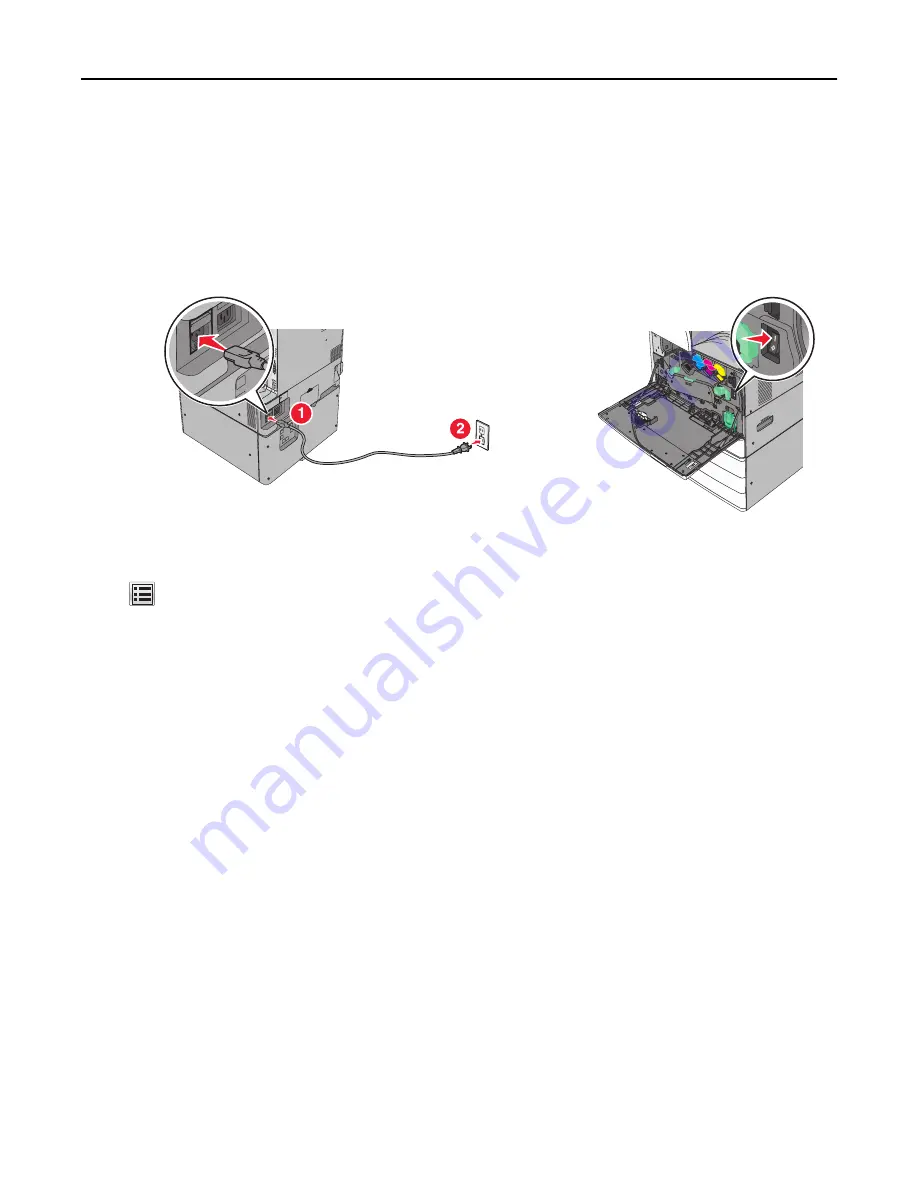
Connect the power cable to the printer and then to a properly grounded electrical outlet, and then turn the printer
on.
2
Locate the printer MAC address.
a
From the home screen, navigate to:
>
Reports
>
Network Setup Page
b
In the Standard Network Card section, look for
UAA (MAC)
.
Note:
You will need this information later.
Enter the printer information
1
Access the AirPort options:
In Mac OS X version 10.5 or later
From the Apple menu, navigate to:
System Preferences
>
Network
>
AirPort
In Mac OS X version 10.4 or earlier
From the Finder, navigate to:
Applications
>
Internet Connect
>
AirPort
2
From the Network Name pop
‑
up menu, select
print server [yyyyyy]
, where the
y
's are the last six digits of the MAC
address located on the MAC address sheet.
3
Open a Web browser.
4
From the Bookmarks menu, select
Show
or
Show All Bookmarks
.
5
Under COLLECTIONS, select
Bonjour
or
Rendezvous
, and then double
‑
click the printer name.
Note:
The application referred to as
Rendezvous
in Mac OS X version 10.2 is now called
Bonjour
by Apple Inc.
6
From the Embedded Web Server, navigate to where the wireless settings information are stored.
Additional printer setup
58
Содержание X950de 4
Страница 28: ...Touch To Reset Reset values on the screen Understanding the home screen 28 ...
Страница 242: ...4 Locate the printhead wipers Maintaining the printer 242 ...
Страница 244: ...7 Slide the release lever to the right to lock the cover 8 Close the front door Maintaining the printer 244 ...
Страница 245: ...Emptying the hole punch box 1 Open door G 2 Pull out the hole punch box Maintaining the printer 245 ...
Страница 254: ...11 Close the cover 12 Rotate the release lever clockwise to lock the cover Maintaining the printer 254 ...
Страница 259: ...7 Lower the cover 8 Slide out the printhead wipers 3x 3x 3x Maintaining the printer 259 ...
Страница 260: ...9 Slide the printhead wipers back into place 10 Close the cover Maintaining the printer 260 ...
Страница 266: ...3 Hold the tabs on both sides of the staple cartridge Maintaining the printer 266 ...
Страница 267: ...4 Rotate the booklet staple cartridge at an angle Maintaining the printer 267 ...
Страница 285: ...2 Open the top cover 1 2 2 3 Firmly grasp the jammed paper on each side and then gently pull it out Clearing jams 285 ...


