00000000000000000
00000000000000000
00000000000000000
00000000000000000
00000000000000000
00000000000000000
00000000000000000
00000000000000000
00000000000000000
00000000000000000
00000000000000000
00000
00000
00000
00000
0000
0000
0000
0000
0000
0000
0000
0000
0000
0000
0000
0000
0000
0000
0000
0000
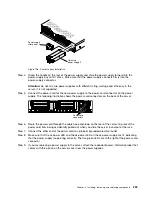
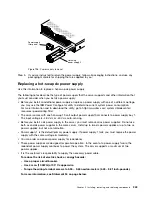
Hot-swap
power supply 2
Power supply
filler panel
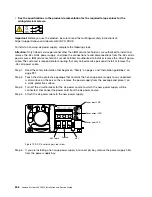
Figure 200. Power supply installation
Step 6.
Grasp the handle on the rear of the power supply and slide the power supply forward into the
power-supply bay until it clicks. Make sure that the power supply connects firmly into the
power-supply connector.
Step 7.
Route the power cord through the handle and cable tie if any, so that it does not accidentally
become unplugged.
Step 8.
Connect the other ends of the dc power cable to the dc power source. Cut the wires to the correct
length, but do not cut them shorter than 150 mm (6 inch). If the power source requires ring
terminals, you must use a crimping tool to install the ring terminals to the power cord wires. The
ring terminals must be UL approved and must accommodate the wires that are described on page
“Replacing a hot-swap dc power supply” on page 243. The minimum nominal thread diameter
of a pillar or stud type of terminal must be 4 mm; for a screw type of terminal the diameter must
be 5.0 mm.
Step 9.
Turn on the circuit breaker for the dc power source to which the new power supply is connected.
Step 10. Make sure that the green power LEDs on the power supply are lit, indicating that the power supply
is operating correctly.
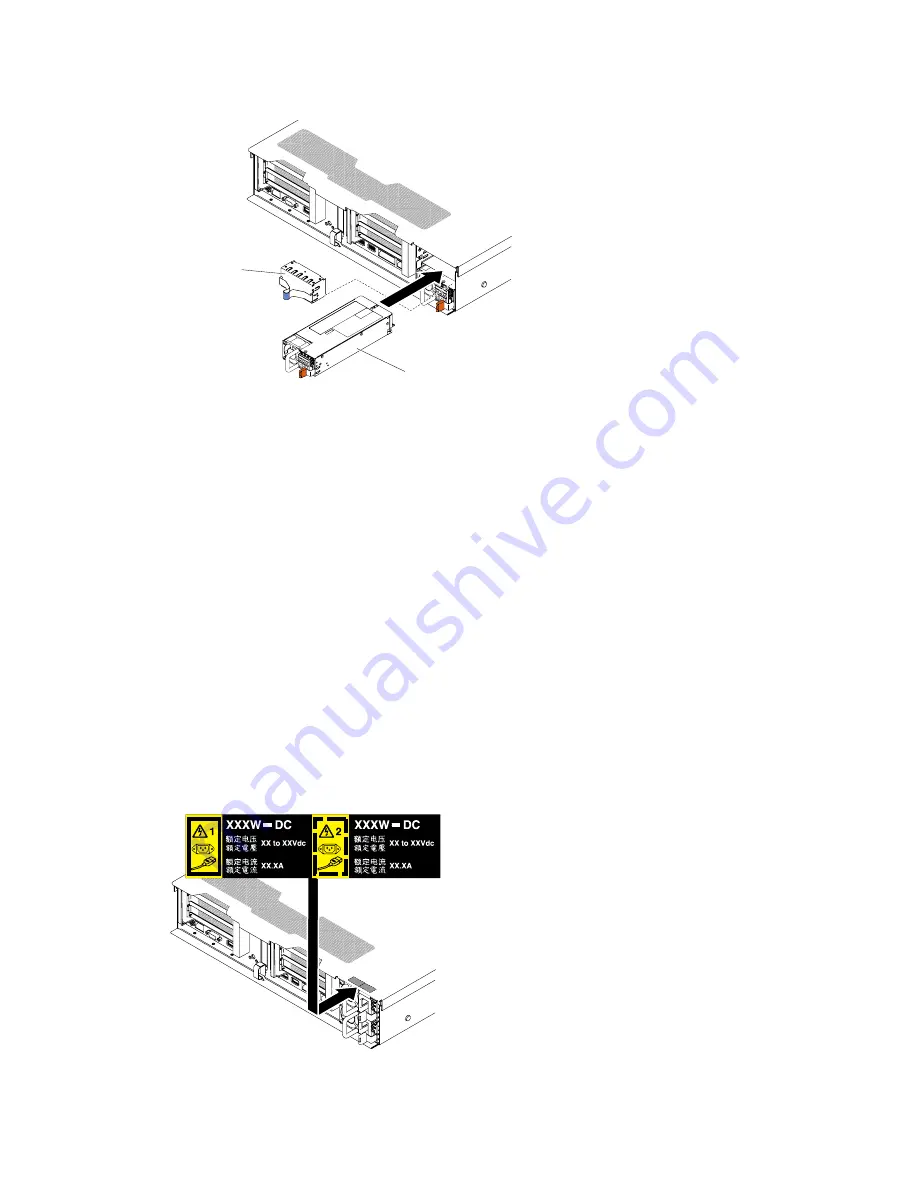
Step 11. If you are replacing a power supply to the server, attach the redundant power information label that
comes with this option on the server cover near the power supplies.
00000000000000000
00000000000000000
00000000000000000
00000000000000000
00000000000000000
00000000000000000
00000000000000000
00000000000000000
00000000000000000
00000000000000000
00000
00000
00000
00000
0000
0000
0000
0000
0000
0000
0000
0000
0000
0000
0000
0000
0000
0000
0000
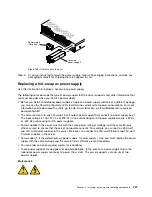
Figure 201. Redundant power information label
Installing, removing, and replacing components
247
Содержание x3650 M5
Страница 1: ...Lenovo System x3650 M5 Installation and Service Guide Machine Type 8871 ...
Страница 47: ...Figure 35 System board switches jumpers and buttons Chapter 1 The System x3650 M5 server 35 ...
Страница 60: ...48 Lenovo System x3650 M5 Installation and Service Guide ...
Страница 80: ...68 Lenovo System x3650 M5 Installation and Service Guide ...
Страница 124: ...112 Lenovo System x3650 M5 Installation and Service Guide ...
Страница 146: ...134 Lenovo System x3650 M5 Installation and Service Guide ...
Страница 1322: ...1310 Lenovo System x3650 M5 Installation and Service Guide ...
Страница 1329: ...People s Republic of China Class A electronic emission statement Taiwan Class A compliance statement Appendix E Notices 1317 ...
Страница 1330: ...Taiwan BSMI RoHS declaration 1318 Lenovo System x3650 M5 Installation and Service Guide ...
Страница 1339: ......
Страница 1340: ......

