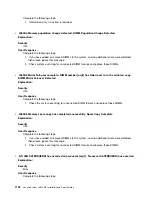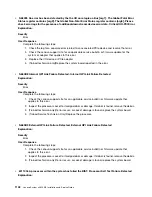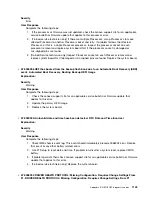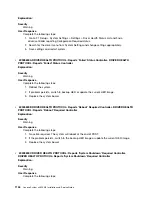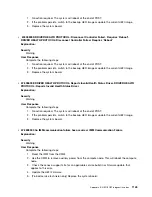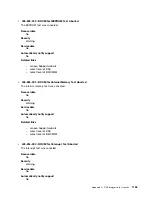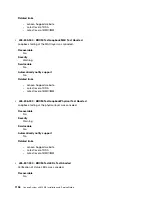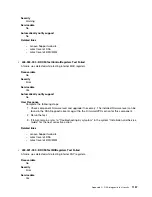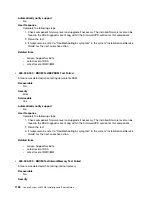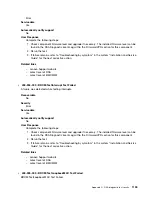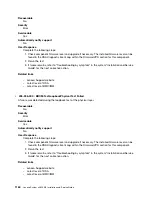
Complete the following steps:
1. If the DIMM was disabled because of a memory fault, follow the procedure for that event.
2. If no memory fault is recorded in the logs and no DIMM connector error LEDs are lit, re-enable
the DIMM through the Setup utility or the ToolsCenter Suite CLI.
3. If the problem persists, Power cycle the compute node from the management console.
4. Reset the IMM to default settings.
5. Reset UEFI to default settings.
6. Update IMM and UEFI firmware.
7. Swap/reseat the DIMM from the disabled slot with a matching DIMM. If the slot remains
disabled, (trained technician only) replace system board
•
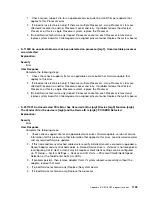
W.58001 The PFA Threshold limit (correctable error logging limit) has been exceeded on DIMM
number [arg1] at address [arg2]. MC5 Status contains [arg3] and MC5 Misc contains [arg4]. DIMM
PFA Threshold Exceeded
Explanation:
Severity
Error
User Response
Complete the following steps:
1. If the compute node has recently been installed, moved, serviced, or upgraded, verify that
the DIMM is properly seated and visually verify that there is no foreign material in any DIMM
connector on that memory channel. If either of these conditions is found, correct and retry with
the same DIMM. (Note: The event Log might contain a recent 580A4 event denoting detected
change in DIMM population that could be related to this problem.)
2. Check the Lenovo support site for an applicable firmware update that applies to this memory
error. The release notes will list the known problems the update addresses.
3. If the previous steps do not resolve the problem, at the next maintenance opportunity, swap
the DIMMs on the same memory channel one at a time to a different memory channel or
Processor. (check service information for this product/Install guide for population requirements
for sparing/paring modes). If PFA follows a moved DIMM to any DIMM connector on the different
memory channel, replace the moved DIMM.
4. If no problem is observed on the DIMM connectors and the problem persists, replace the DIMM
identified by LightPath and/or event log entry.
5. If problem re-occurs on the same DIMM connector, swap the other DIMMs on the same memory
channel across channels one at a time to a different memory channel or Processor. (check
service information for this product/Install guide for population requirements for sparing/paring
modes). If problem follows a moved DIMM to a different memory channel, replace that DIMM.
6. (Trained service technician only) Remove affected Processor and inspect Processor socket pins
for damaged or mis-aligned pins. If damage is found, or this is an upgrade Processor, replace the
system board. If there are multiple Processor’s, swap Processor’s to move affected Processor to
another Processor socket and retry. If problem follows the affected Processor (or there is only
one Processor), replace the affected Processor.
7. (Trained technician only)If problem stays with the original DIMM connector, re-inspect DIMM
connector for foreign material and remove, if found. If connector is damaged, replace system
board
1148
Lenovo System x3650 M5 Installation and Service Guide
Содержание x3650 M5
Страница 1: ...Lenovo System x3650 M5 Installation and Service Guide Machine Type 8871 ...
Страница 47: ...Figure 35 System board switches jumpers and buttons Chapter 1 The System x3650 M5 server 35 ...
Страница 60: ...48 Lenovo System x3650 M5 Installation and Service Guide ...
Страница 80: ...68 Lenovo System x3650 M5 Installation and Service Guide ...
Страница 124: ...112 Lenovo System x3650 M5 Installation and Service Guide ...
Страница 146: ...134 Lenovo System x3650 M5 Installation and Service Guide ...
Страница 1322: ...1310 Lenovo System x3650 M5 Installation and Service Guide ...
Страница 1329: ...People s Republic of China Class A electronic emission statement Taiwan Class A compliance statement Appendix E Notices 1317 ...
Страница 1330: ...Taiwan BSMI RoHS declaration 1318 Lenovo System x3650 M5 Installation and Service Guide ...
Страница 1339: ......
Страница 1340: ......

