A-63054 February 2004
3C-23
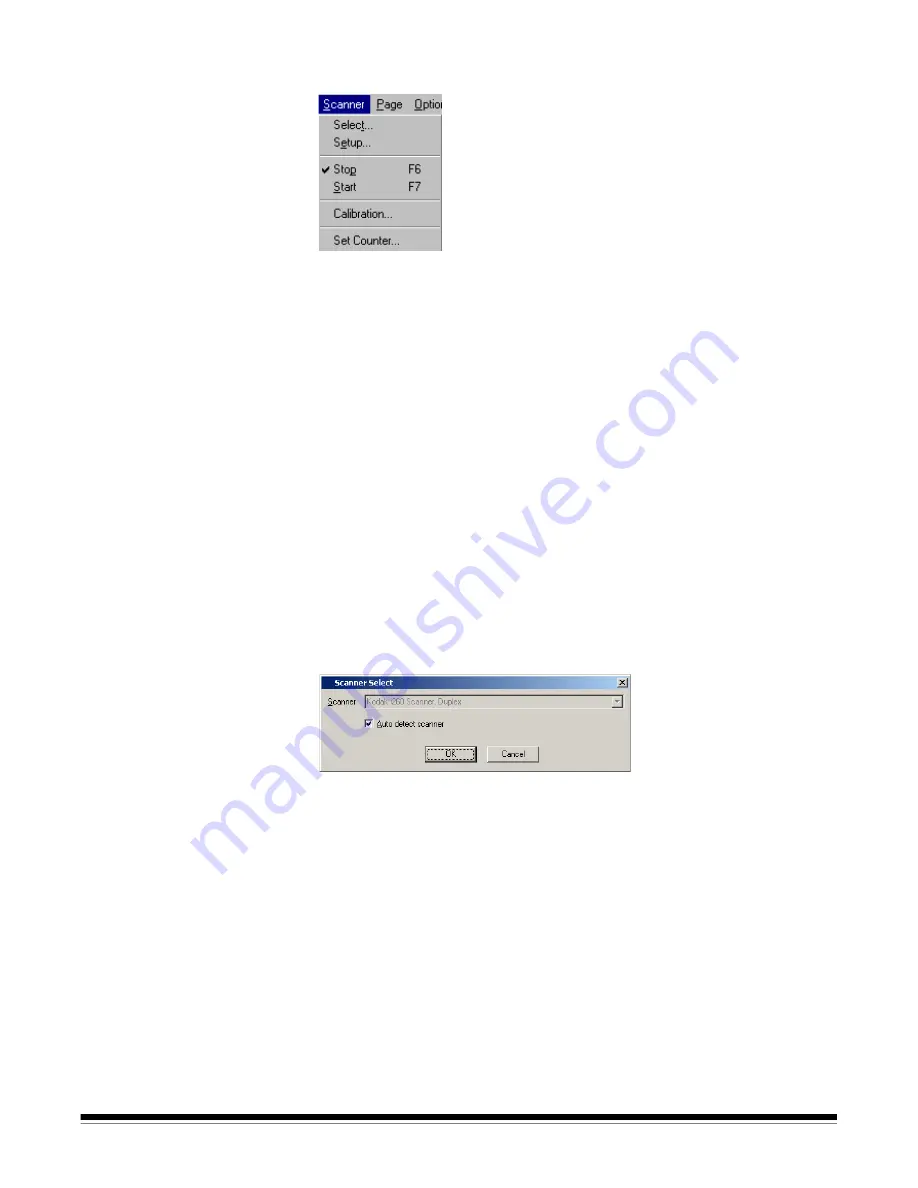
Scanner menu
The Scanner menu provides the following functions:
Select
—accesses the Select dialog box which allows you to choose the
scanner you want to use. This is necessary when more than one scanner is
connected to the host PC or you are running in emulation mode.
Setup
—accesses the Setup dialog box specific to the scanner you selected.
From this dialog box you can set specific parameters for the selected scanner.
Stop
—stops the transport/feeder and disables the scanner. Keyboard
shortcut:
F6
Start
—enables the scanner and starts the transport/feeder or the flatbed.
Keyboard shortcut:
F7
Calibration
—allows you to calibrate the scanner. You may need to calibrate
the scanner if you are experiencing problems with image quality.
Set Counter
—accesses the Set Counter dialog box which allows you to
change the sequential counter value printed on the next scanned page.
This function is available only when document printing is enabled.
Selecting the scanner
Select the scanner to use by accessing the Scanner Select dialog box.
1. Select
Scanner>Select
.
The Scanner Select dialog box appears.
The
Auto detect scanner
check box is enabled by default. If more than one
scanner is connected to the host PC, uncheck the Auto detect scanner check
box and select the scanner you want to use from the
Scanner
drop-down list.
When running in emulation mode, changing the scanner model changes the
scanner you are emulating.
2. Click
OK
.
3. Exit and restart Capture Software for any changes to take effect.


