JANOME Embroidery Software Instruction Book
Chapter 21 Creating Embroidery Lettering
166
Note
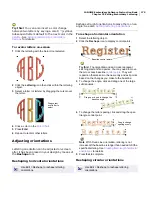
Orientation of the text around the oval depends
on where you mark the reference points.
Try this!
You can adjust orientation settings at any
stage. See
Adjusting orientations
for details.
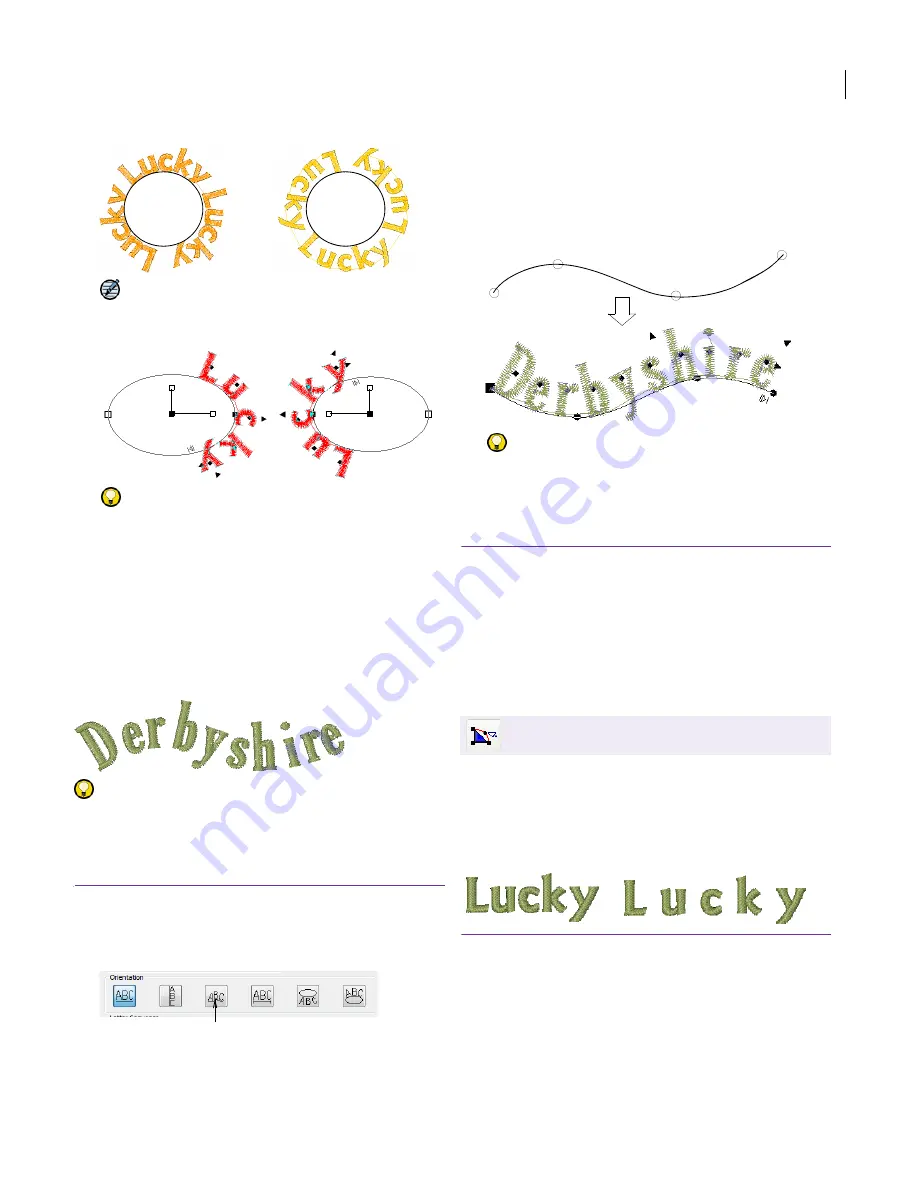
Creating custom orientations
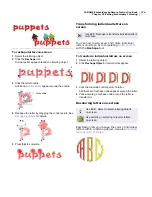
Use Free Line orientation to shape lettering
around elements in your design. Digitize Free Line
baselines
by marking reference points to form the
required line. The number of reference points and
length of baseline are practically unlimited.
Try this! If the baseline has tight curves, or sharp
corners, the letters may overlap. For best results,
only mark curve points, and digitize lines which
have shallow, gentle curves.
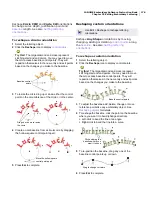
To create a custom orientation
1
In the
Object Details > Lettering
dialog, click the
Any
Shape
orientation icon.
2
Enter your text in the text entry box.
3
Click
OK
.
4
Mark the baseline reference points.
Mark curve points with the right mouse button.
Mark corner points with the left mouse button.
5
Press
Enter
to complete.
Try this!
You can adjust orientation settings at any
stage. See
Adjusting orientations
for details.
Adjusting letter spacing
Letter and line spacings can be determined before
or after creating lettering objects and placing them
in your design. You can edit spacing using the
Reshape tool.
Adjusting overall letter spacing
on-screen
The spacing between letters is calculated
automatically as a percentage of the letter height.
In most cases the
default
spacing is adequate.
Sometimes, however, you may want to change the
overall letter spacing.
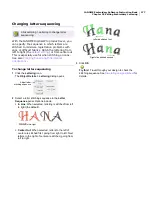
To adjust overall letter spacing on-screen
1
Select the lettering object.
2
Click the
Reshape
icon.
1
2
3
1
2
3
Select Any Shape orientation
Click Edit > Reshape to change letter spacing.
1
2
3
4
Содержание Digitizer MB
Страница 236: ...234 Part IX Software Feature Table...
Страница 243: ...241 Part X Appendices Glossary Index...


