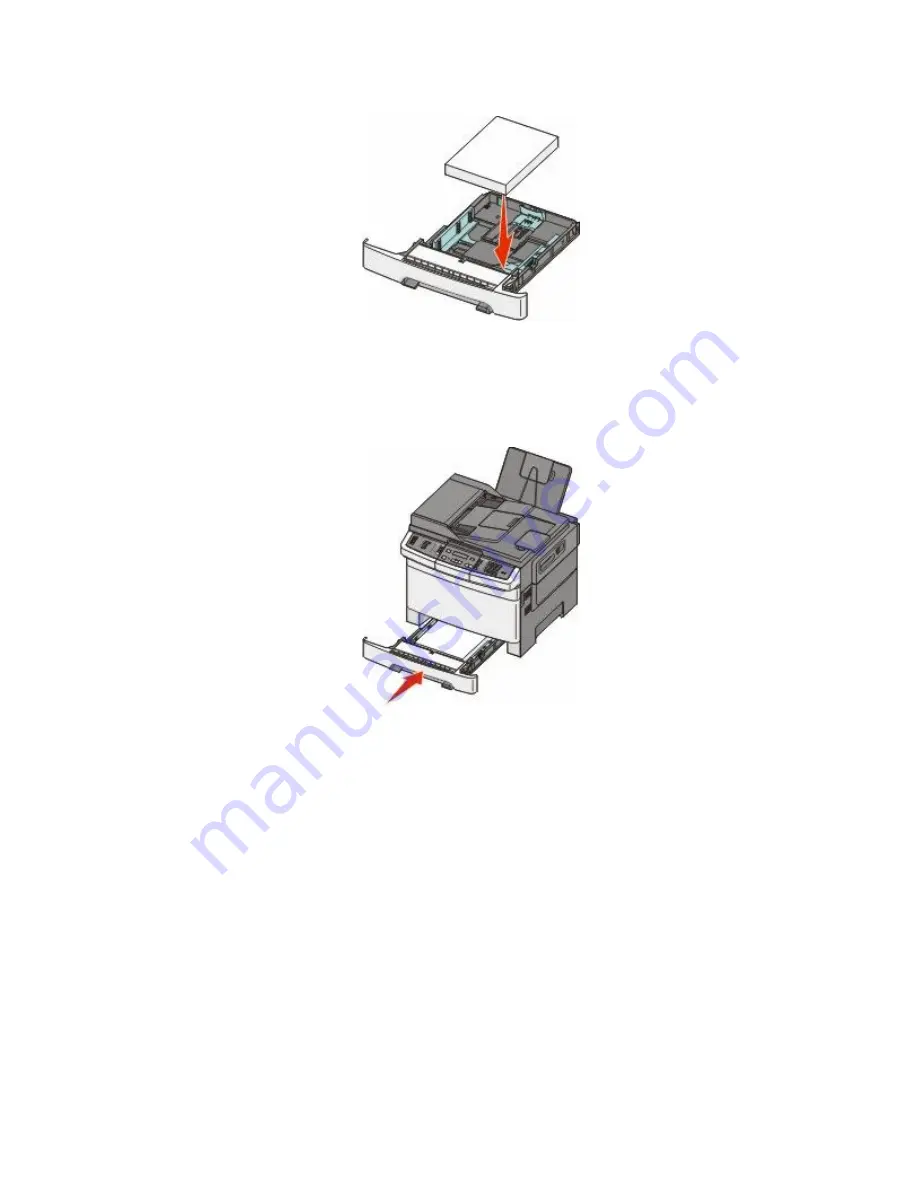
5
Load the paper stack with the recommended print side faceup.
6
Make sure the paper guides are secure against the edges of the paper.
Note: Make sure that side guides are placed tightly against the edges of the paper so that the image is registered
properly on the page.
7
Insert the tray.
8
If a different type or size of paper was loaded than the type or size previously loaded in the tray, change the Paper
Type or Paper Size setting for the tray from the printer control panel.
Note: Mixing paper sizes or types in a paper tray may lead to jams.
Loading the optional 650-sheet duo drawer
The 650-sheet duo drawer consists of a 550-sheet tray and a 100-sheet multipurpose feeder. This drawer is loaded
in the same way that the standard tray is loaded. The only differences are the look of the guide tabs and the location
of the paper size indicators, as shown in the following illustration:
Loading paper and specialty media
39
Содержание Color 1826
Страница 1: ...InfoPrint Color 1826 MFP MT 4989 User s Guide G510 7212 00...
Страница 2: ......
Страница 3: ...InfoPrint Color 1826 MFP MT 4989 User s Guide G510 7212 00...
Страница 12: ...10...
Страница 83: ...Faxing 81...
Страница 84: ...3 Connect the answering machine or telephone to the adapter Faxing 82...
Страница 107: ...4 Open the scanner cover and then remove any jammed pages 5 Close the scanner cover 6 Press Clearing jams 105...
Страница 164: ...3 Open the top door 4 Remove the right side cover Maintaining the printer 162...
Страница 183: ...13 Insert the developer unit 14 Align and insert the imaging kit Maintaining the printer 181...
Страница 235: ...replacing 161 Wireless menu 118 Y Yellow Low 147 Index 233...
Страница 236: ......
Страница 237: ......
Страница 238: ...Printed in USA G510 7212 00...


